
Nothing beats the flavor of homemade cheese. Especially full fat beautifully stretched mozzarella that goes well with almost anything. This little How To will show a quick and easy way to delicious mozzarella from milk to mouth. It’s fun to make and even funner to eat.

My wife and her baby goaty
Last summer I mentioned to my wife that the weeds around our house were getting out of control and we could use some goats to help clean things up. I thought that meant 2 goats that would be more temporary than anything. Then I looked up and we had 6 goats, 6. Four does and two bucks (crazy goat lady anyone?). We were able to weed those down and get down to a manageable 3 goats, which is where we are now. One mini nubian and two nigerians. My wonderful wife does like milking them though and I like using the milk so we are safe with those numbers.
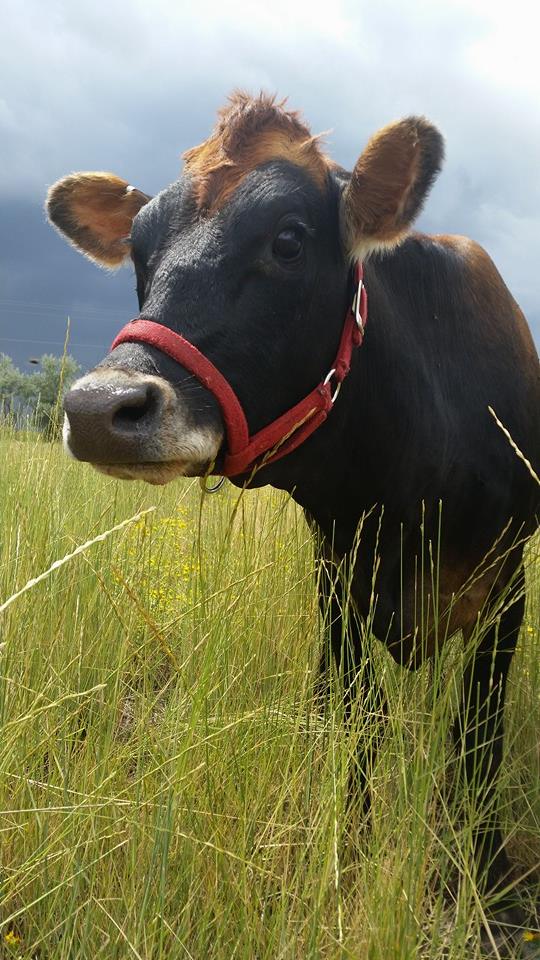
Our old Jersey cow.. she is no longer with us, frown
Our good friend on the other hand has a beautiful little Jersey cow that produces far more milk but tends to be a little less butterfat than the goat milk. Mini nubian milk is over 6% butterfat and jersey is about 5%. That is a big difference, think skim vs 1% milk. The interesting thing is when we made this mozzarella the goat milk yielded 18% mozzarella but the cows milk only a little over 12%. That shows the difference in solid between the two.
So rather than write a typical recipe post I had to do a little sciency stuff too, so here it goes. Milk is made up of solids suspended in water. Those solids are proteins, minerals, fats, and some other micro solids (not as important for what we are dealing with). For this little experiment and how to I used 1 gallon of mini nubian milk from my wife’s goat Delilah (Bulila if you are my son) and one gallon of Jersey milk from our friends cow buttercup, always make friends with someone with raw milk if you want to make your own cheese.
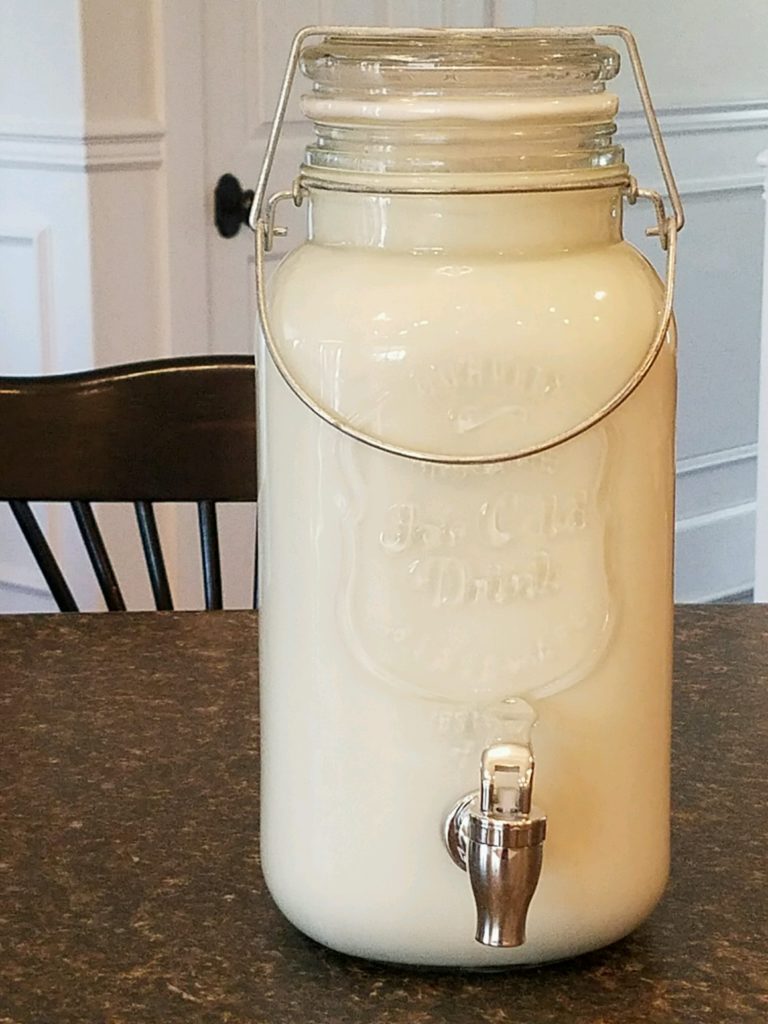
1 Gallon of Delicious Goat Milk
Both of the milks where fresh and raw (not pastuerized nor homogenized). Interesting little note goat milk doesn’t separate like cows milk it is naturally pretty homogenized. The cream doesn’t really rise to the top in it.
Ingredients:
- 1 gallon milk (use whole raw milk if possible)
- 1.5 tspn citric acid
- 1/4 tsp rennet
- Water
Steps to Make Mozzarella
1.Acidify the Milk
Put your milk in a large pot (don’f fill it to the top or you will be sorry when it is a pain to work with).

Click Image to Order
Add citric acid to the milk to lower the pH of the milk. Use powdered citric acid mixed in cool water. 1 and 1/2 teaspoons per gallon of milk. Raw milk is typically around a pH of around 6.6, citric acid is a 2.2, so by mixing in citric acid the total pH of the milk drops significantly. This is important because doing so begins the curdling process, which is essentially a protein denaturation. The protein we are concerned with is casein and we want it to open up and become weakened so we can further mess with it in a later step. Yay, science.
2. Setting the milk
Heat the milk to 90 degrees F, be stirring occasionally to make sure it is heating evenly. I’ve forgotten about that part and scalded the bottom before, fool me once darn stove. Once it is at 90 degrees (can go to 95 to so don’t panic)remove from heat and add the rennet. This rennet will be diluted in 1/4 cup cool water. I used liquid animal rennet that comes from Ricki Carroll, who is like the cheese queen, in fact this recipe is a modified version of hers. Mix the rennet in well then let the pot sit undisturbed for about 7-10 min.

Click Image to Order
So again back to the sciency stuff. Rennet contains an enzyme called chymosin (or rennin) that goes after those casein proteins I mentioned early and disrupts them further. Those proteins are usually suspended in the liquid portion of the milk, but after all the shenanigans they bind together and end up separating from the liquid. This is what forms the curds that we will cut in the next step.
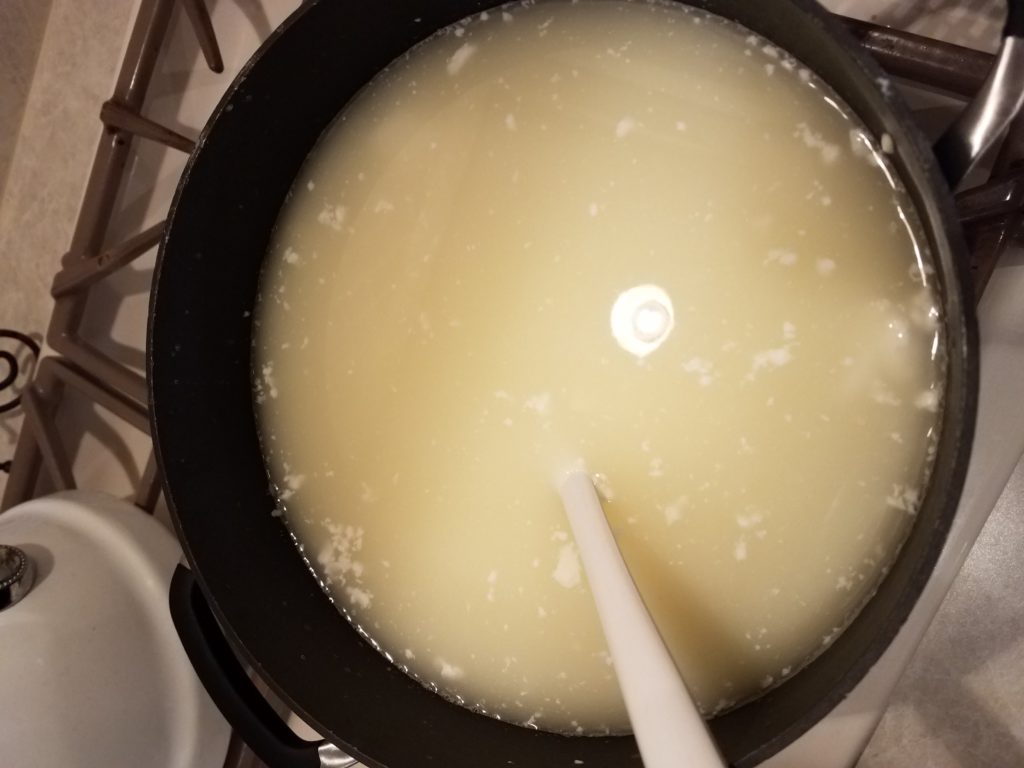
3. Cut the Curds
Now take a long knife and make a cross cutting pattern in the set milk. Cut about 1.5 to 2 inches apart in each direction, be sure and cut all the way to the bottom.


Cut across first cuts
This process begins seperating the curds (casein and fat) from the whey (water and whey protein). This is what little Miss Muffet was all about, but what the heck is a tuffet?
4. Heating and Curd Seperation
Return the pot to the stove, heat the curds and whey to 110 degrees F. Stir with a ladle gently to slightly disrupt the curds to get them to release more whey. Remove from heat and stir for about 2 or 3 more minutes, typically the curds will sink in the whey.
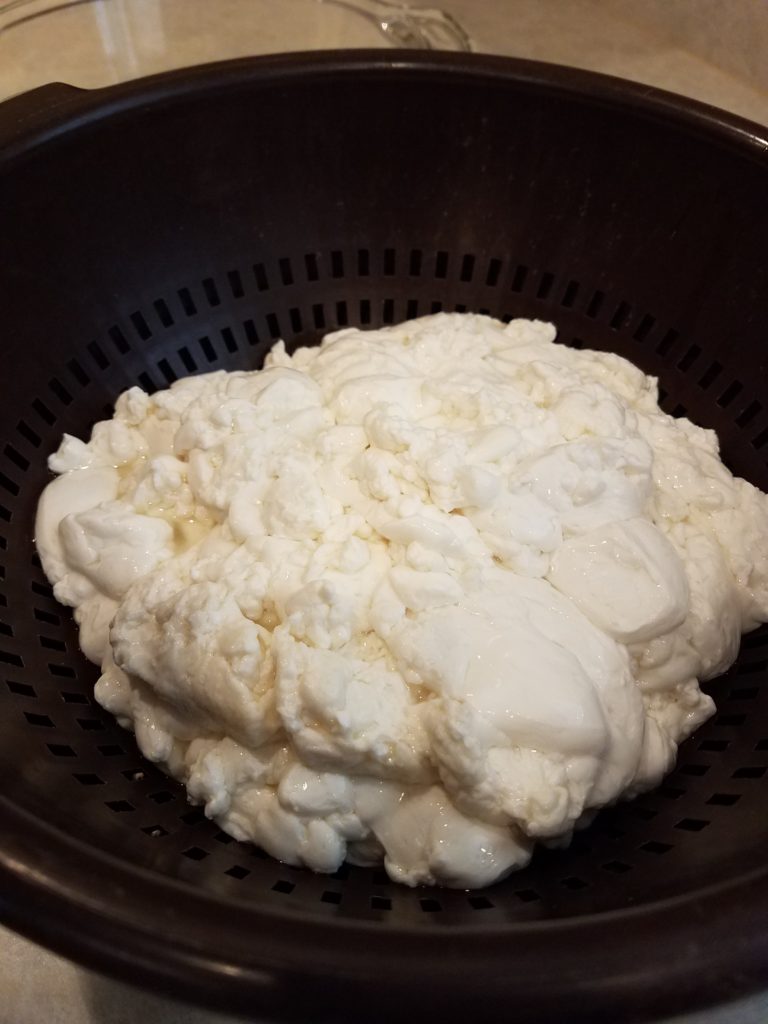
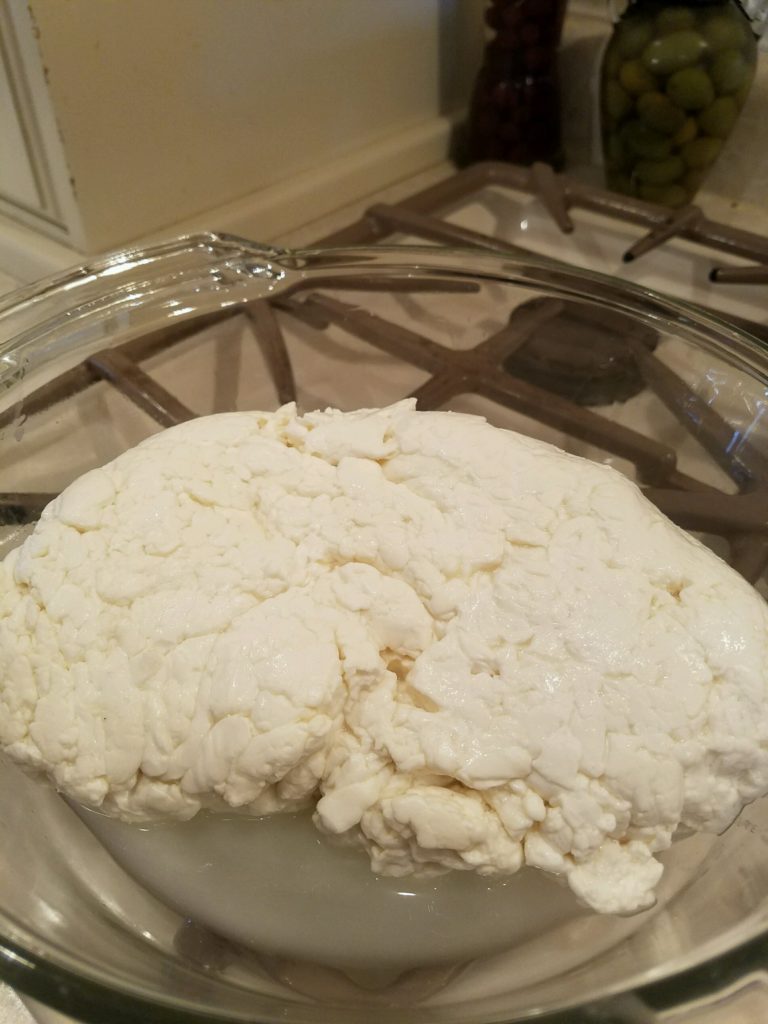
5. Get the whey out
Use a slotted spoon to ladle the curds in to a colander, press the curds with your hand and drain the liquid (whey) that comes out. In this step the goal is to get the whey out of the curds so you are left with a soft and moist mozzarella, this means some liquid will stay but not all.
Transfer the curds to a microwave safe bowl and microwave for 1 minute. Then press the curds and drain off any whey off. To press the curds, gently gentlyyy (said like Wesley from Princess Bride) knead them with your fingers to work the liquid out and strengthen the bonds of the proteins. Microwave for 30 seconds and repeat the pressing. Microwave one more time for 30 seconds and press the whey off. This should be 3 times in the microwave.
Ready for the microwave
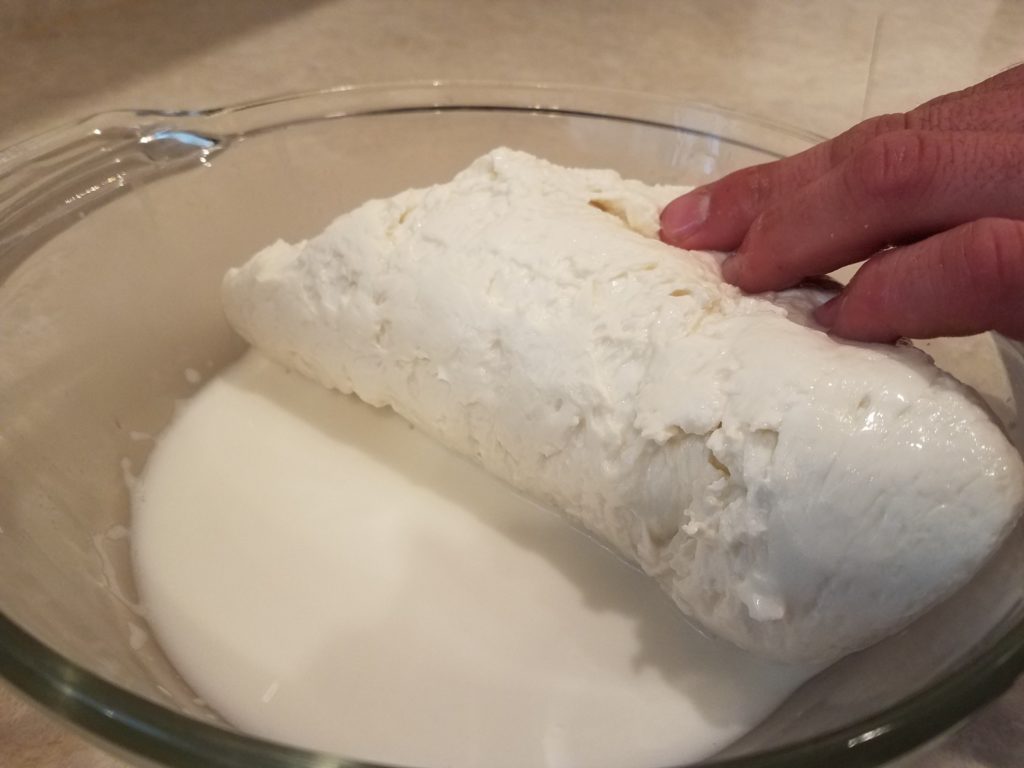
Gently kneading cheese
6. Stretching
After the final microwaving you should have a lump of curds rather than individual curds. Begin to stretch the curds like taffy in long gentle motions. If it gets to cool to stretch pop it back in the microwave for 30 seconds.
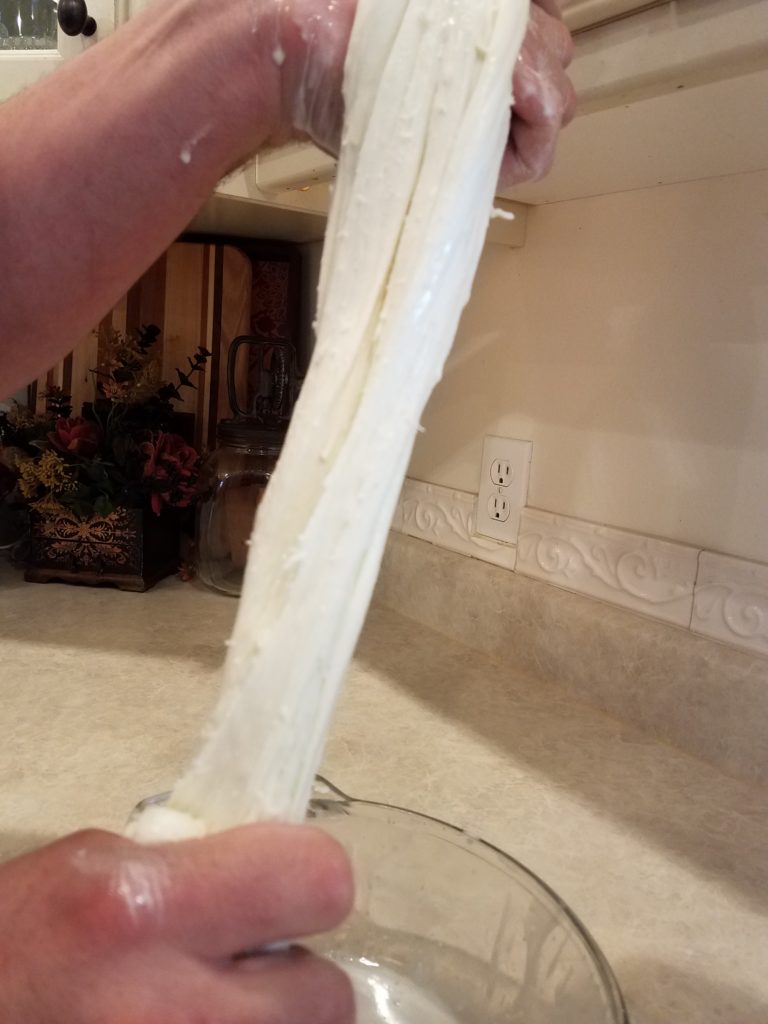
Stretch until it becomes smooth and shiny.
![]()
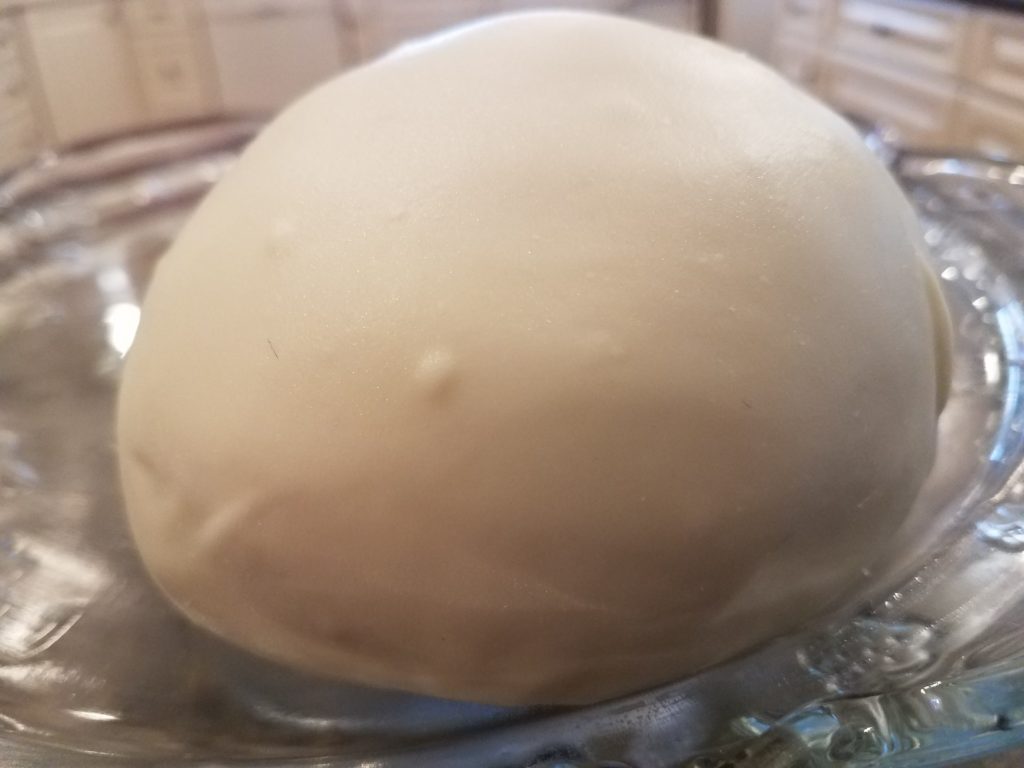
7. Salting and Kneading
Once smooth and shiny work in about 2 tspn salt (or to taste) and knead the curds in to a ball. Let it cool and you have yourself some homemade mozzarella.
This mozzarella is simple and delicious and will make you never want to go back to plain old store bought stuff. It can be added as a topping to a pesto pizza, or used in a caprese salad, that is if it lasts longer than 15 minutes. Save the whey and use it to make some delicious ricotta.
Check out Ricki’s Kit to help you out.

Click Image to Order


Comments