Original Food Dude

The art of cooking. The science of food.

Tag: fall

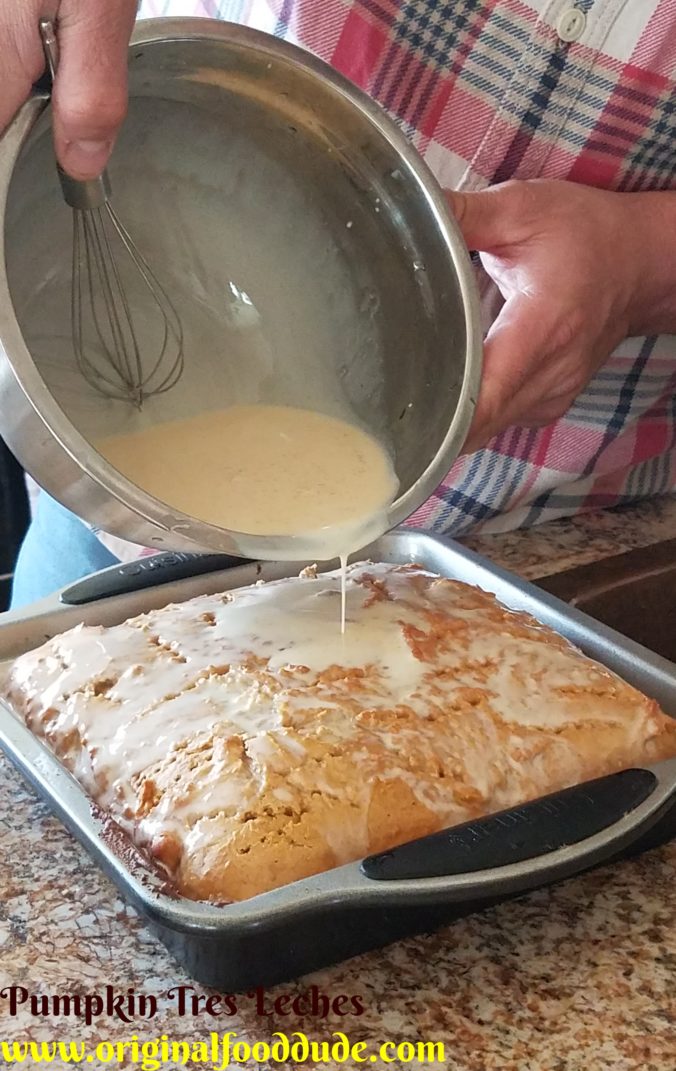
Pumpkin Tres Leches


Let’s make this one go viral folks, pumpkin tres leches is one of the best things to ever grace my kitchen counter.

Inspiration

Tres Leches is one of my all-time favorite desserts.   I love the taste, the texture, and I love the Al Pastor tacos and Naranja Jarritos that precede it.  Throw in your favorite Novella and you have yourself an authentic Mexican Restaurant experience.  It is made by baking a sponge cake then soaking it is a mixture of cream, evaporated milk, and sweetened condensed milk, how can you go wrong with that.

In fact, when I did my oral presentation of my dissertation in graduate school I brought a tres leches can for the examiners to eat while I presented to them.  Easiest questions I’ve ever had..
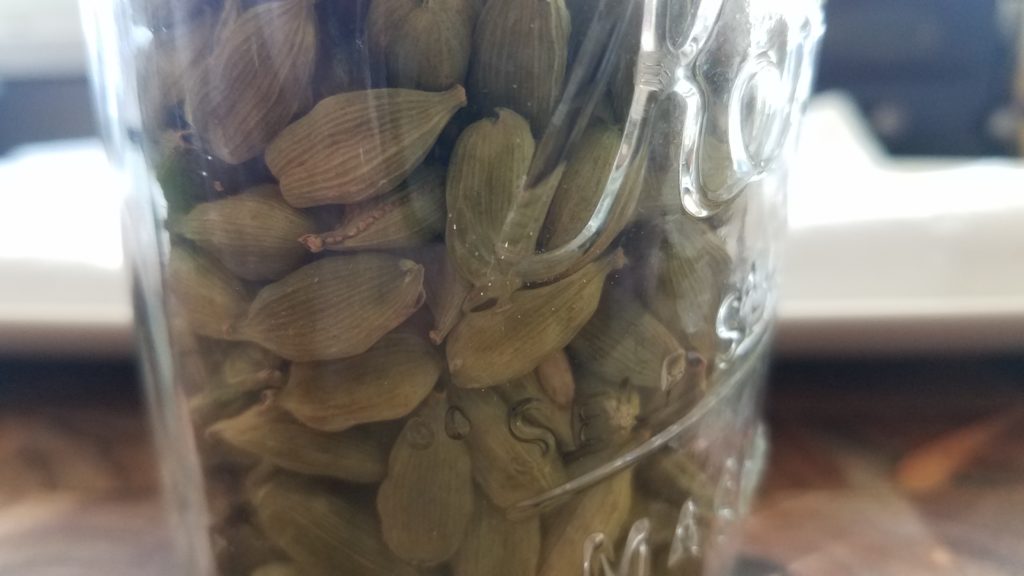
Whole cardamon ready to be roasted and ground.

In the US we love our Mexican food.  Its been years now since salsa has become the top condiment in the US replacing ketchup.  Good call people.   I particularly love Mexican food, in almost all of its variations.  I say almost all because I still struggle with Mole, it made me really sick once and I still haven’t forgiven it.

My love for Mexican food (at the expense of my waistline) comes from a lot of things in my life but primarily it comes from my high school days in South Texas.  I lived about an hour and a half north of the Mexican border during school and would go to a bunk house on the ranch in the summer that was maybe 30 minutes north of the border.  We had all the Mexican food you could want.

One of my favorite things was a Tex-Mex dish they call carne guisada.  It is basically the Mexican flavored version of beef stew, but with fresh tortillas and a guacamole salad, it is amazing.  It literally means cooked meat.  But with the cumin, chilis, and garlic it turns in to a magic meal.

My adventures in Mexican food didn’t end with South Texas.  I then served a two-year mission in the desert of Southern California, speaking only Spanish.  During that two years, I gained a great appreciation for the Latin cultures.  I got to know and love people from Mexico, Chile, Argentina, Guatemala, Columbia, Peru, Bolivia, and El Salvador.  I got to try different foods from chicharrones to lengua, menudo to mole, and completos to empanadas.

Out of all of my experience came a truly deep respect and love for the flavors that Mexican and many other Latin foods provide to us.  Honestly, what would I eat for my quick meal if it wasn’t for tacos, and my boys sure love their quesadillas (but who doesn’t)?


Que Pasa Calabasa…

My dad’s favorite Spanish phrase is “¿Que pasa calabasa? Nada nada límonada”.  It means “What’s up pumpkin? Nothing nothing lemonade.”  Makes no sense in English but seems super funny in Spanish.

If you look at the squash group of plants, pumpkins included, they are a New World crop.  There weren’t squash in Europe until the Americas were settled.

Pumpkin is what makes fall so amazing.  It spices up our Thanksgivings, makes amazing cookies, bread, soups, vinegar, and even creme brulee (coming I promise).  Apparently, there is even a Great Pumpkin that does some awesome things according to Linus.


Each year, the Great Pumpkin rises out of the pumpkin patch...


How to..

Start with a diet Dr. Pepper.  That is the first step to any meal that takes some work in preparation.  After all, you are only as good as your motivation.

Ok, now seriously.  Start by preheating your oven to 325º F.

Cream eggs and sugar together in a mixer.  This step is super important because you are creating a sponge cake that will be “open” to absorb the three milks of tres leches.  The creaming incorporates air into your batter creating a fluffier texture.  A word of caution though, over creaming can cause separation so there is a happy medium.  A few minutes in a mixer is great.
Mix flour, spices, and baking powder in a separate bowl.
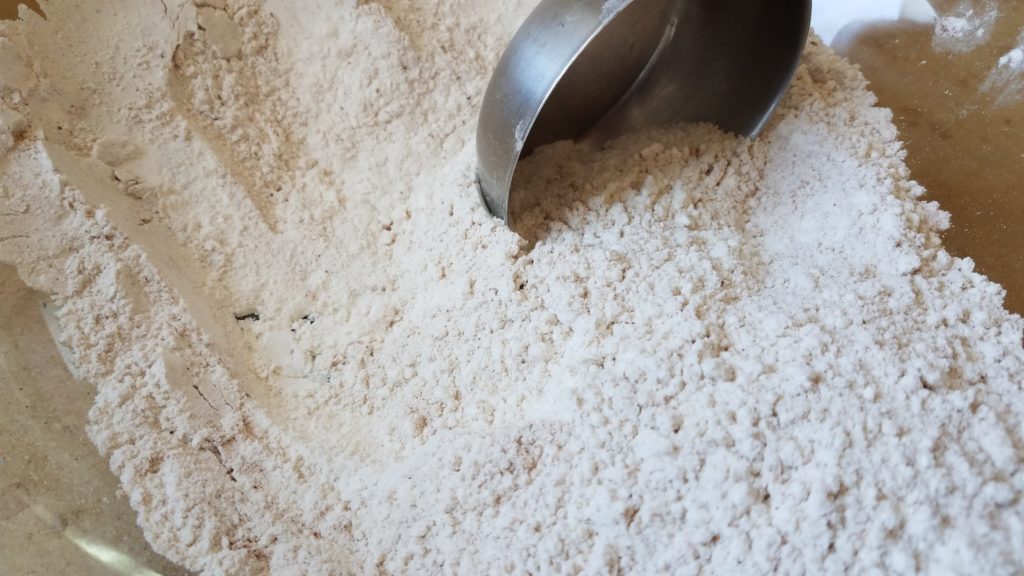
Add the pumpkin, vanilla to the sugar mix.  Beat together.

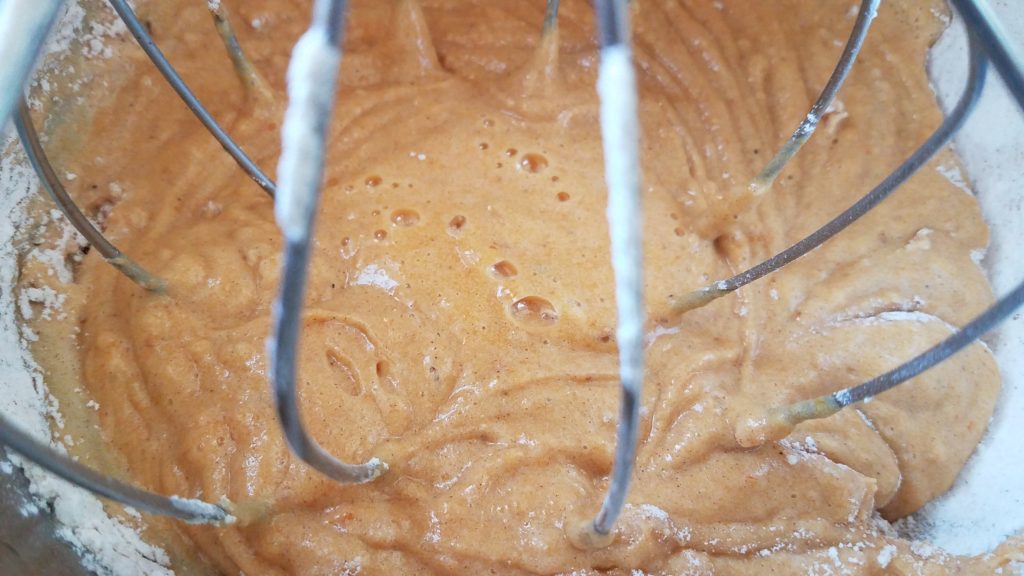
In small doses add the dry ingredients (flour, etc.) to the wet (eggs, etc.).  Mix it in just until combined.
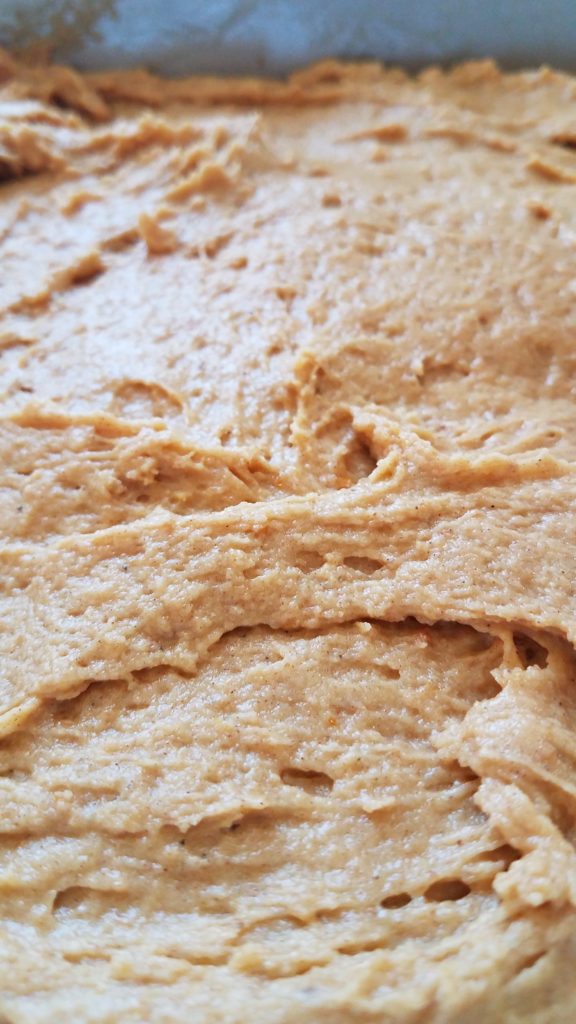
Place your batter in a 9×9  pregreased pan.

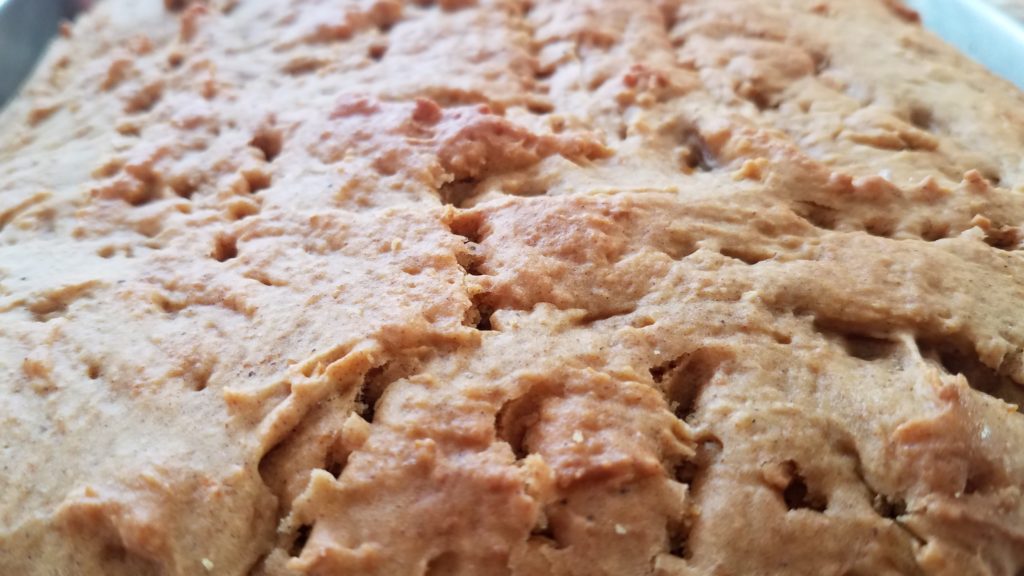
Bake for 30 min.  Or until a toothpick comes out clean when inserted in the center.
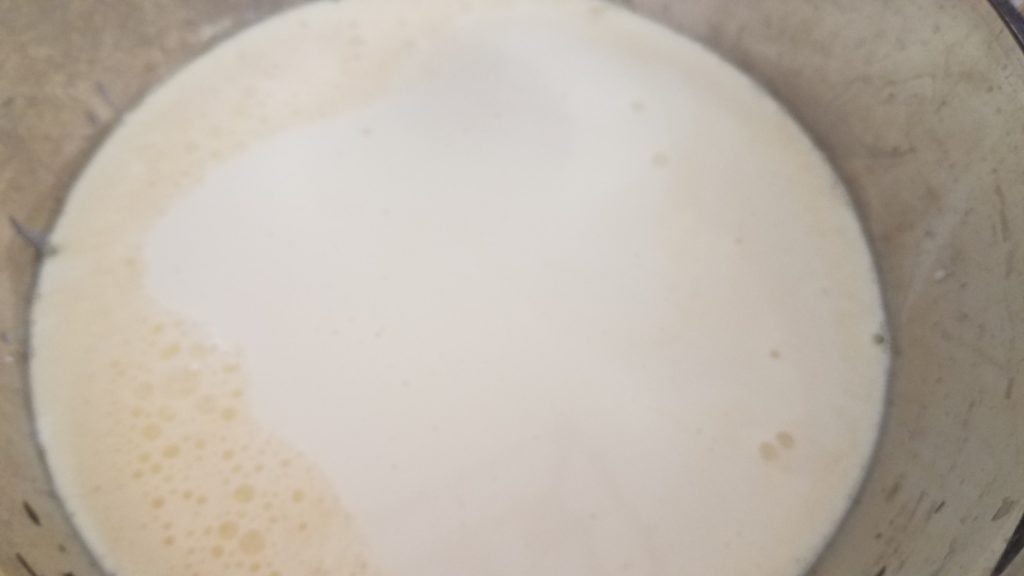
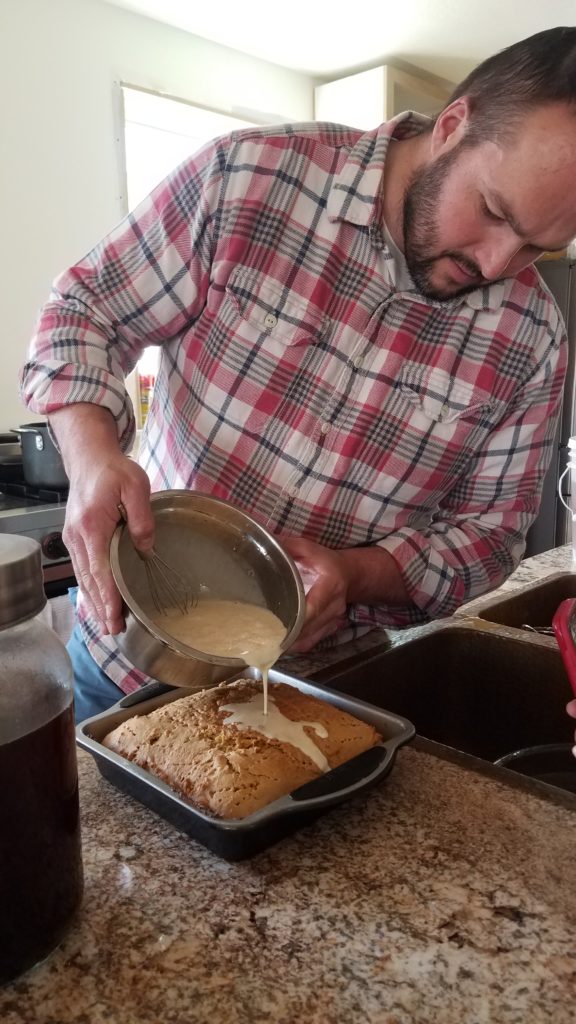
While it’s baking combine the cream, evaporated milk, and sweetened condensed milk.  Whisk together.
Cool cake until it’s easily touchable, then pierce it with a  fork.  That’s it take out all your frustration on that cake.
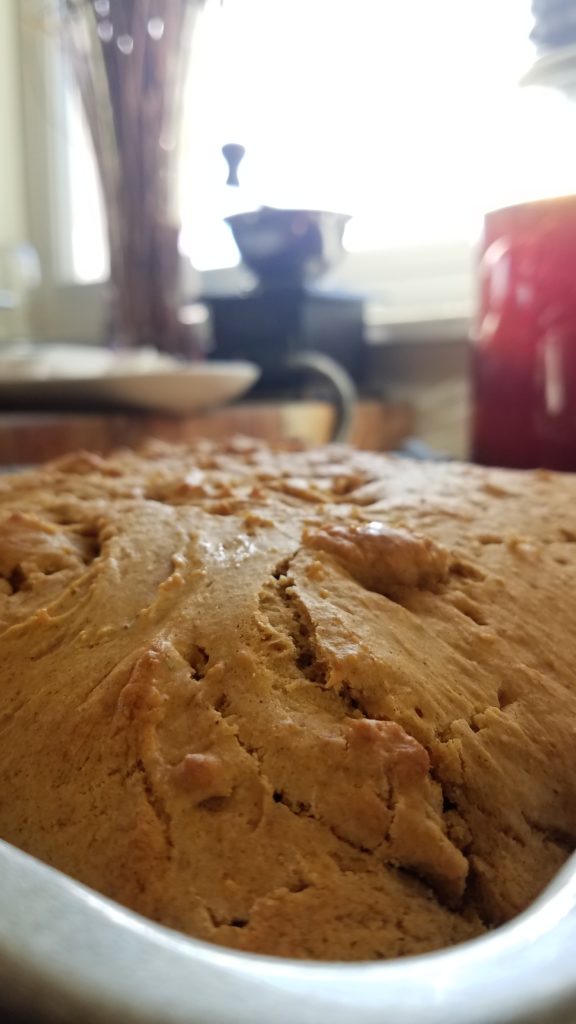
Pour the milk mixture over the cake and cover and refrigerate for 4 hours or overnight if possible.
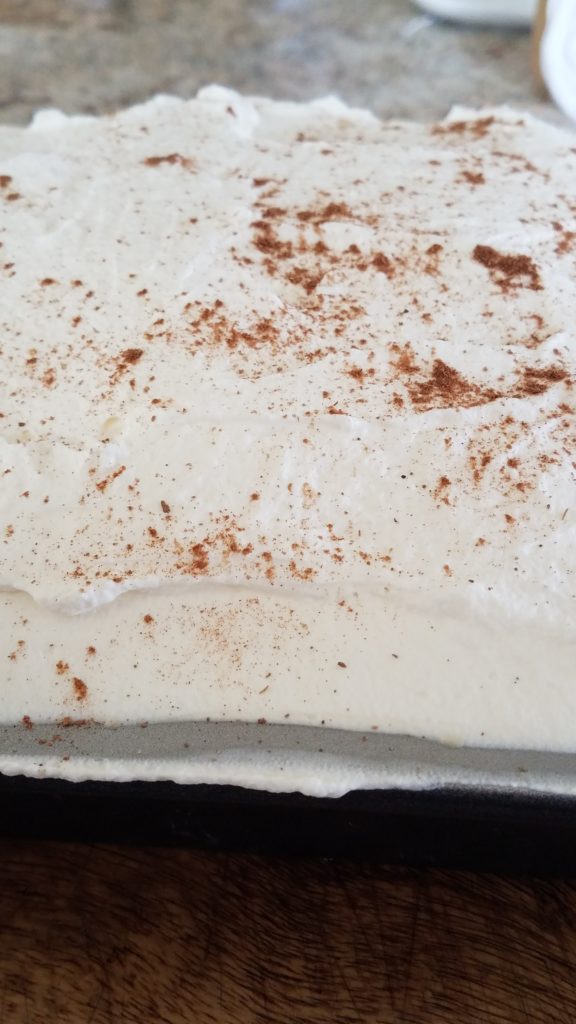
Serve however you like, but I like whipped cream and cinnamon on top.
If you want to celebrate the fall in a novel way throw this amazing pumpkin tres leches in your list of fall dishes.  Your family will thank you for it.
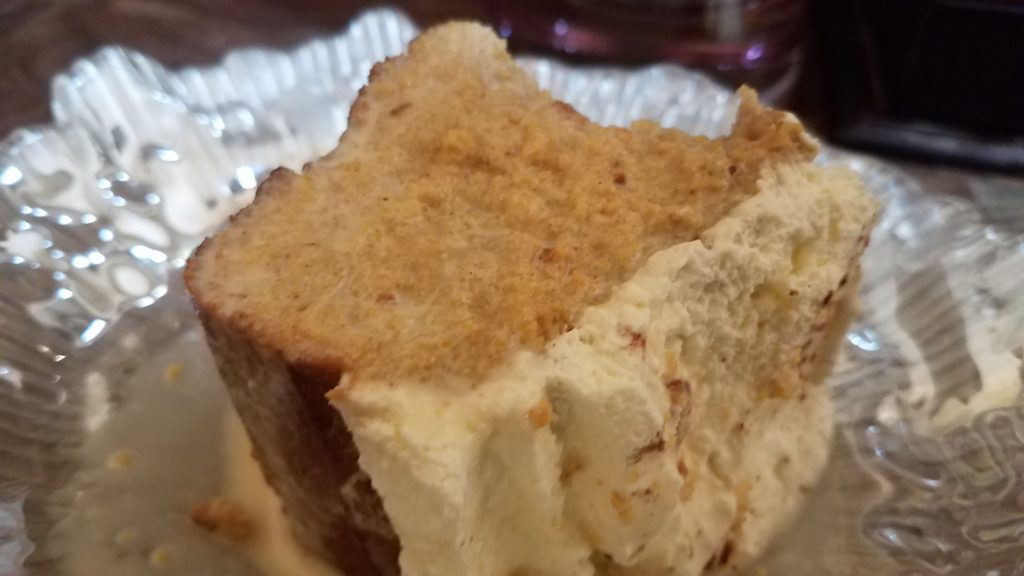
Pumpkin Tres Leches

Yum yum, pumpkin, fall, drooollll...

Ingredients

  • 2 2/3 cup flour
  • 3 tsp spice mix 2 parts cinnamon, 1 part cardamon, 1 part allspice, 1 part nutmeg
  • 2 tsp baking powder
  • 4 whole eggs
  • 1 1/4 cup sugar
  • 2/3 cup pumpkin puree
  • 1 1/2 tsp vanilla


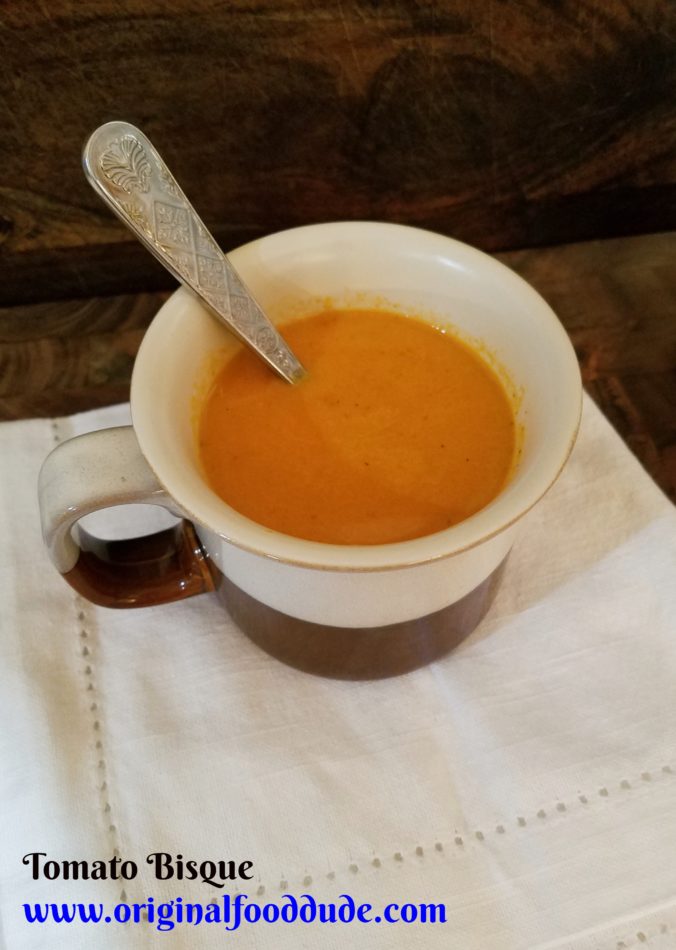
Tomato Bisque

Nothing warms your insides on a chilling fall evening like a warm tomato bisque (only to be pronounced ta-ma-toe, like a Brit, it just sounds better).

Bisque, Chowder, Soup, Stew, Chili, etc.

So my wife and I had a discussion about how different liquid based (not sure what to call them) are classified.  I’m a firm believer in loose classifications of all things, in that a tomato is a vegetable I don’t care what the Botanists say (technically so is pumpkin pie right.).  Really I can’t stand hard and fast rules that dictate so directly what something is called, but here are some quick categorical points for separating these kinds of dishes into like groups.

  • Soups
    • Clear
      • Consommé
      • Broths
    • Thick
      • Puree
      • Velouté
        • Thickened with a blond roux
      • Cream
        • Thickened with bechamel
      • Chowder
        • Shellfish based
      • Bisque
        • Thickened with cream
    • Cold Soups
  • Stews
    • Cooked by “stewing” just enough liquid to cover food, examples (jambalaya, beef stew, curries, etc)

I’m really not sure if my recipe constitutes a bisque, but I can’t think of a better name for it.

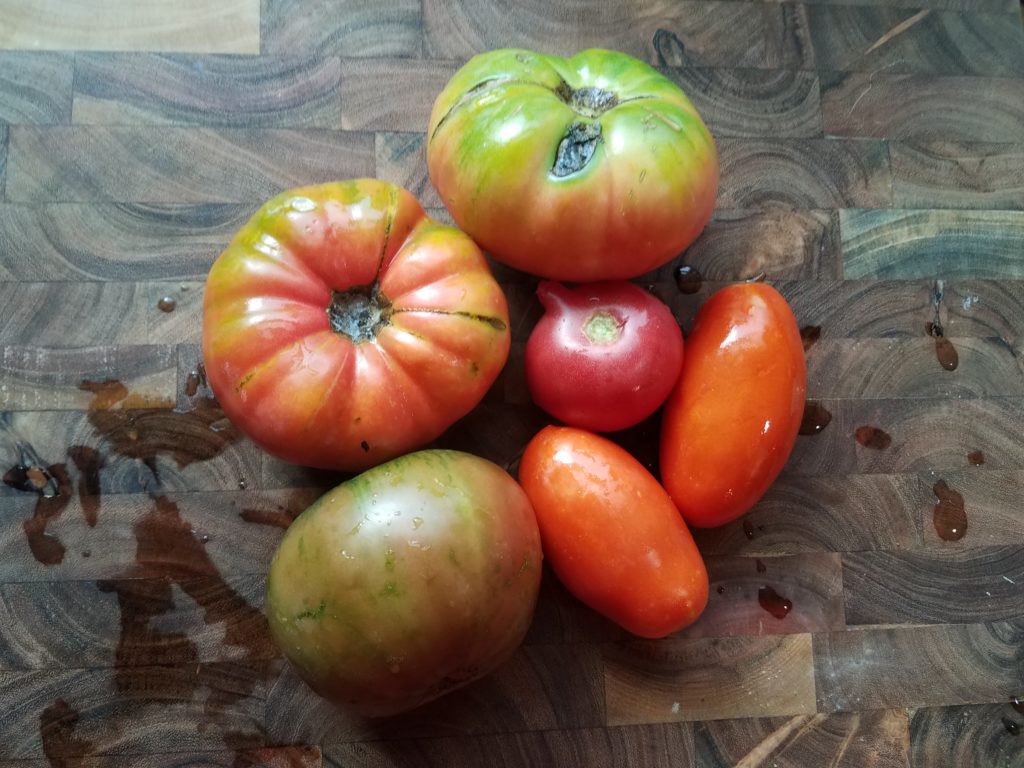
Tomatoes

We planted six tomato plants this year, fortunately, I didn’t have Peter Rabbit in a tree next door to rob my garden, but we did have to keep the chickens out.

Six tomatoes may sound like a lot, but we use tomatoes quite a bit and only get them for a short time so I like to have a lot.  The first year Lexie and I were married I planted a huge garden.  We had something like 20 tomato plants, we couldn’t give them away quick enough so now I’m limited to six.

One of my very favorite tomatoes is a little cherry tomato called a Sun Sugar.  They are super sweet, in fact, I love to just pick them and eat them, so they rarely make it inside.

The night before our first frost of the season I went and picked all of our tomatoes off the bushes.  The green ones got placed in buckets with an apple every few layers and covered.  The apples produce ethylene gas, which helps green tomatoes ripen.

The ripe tomatoes I made into a great big belly warming pot of tomato bisque.

Bisque

The best thing about this recipe is how stinking simple it really is.

Start with tomatoes.

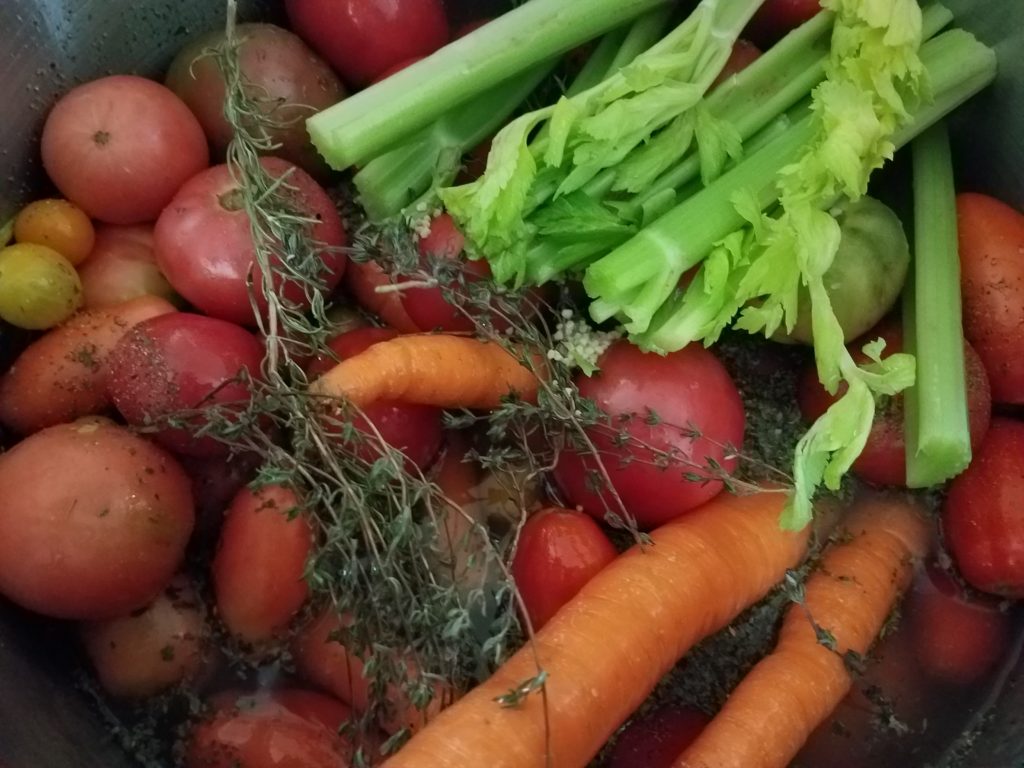
Put about 4 lbs of tomatoes in a pot (I used more as I was cooking for storing).

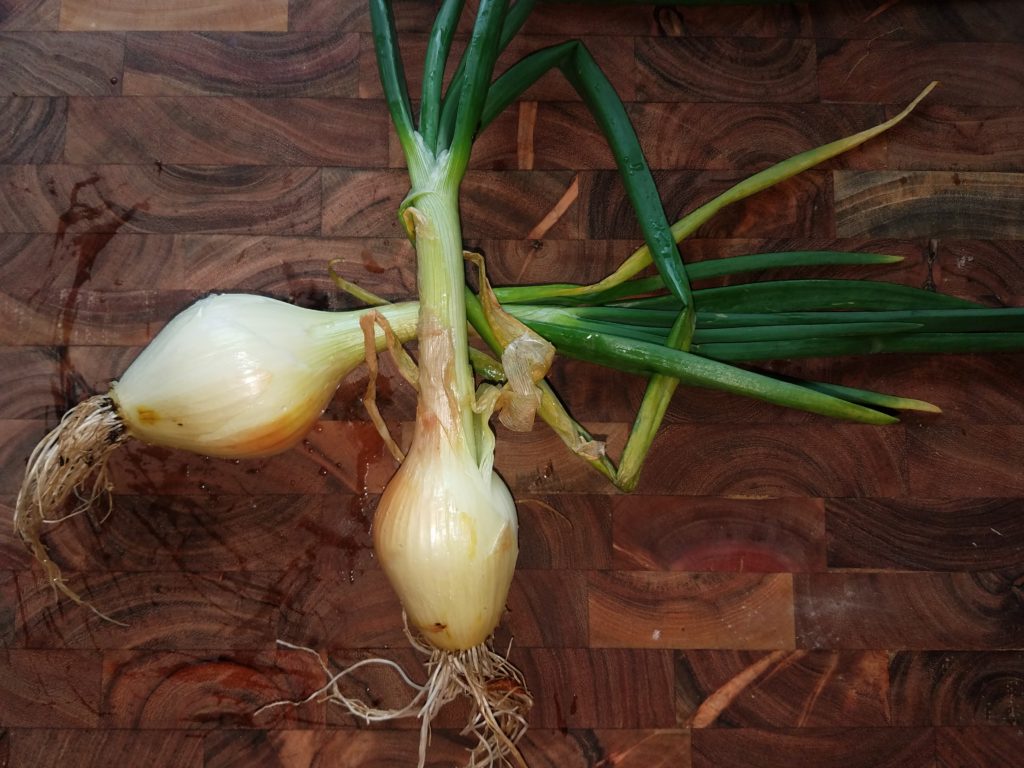
Add one small sweet whole onion.

I literally pulled these out cleaned them and threw them in whole.

Add 2 carrots and a few celery stalks (this is one of those feelings recipes, you add what you feel like).

Then throw in a few sprigs of thyme, rosemary, and basil.

Add a can of chicken broth and an equal amount of water.

Top it off with a few cloves of garlic, salt, and pepper.

Boil until everything is soft, carrots are the big one to soften here.

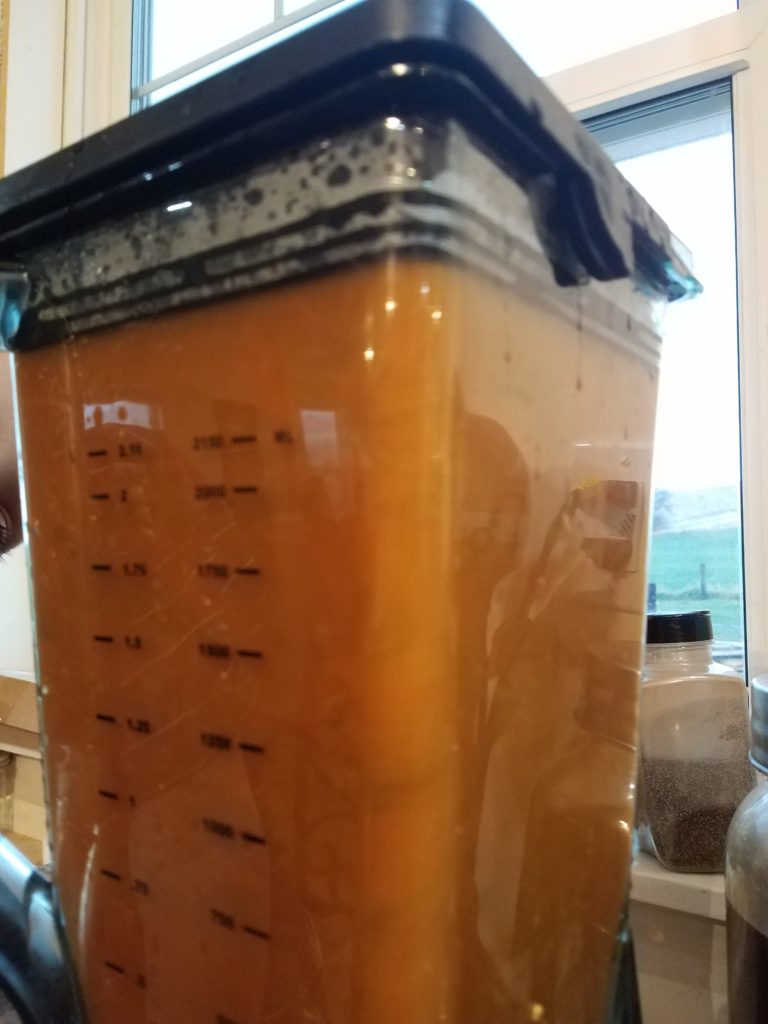
Then blend in your blender in batches.

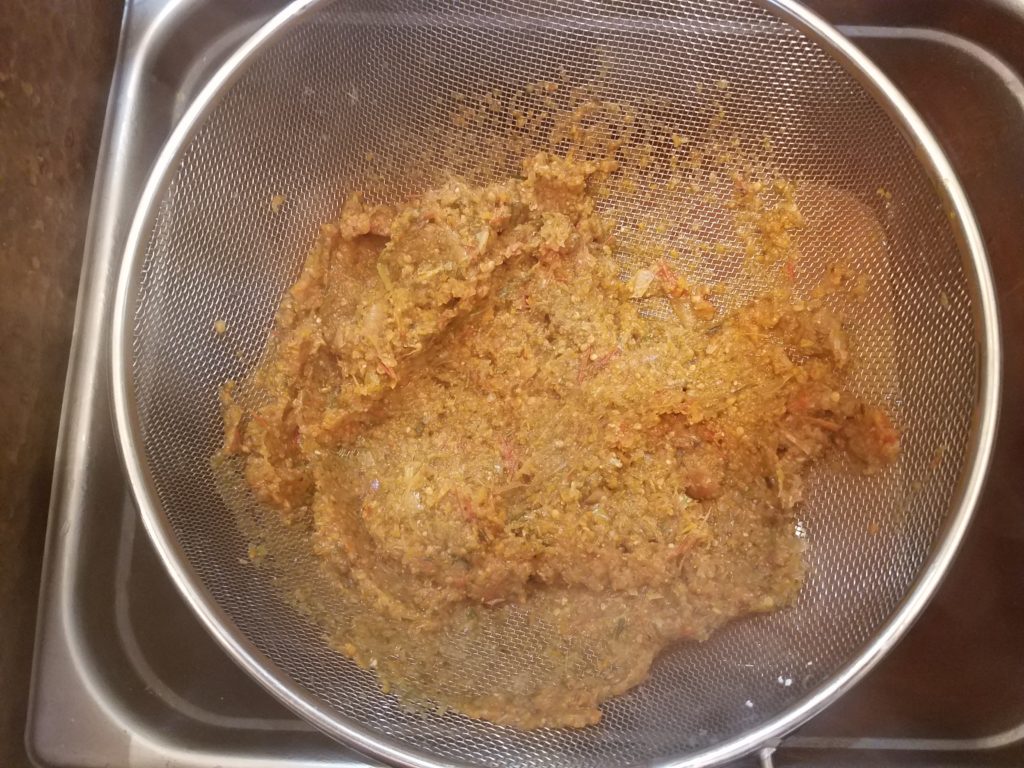
Pour the blended soup through a fine mesh colander to get the extra solids out.  (Or if you like a rustic feel just leave them it.)

Not pretty I know but it does make good chicken feed.

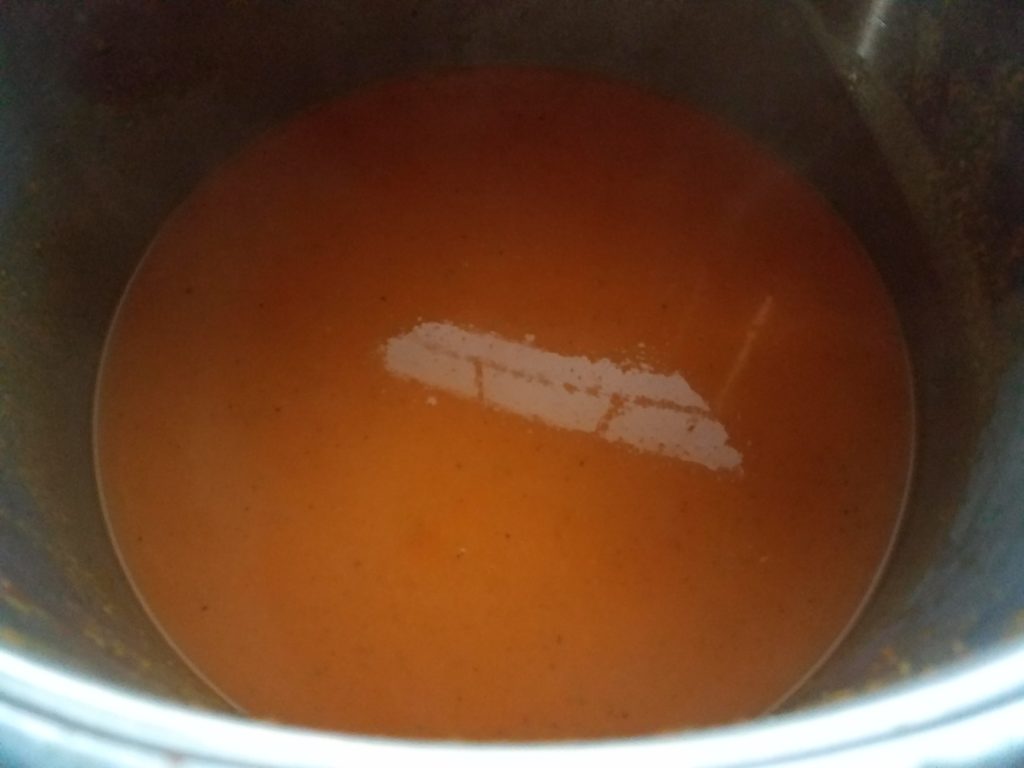
Your soup should look something like this by now.

Return it to the stove and add a cup of cream.

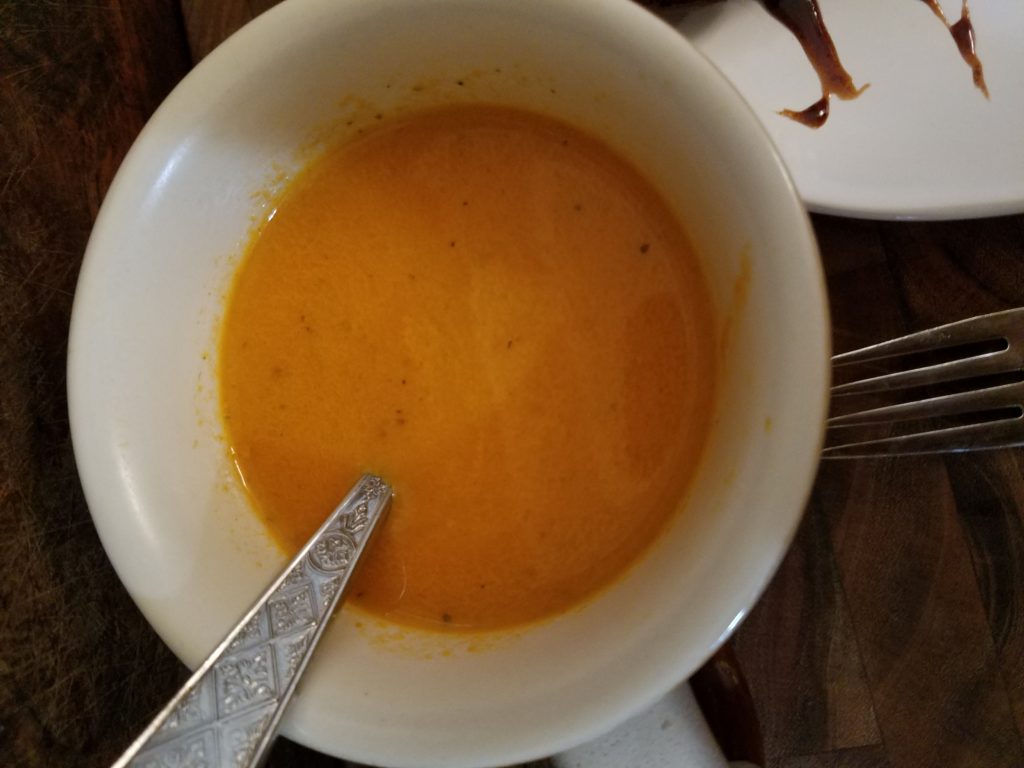
Let it simmer for a bit then serve.  I like to add a dollop of ricotta cheese in the center.

This soup also would be a good one to freeze to reheat on a cold January evening, you know to prevent scurvy.

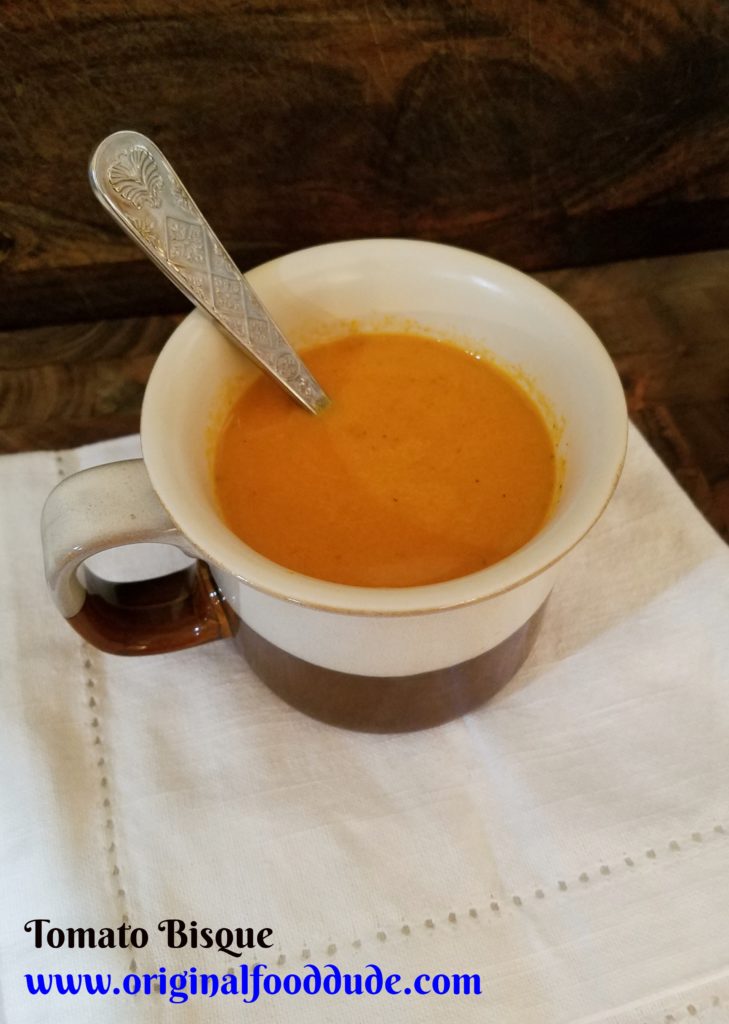
Tomato Bisque

A warm fall favorite and a perfect use for those last tomatoes of the season. 

Servings 6

Ingredients

  • 4 lbs Tomatoes
  • 2 whole Carrots
  • 2 spears Celery
  • 1 can Chicken Broth
  • 2 sprigs Thyme
  • 2 sprigs Rosemary
  • 2 sprigs Basil
  • 2 cloves Garlic
  • 1 whole Onion (quartered)
  • 1 tsp Black Pepper
  • 2 tsp Salt
  • 2 cups water
  • 1 cup cream

Instructions

  1. Add all ingredients except cream to a stockpot and boil until vegetables are soft. 

  2. Blend until smooth in a blender.

  3. Strain through a colander.

  4. Return to pot and add cream, simmer for 5 min.

  5. Serve warm with ricotta.

Autumn Alfredo, A Homemade Fall Pasta

This delicious Autumn Alfredo is the perfect pasta for colored leaves and pumpkin patches.  It’s bound to put you in the mood for fall.

A Teaching Moment

My older two boys love books, they are particularly fond of an Usborne book about food.  I’m so proud.

The book is actually called My First Reference Book About Food. If that isn’t a great title I don’t know what is.  In the book, there is a page dedicated to pasta, and Phelps (my oldest) was especially excited about the pasta roller.  He loves gadgets and gizmos (in fact he has 20 thingamicbobs).

How could I turn down the opportunity to teach my foodie doodies about food?  So we made pasta.

Here is what I love about homemade pasta

  1.  You can add other things to the pasta (I often add some basil or thyme).
  2. It doesn’t have to be perfect (I believe the term is rustic)
  3. It is quite entertaining

Here is what I hate about homemade pasta

  1.  I eat it all and feel fat

That’s it.  Darn my genetics.

What to make?

So on a chilly October day what do you eat with your fresh pasta?

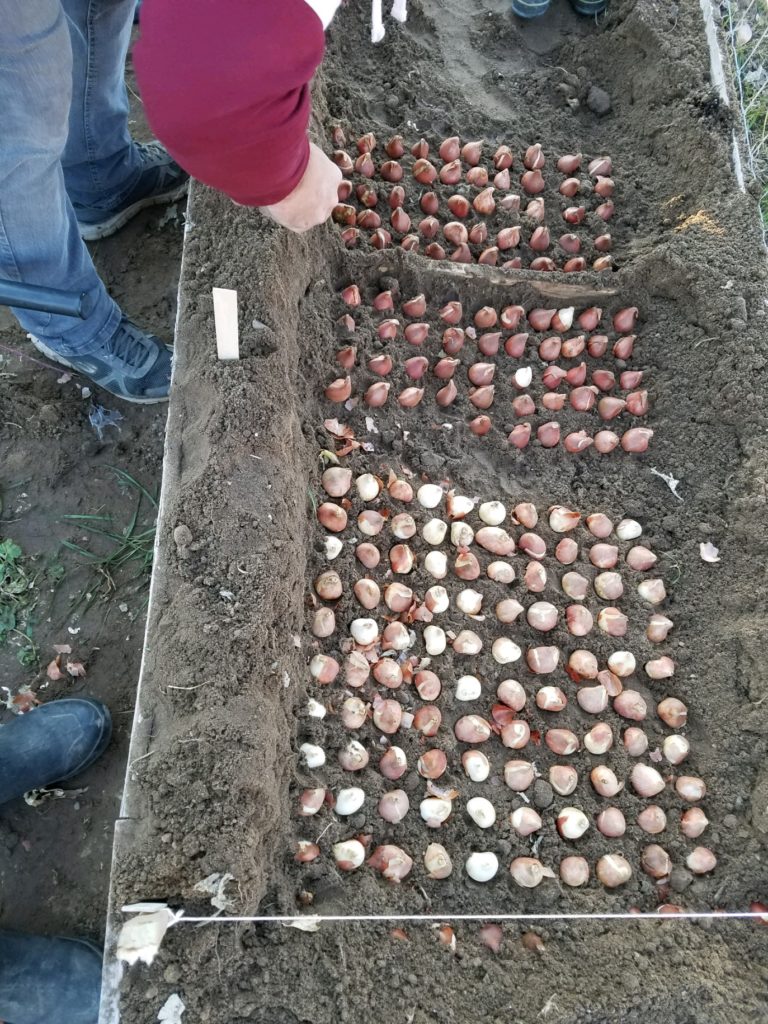
Not a tomato sauce, pesto is to Springy (made up word), and olive oil too simple.  How about a little something from the garden?  We did just empty it and fill last years bed with tulips for my wife’s cut flower farm (like 1000 of them are going in).   Delicata squash sauce it is then.

Now if you haven’t had a Delicata then let’s talk about them really quick, but first a funny story, well two.  Rex, my second, looooovvvveeees delicata squash.  He was the culprit for picking every squash before the frost because he wanted some “candeeee squash”.   He would eat a whole one by himself with a little butter, brown sugar, and cinnamon (I guess a lot of things get really good if you add those three to them).

The second story is that we didn’t plant a delicata squash this year, we actually planted a spaghetti squash, but unbeknownst to us our local greenhouse mislabeled some squash and we ended up with a nice healthy delicata plant.  No complaints here.

Delicata is Italian for delicate.  The squash lives up to its name.   The skin is edible (in fact delicatas are in the same species as our summer squash are).  They also have a very smooth and creamy flesh that is almost buttery.  They truly are a delicacy. (See what I did there).

Fresh Pasta

We start with my trusty Kitchen Aid (Dolores is her name, that way I can sing this song when I’m cleaning).

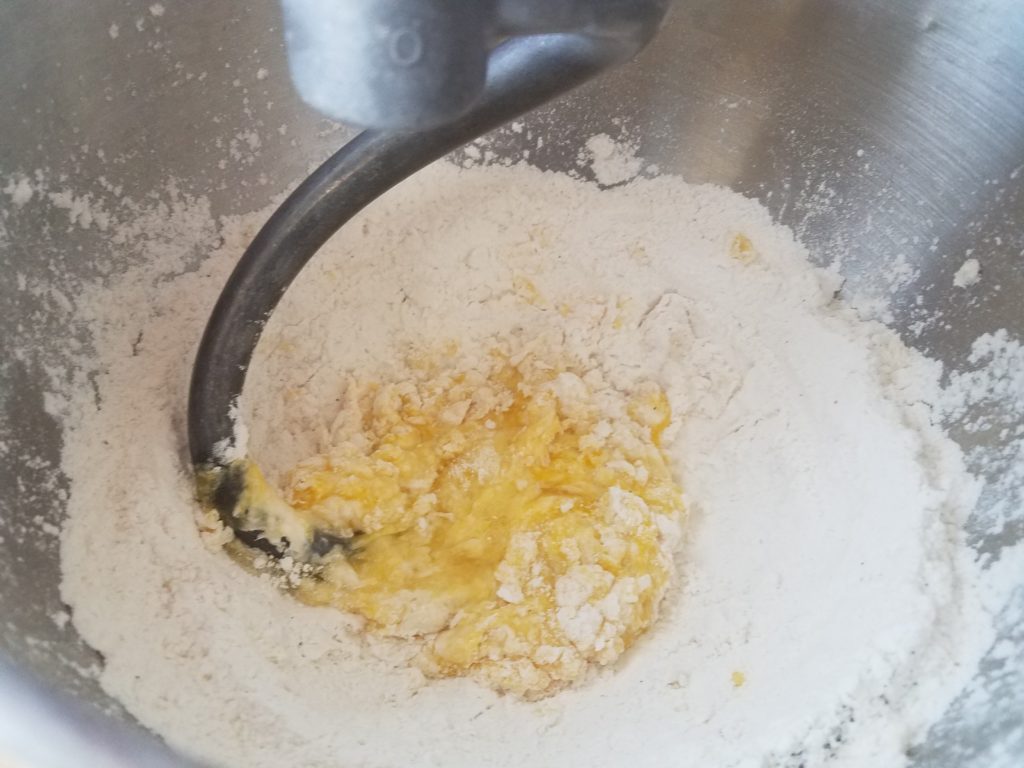
Add the flour, salt, and eggs to the mixer with the dough hook on.

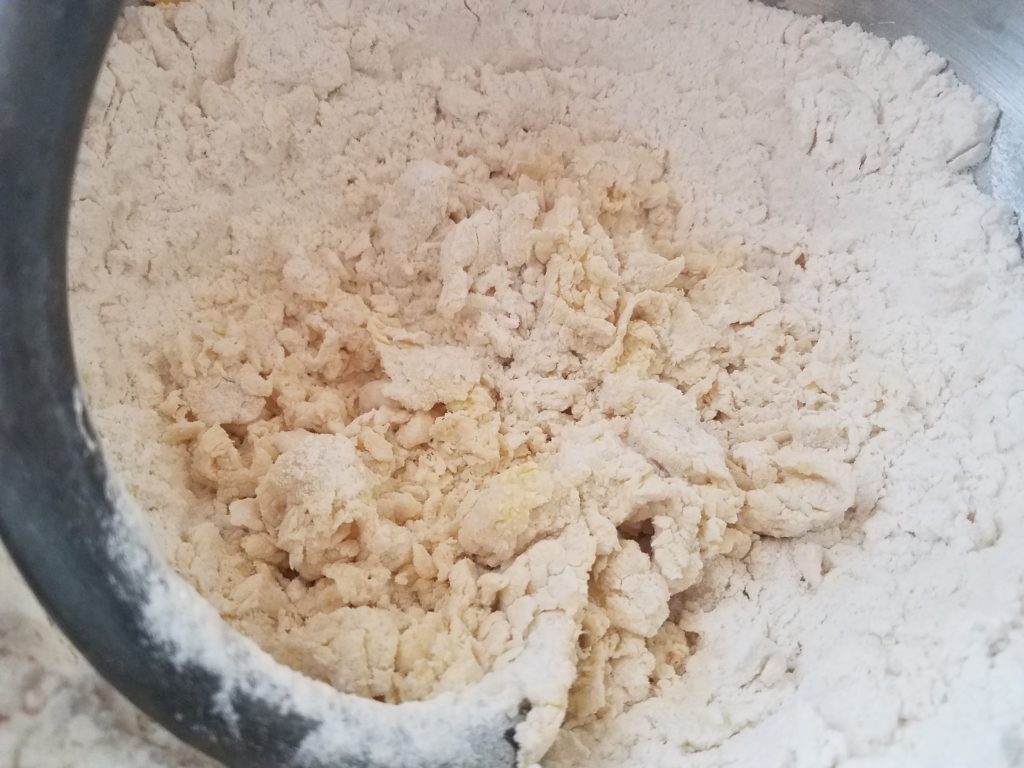
Mix until the egg is completely blended in.  If your dough starts to lump together, then great.

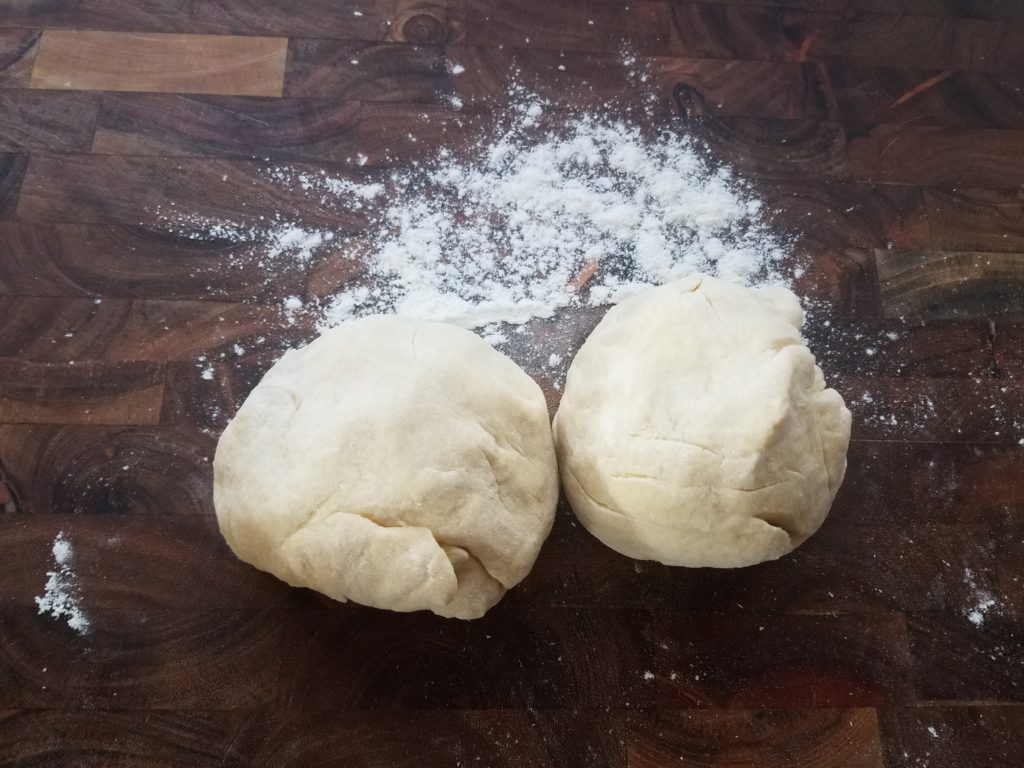
If not add a few tablespoons of water to get it to stick together.  Knead it, knead it good.  This is where the Dolores is worth her weight in gold, kneading gets old.  Needs to be smooth and slightly sticky, but not sticky icky.   Separate the dough into small manageable pieces.

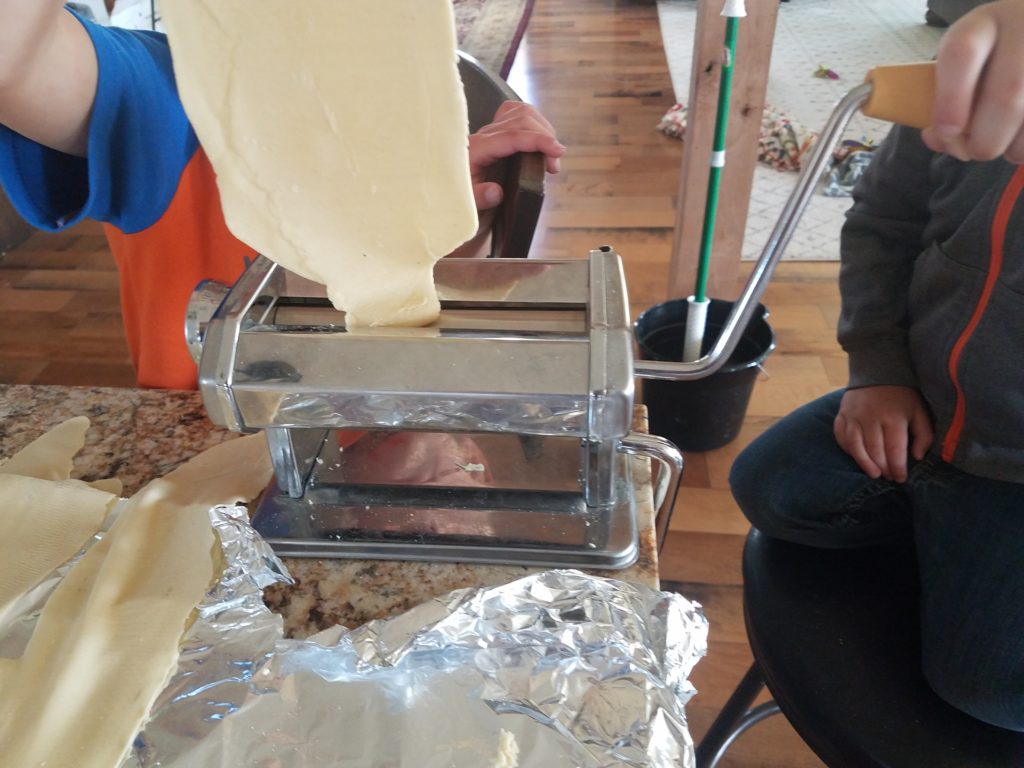
Roll through the pasta roller on the thickest setting, you may want to fold it over itself and do it a couple times until it comes through smooth.

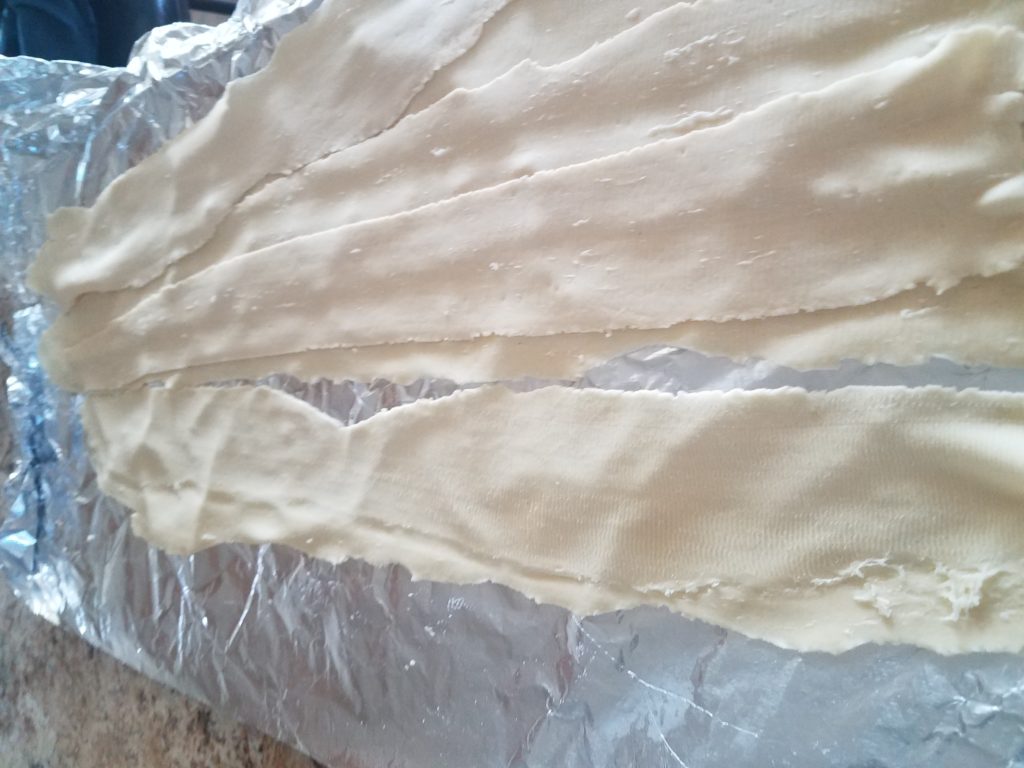
Progressively step down until you get the dough as thin as you want (chef’s choice).

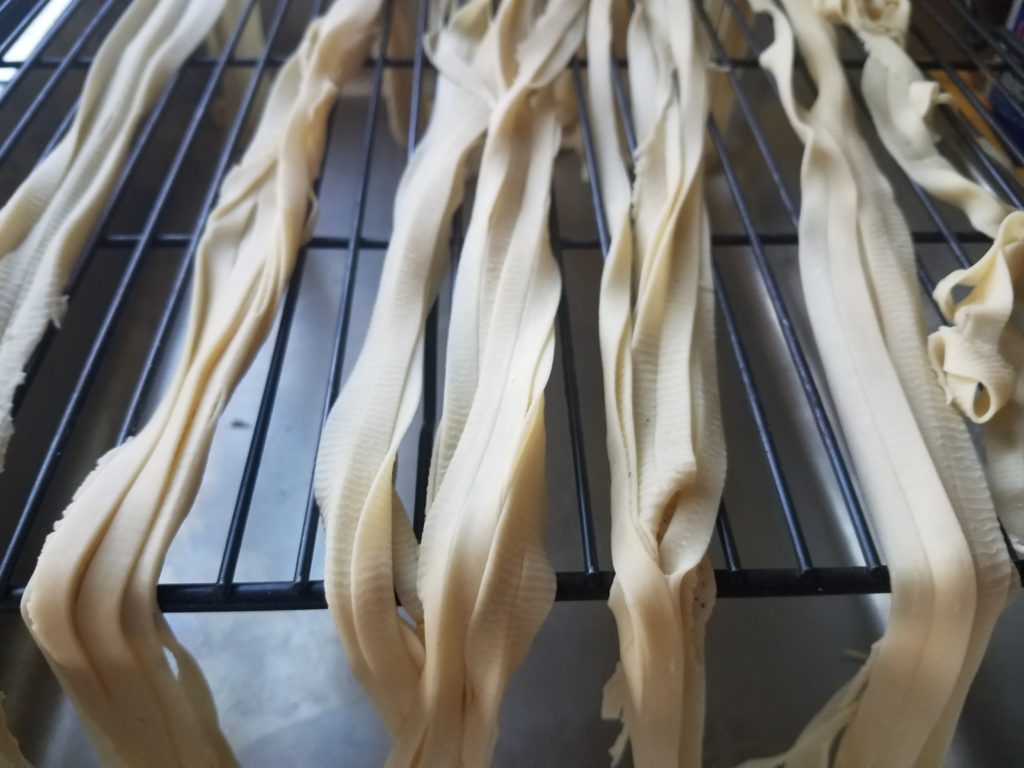
Then roll it through the cutter attachment.  Let it sit hanging open to the air so it will dry out.

Boil in water with a touch of salt for 8-10 mins.

….and viola.

Sauce

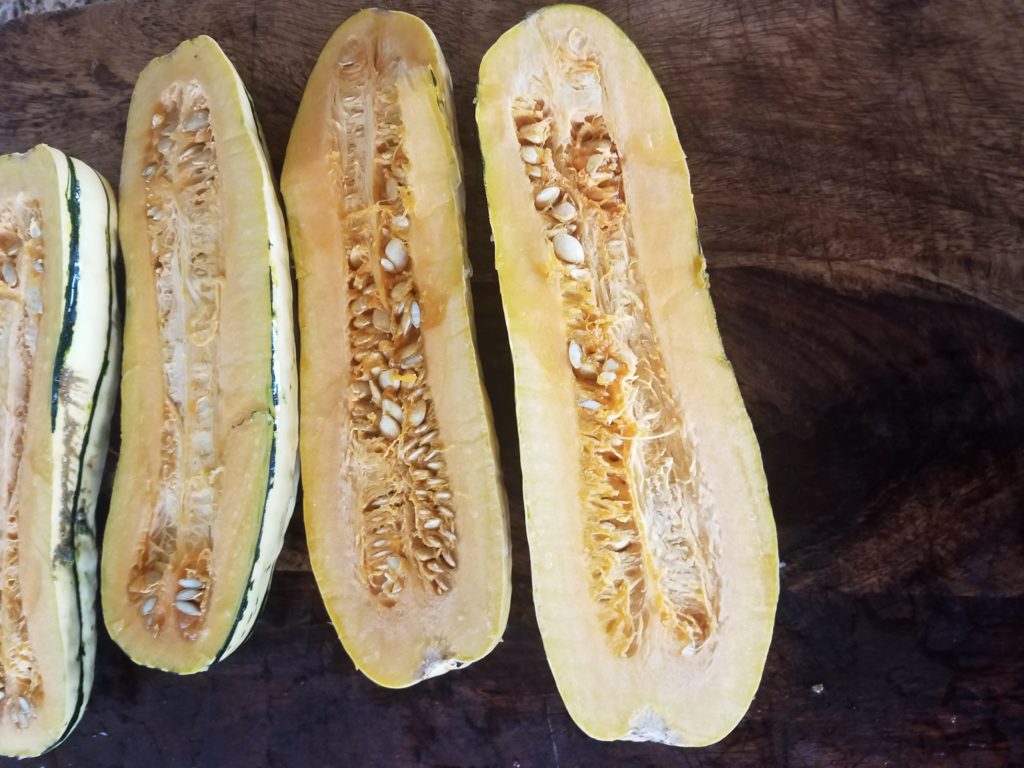
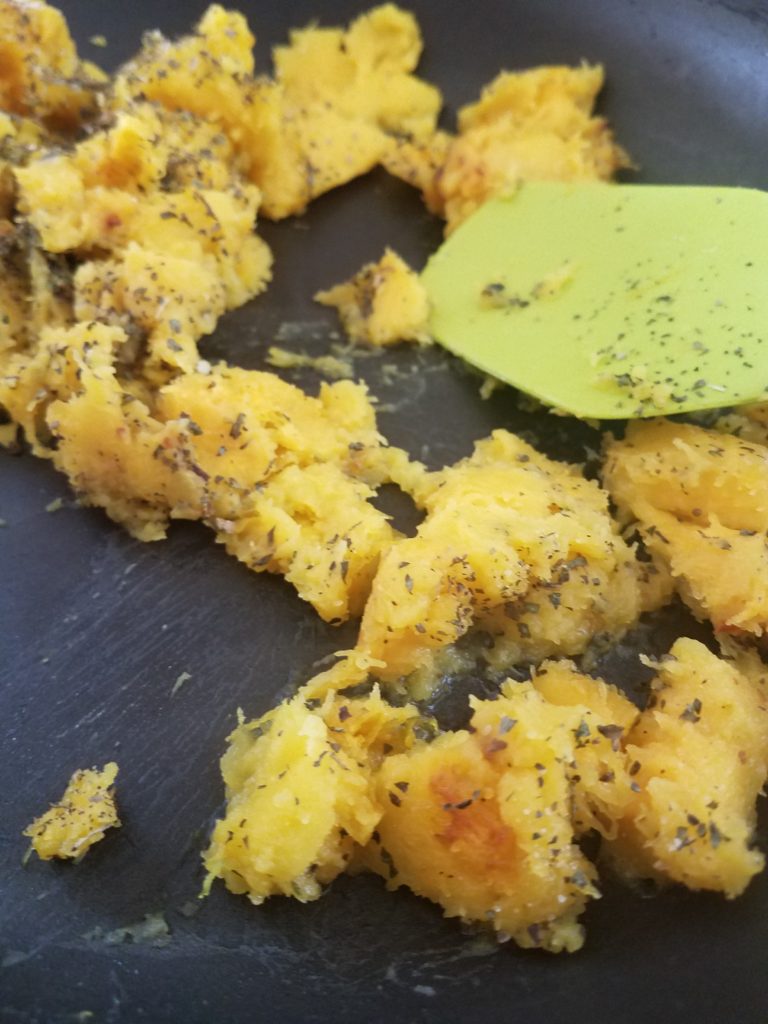
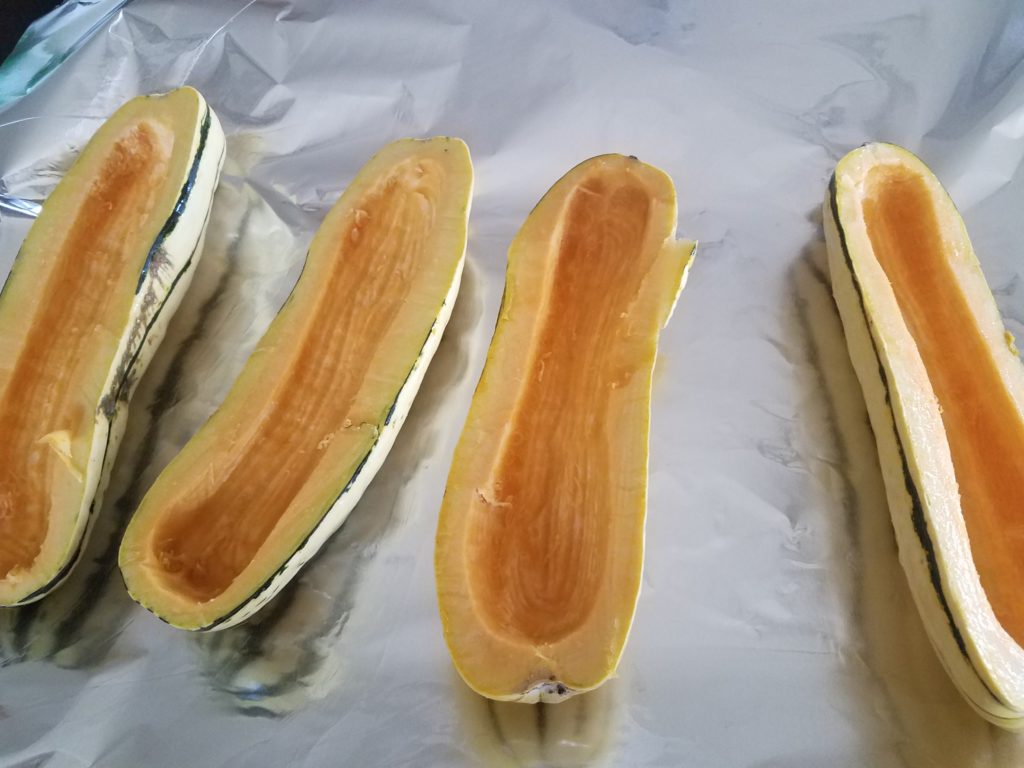
Roast two delicata squash (sliced in half).

Pro tip-use a grapefruit spoon (the kind with the serrated edges) to scrape the seeds and strings from your squash it’s super fast.

I know you can eat the skins, but I just use the flesh on this.

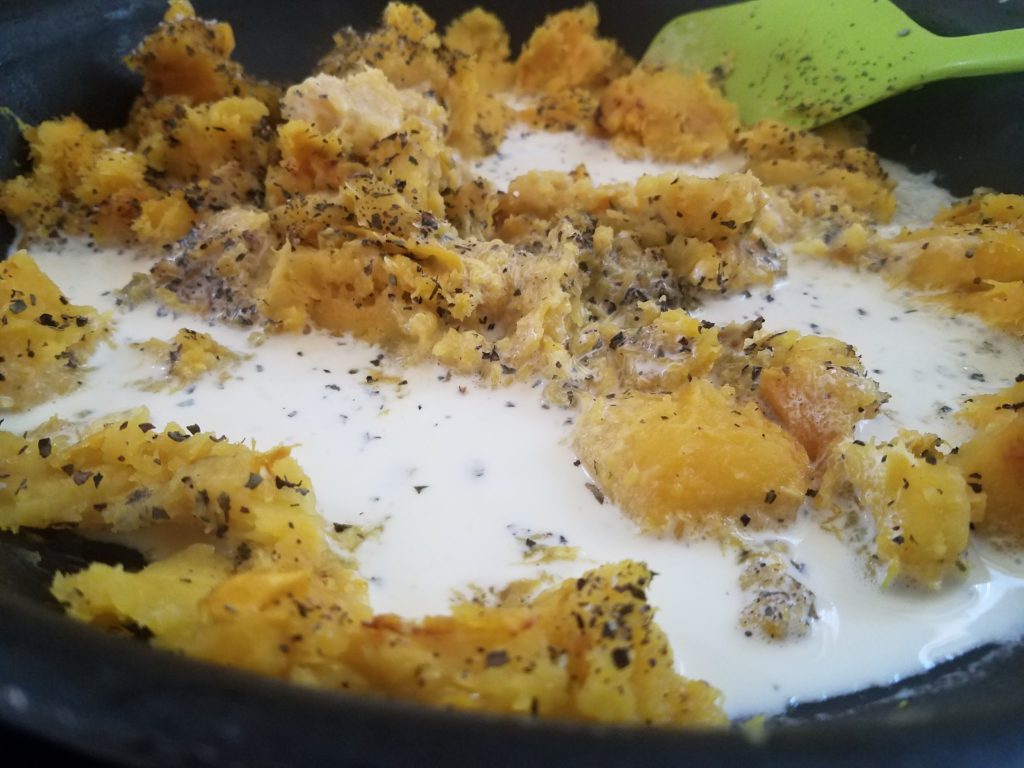
Add the butter, squash, basil, cinnamon, cream, salt, pepper, and white wine all to a saute pan.

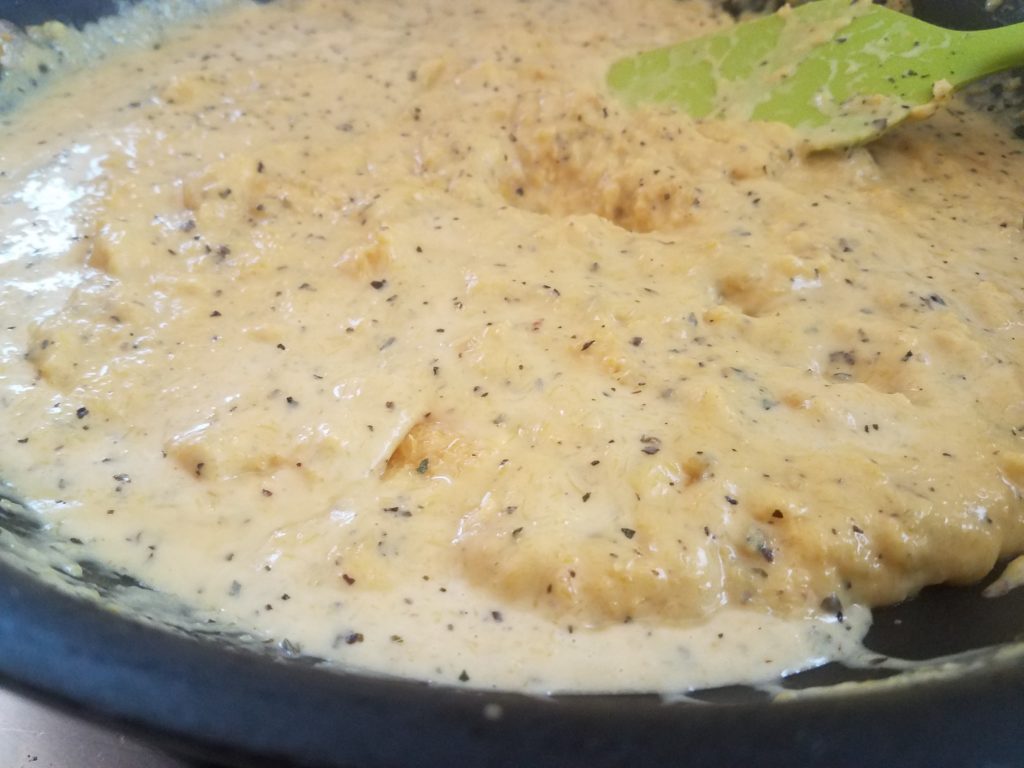
Stir until smooth (you may need to add some milk depending on how thick you want your sauce).  Cook for 10 min.  Once cooked add some mozzarella.  Stir until melted.

Serve over homemade noodles.

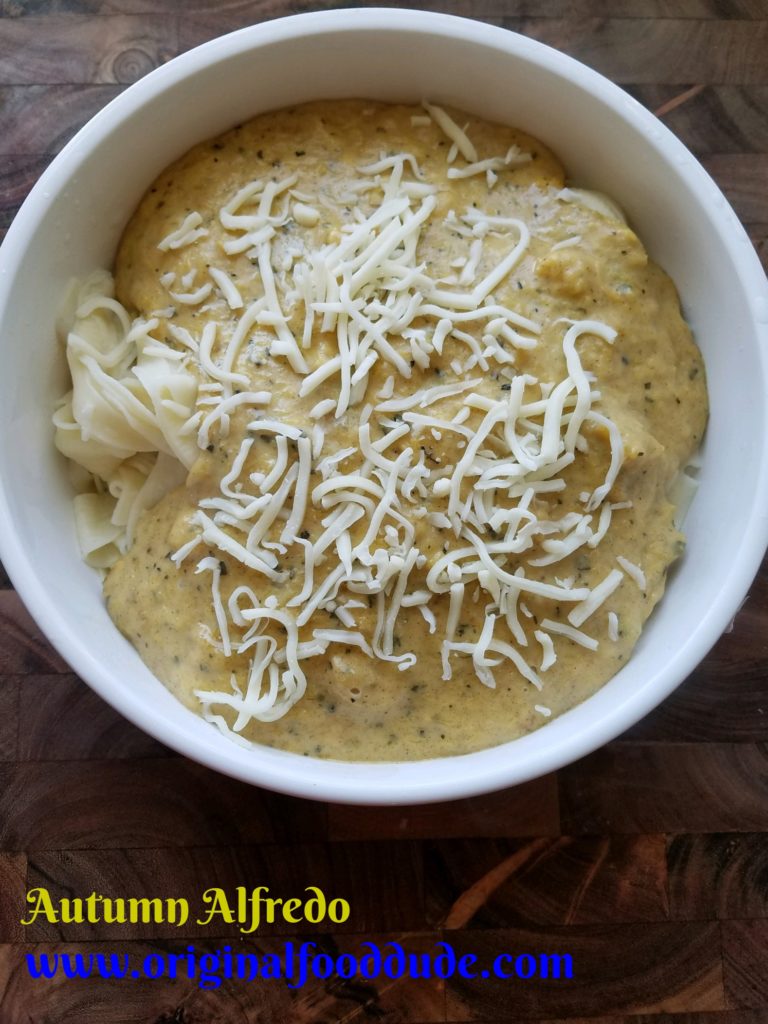
The perfect Autumn Alfredo.

Autumn Alfredo

A warm and friendly pasta for the fall air.  Be sure and share with friends and family to get you all in the mood for autumn.

Servings 6
Author dangenho@gmail.com

Ingredients

Pasta

  • 2 cup flour
  • 1 tsp salt
  • 2 whole eggs
  • 4 tbsp water (as needed)

Alfredo Sauce

  • 2 whole delicata squash
  • 1 tbsp butter
  • 1/2 cup white wine
  • 1 tsp salt
  • 1/2 tsp black pepper
  • 2 tbsp basil
  • 1 tbsp cinnamon
  • 1 cup cream
  • 1/2 cup mozzarella
Instructions

Pasta

  1. Mix flour, salt, and eggs until combined.  

  2. Add water until the dough sticks together.

  3. Knead until smooth.

  4. Run through the pasta roller.

  5. Cut in pasta cutter.

  6. Let pasta dry out.

  7. Boil in water with a pinch of salt for 8-10 min

Alfredo Sauce

  1. Roast squash at 450 until soft (you can also microwave for 4 min).

  2. Scoop flesh into saute pan, add butter, cream, basil, wine, cinnamon, salt, and pepper.

  3. Cook on medium heat for 10 min.

  4. Add mozzarella.  

  5. Serve over fresh pasta.


Amazing Homemade Applesauce


Amazing homemade applesauce oh my…

Background

Growing up in Florida definitely had its perks.  We had 300 days of swimming weather, all the citrus I could eat in the winter, beaches, etc.  The one thing we didn’t have was really great produce (besides citrus and tomatoes).  Try buying a really good apple and you would be out of luck.  I even thought I hated cherries because all I had ever had was those little maraschino cherries.  I mean… who hates cherries?  What was wrong with me?

Then in 2005, I moved out to Utah (from south Texas) for school, and I began to discover the wonderful world of stone and pom fruits.   The first time I bit into an Early Elberta peach and all the juice ran down my face and the sweet peachy flavor triggered all my taste buds, I think I even saw new colors.  Then the next spring a guy offered me some bing cherries, I turned them down stating “I don’t like cherries” (see above).  He forced me to eat one, then immediately regretted his decision as I ate half the bag (I’m a good friend like that).

My Wife Teaches Me…

Then when I got married my wife started talking about Jonathan Apples.  Remember an apple to me was an unripened Granny Smith that dries your mouth out or a mushy Red Delicious that is pretty much inedible.  There was a whole world of apple varieties I had never even heard off.  Jonathans, Jonagolds, Calville Blanc, Pineapple, Cox Orange Pippin, the list goes on.  I thought there were only a handful of varieties, like the one we saw in the stores in the south.

Lexie (my wife) and I decided to can applesauce one of the first years we were married.  Her mom had done it when she was a girl, and she raved over it.  We went to our favorite fruit stand and bought a bushel of Jonathan apples, which Lexie said are the best (I tend to agree).  We went home where we boiled and sauced and canned all of them.  It made about 14 quarts, that didn’t last near as long as we thought.  We did it again the next year with a bit more and have done it periodically since in the fall of the year.

Apples

Now I am by no means an expert when it comes to apple varieties, I generally rely on my friend at Fonnesbecks Greenhouse, Barry has introduced me to more apple varieties than anyone I know.  He has a tree there that produces a cotton candy apple, not my favorite but still pretty neat.


We use Jonathans almost exclusively right now for two reasons: first, they are my wife’s childhood apple.  They bring so many memories back to her and we all know how powerful food is to create memories.  The second reason and even more important is that I can find them in mass quantities in the fall.   Simple as that, I have to use what I can get right now.  Fortunately for me, they are delicious with just the right amount of tart to sweet to make almost any apple dish amazing.

Side note, when my Cox Orange Pippin, Calville Blanc, and Honeycrisp trees are mature I’m sure I’ll use those too, along with my Jonathan trees.

Then this year a miracle happened.  Our wonderful neighbors across the street told us to come pick their very old Jonathan apple tree clean because it was just going to go to waste.  They couldn’t eat them all and they don’t really can food, so we hit the jackpot.  My wife went over and picked around 2 bushels one day.  Then she went back and picked another 4 bushels.  She then sent me over to climb the tree to pick the rest, I got another 2 bushels from the top branches.  All in all we picked 2 or so bushels of apples off that tree.  That is about 420lbs of apples, we were in hog heaven.

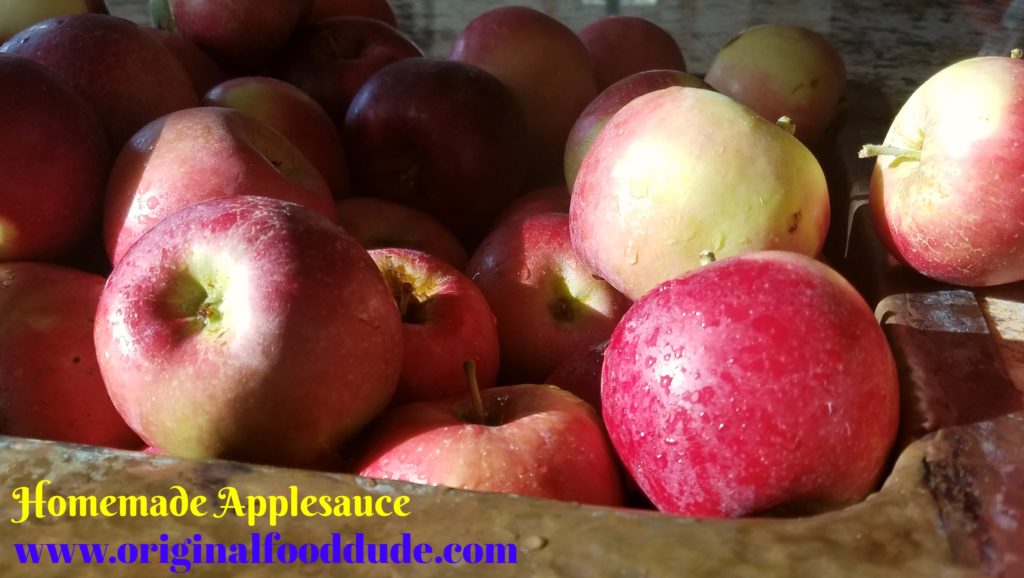
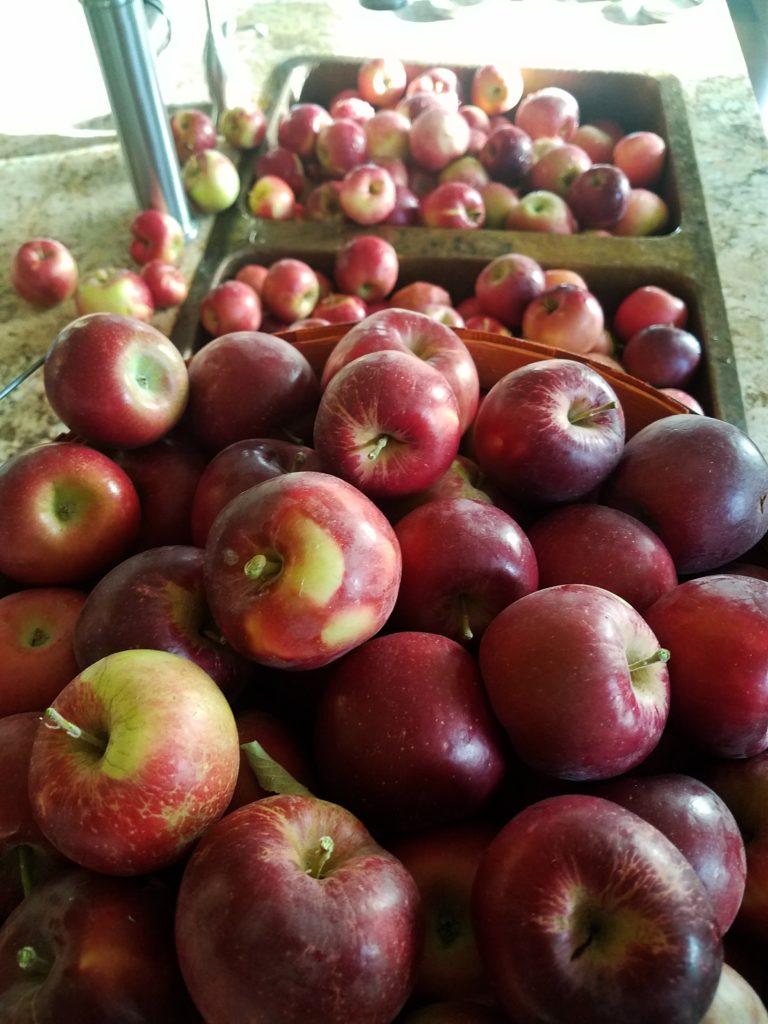
This is like 1/8th of the apples we picked… ahhh what was I thinking.

So what do you do with 8 bushels of delicious Jonathan apples?  Well you can eat them (although if you ate 8 bushels you might explode).  We settled on four things, all of which I’ll put on the blog in the coming week.  First we made applesauce, then we made apple pie filling, we dehydrated a bunch,  and finally, I made apple vinegar (that stuff is amazing).

Applesauce

So how do we make this amazing applesauce?

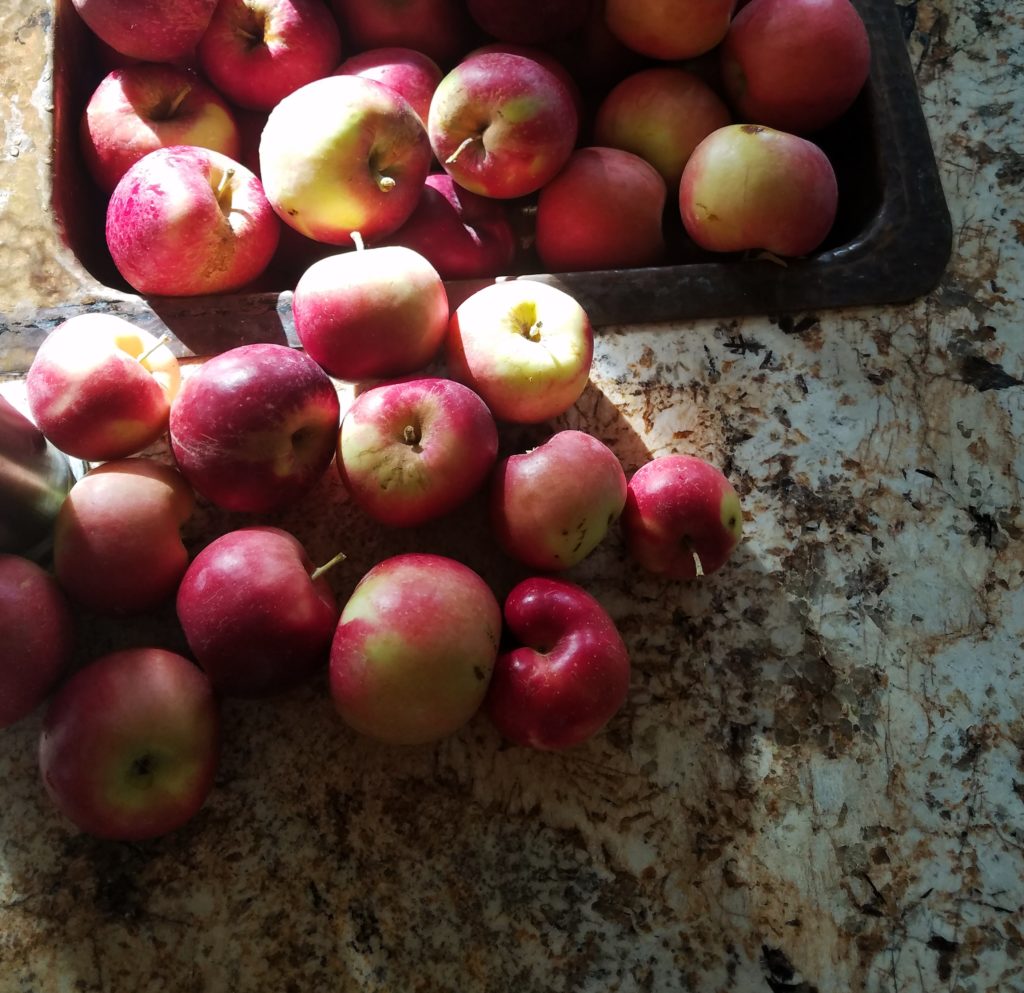
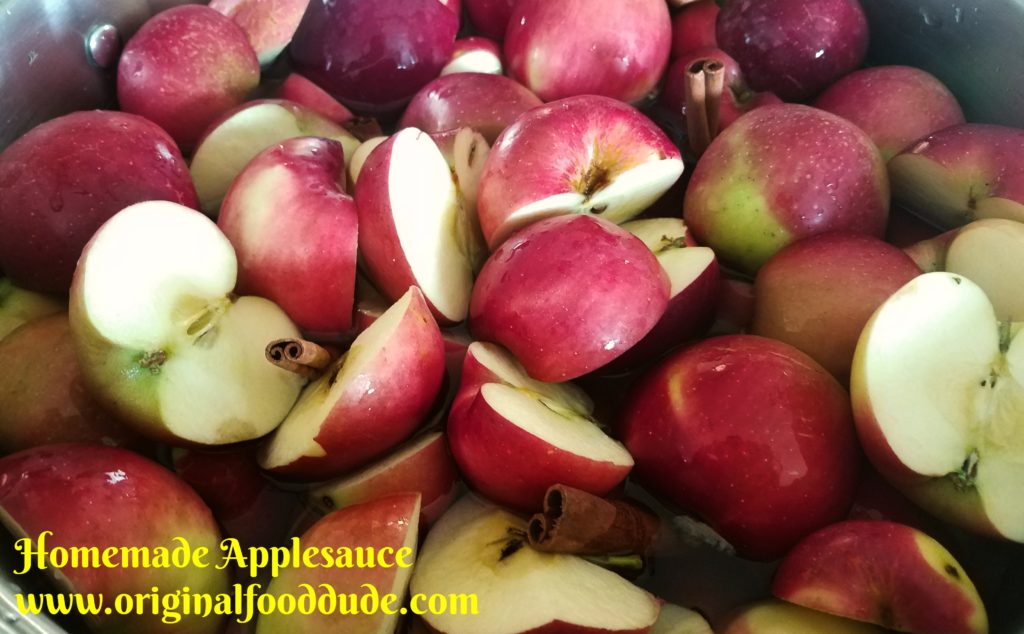
First, we get a bunch of apples.

Check.

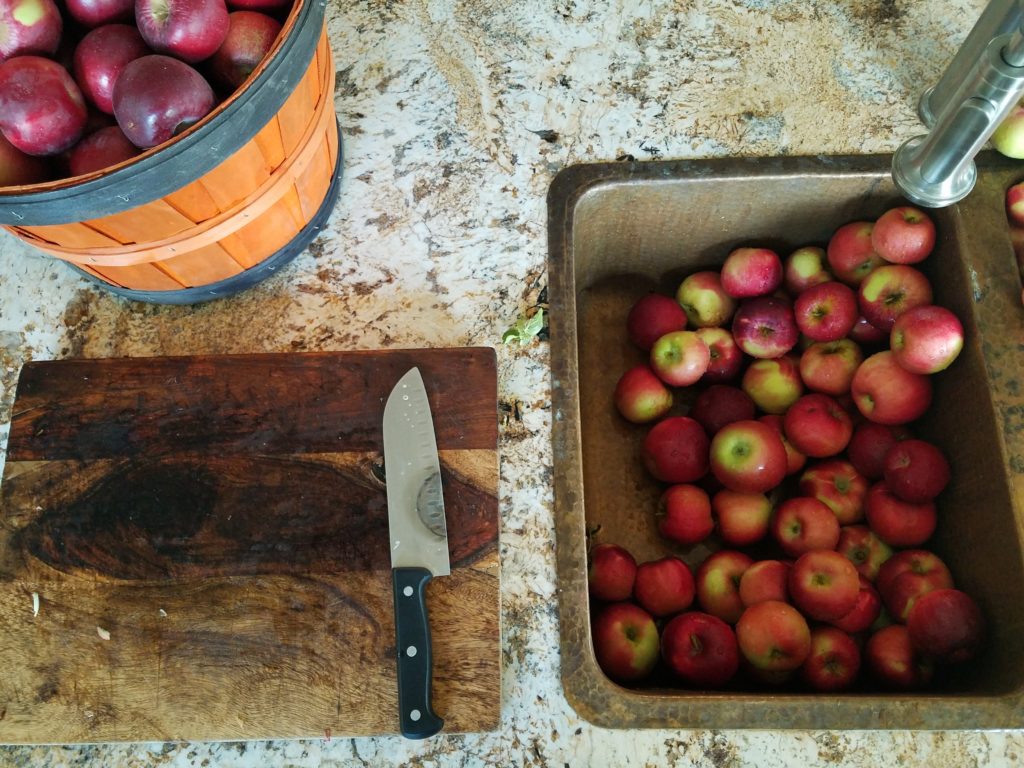
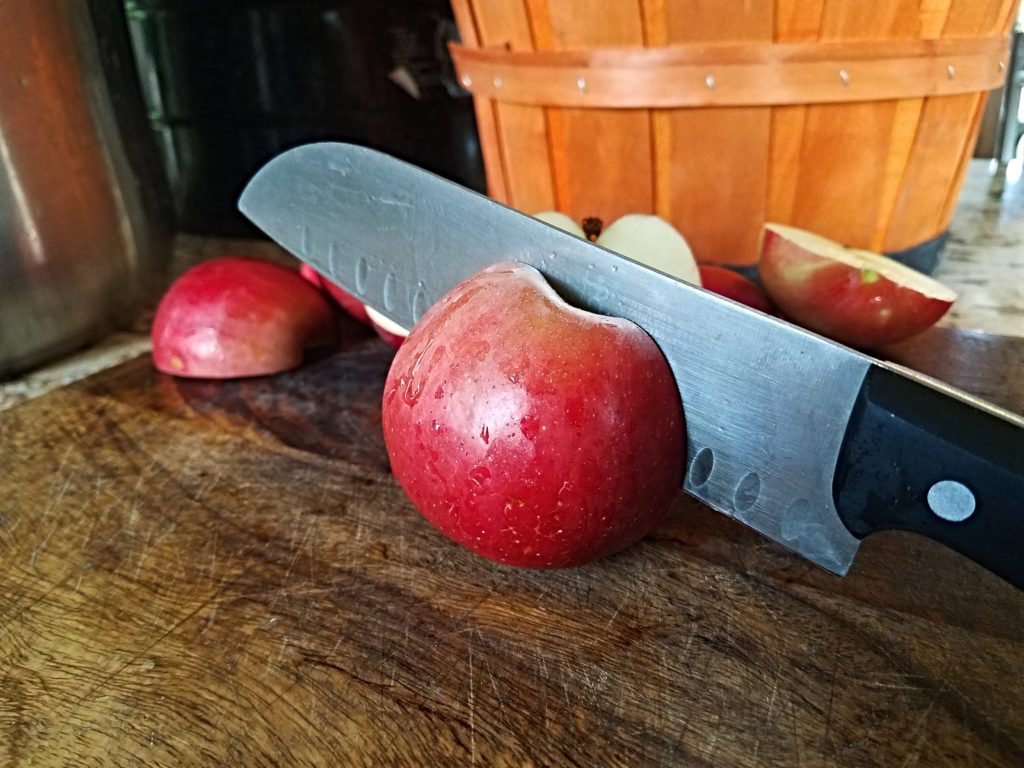
Then you want to cut them in half or quarters, at least the bigger ones.

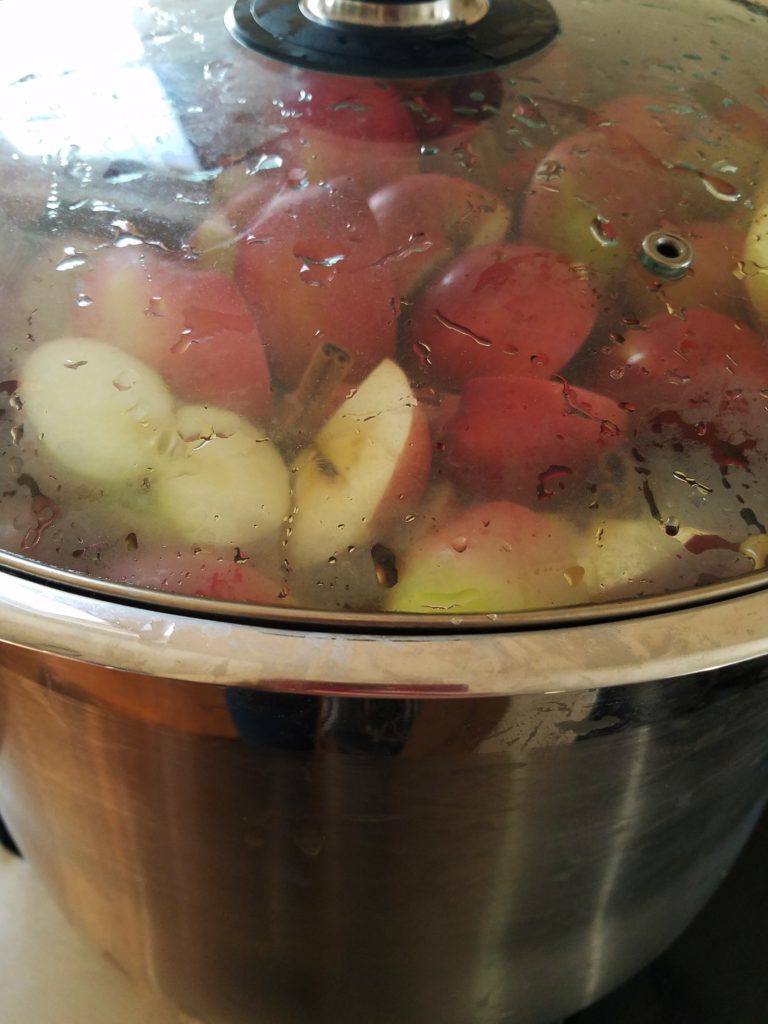
Put all of your apple slices in the biggest darn pot you have, I use a 36 qt stock pot which yields about 11 quarts of applesauce.  Be sure and fill about halfway up with water first.

Be sure and add a pile of cinnamon sticks.  Nutmeg, cardamon, star anise are also great.

Boil the apples.  Be sure and breath deeply as they boil the smell is awesome.

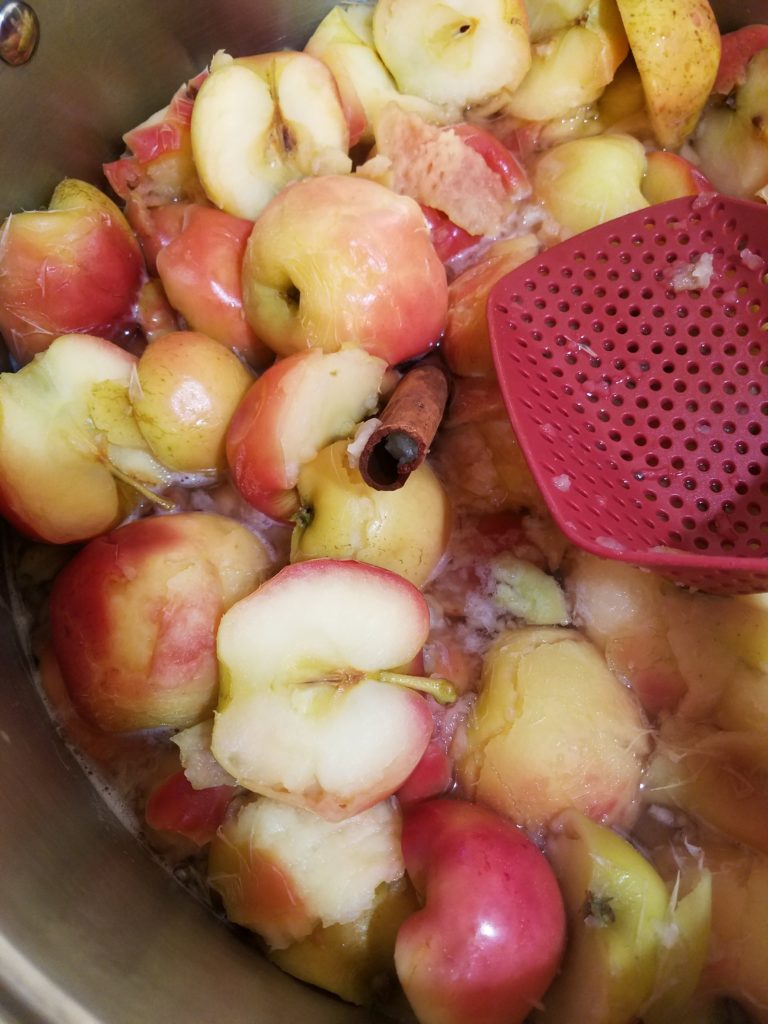
Keep boiling until the skins start to separate from the flesh of the apples.

Now time to play some Seinfeld sausage music.

Its pretty much the same process as Kramer and Newmans sausage making.

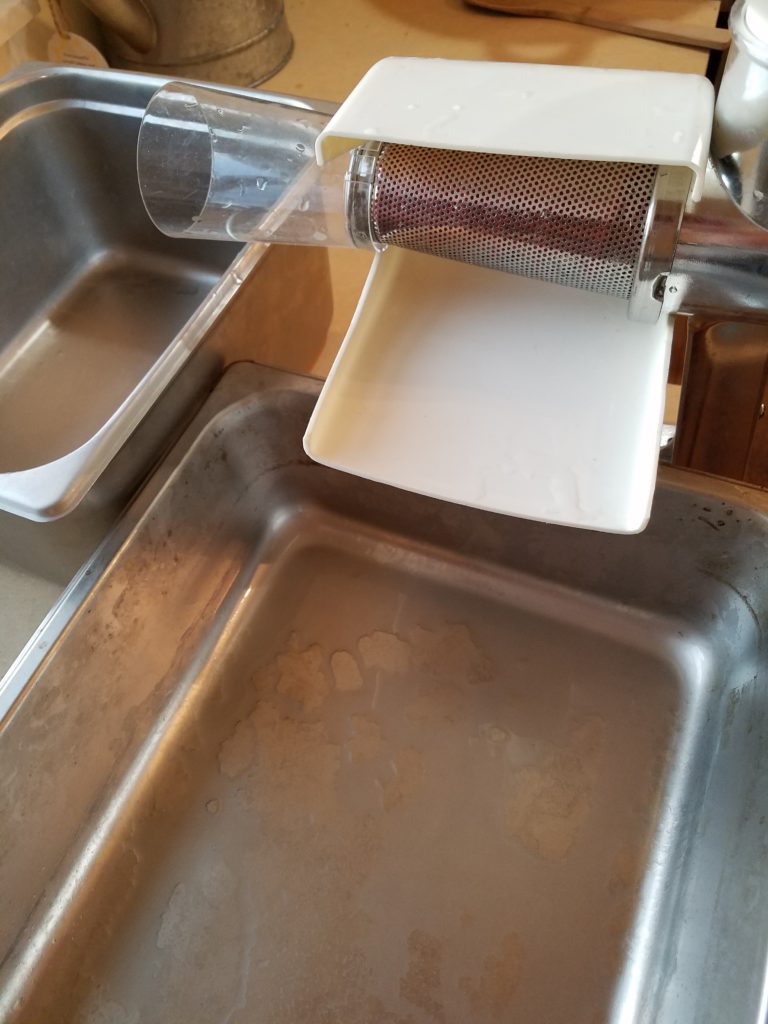
Now the easiest way to sauce the apples is with a Victorio Food Strainer, but any food strainer will work.  I even think Kitchen Aid has one that attaches to the stand mixer.

Here is my set up.


I use a full pan for the sauce and a half pan for the pulp.

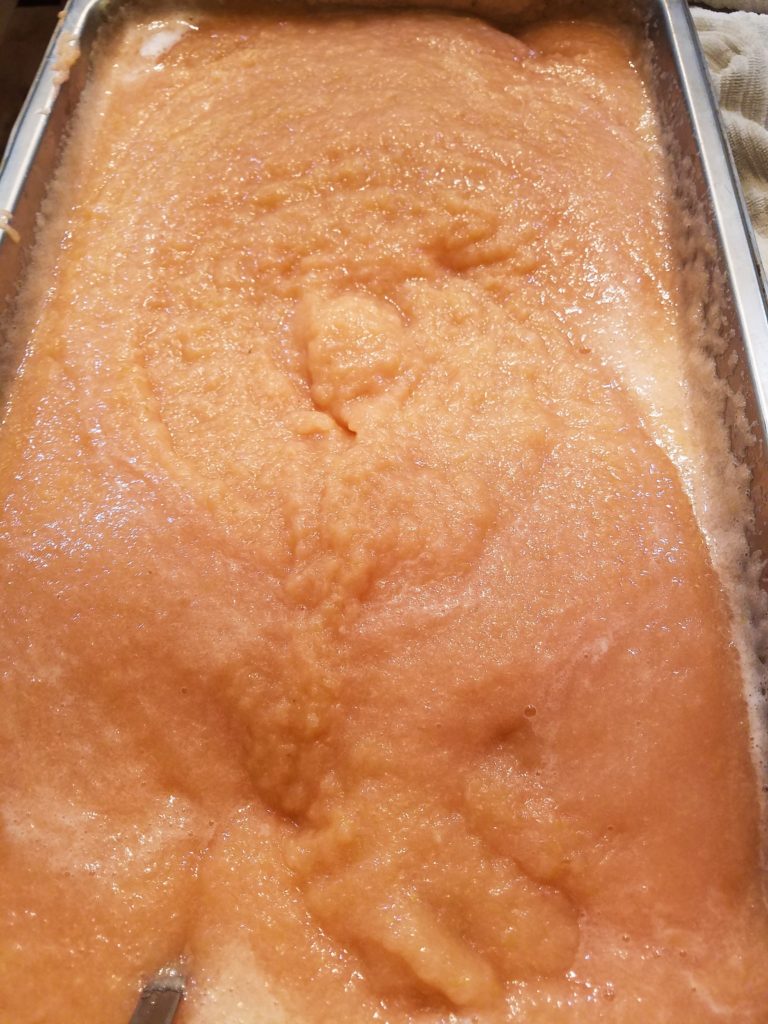
Once you are set up and apples boiled simply scoop up apples and put them through the strainer.  You spin the handle (great job for an energetic child, that’s what my 4-year-old does).  Out will come delicious and beautiful applesauce.

If you notice the pink color of the applesauce, its because I cook the apples with the skin on.  This provides the full apple flavor and the beautiful color in the applesauce.  Be sure and sauce the apples when they are still hot it is easier and they can way better.

Now you have a full pan of applesauce and are ready to can it.

I generally get the jars and canning stuff ready while I’m saucing the apples.  That is where a helper comes in quite handy.

Canning Safely

There are three important things to canning successfully

  1. Cleanliness
  2. Time
  3. Temperature

To clean the jars I run them through the sanitary cycle on the dishwasher or scrub them really well with hot soapy water.  Then boil them in a boiling water bath to kill any bacteria.  Also, boil the lids to get them super clean.

So the enemy of any home canner is a nasty wasty little bacteria called Clostridium botulinum.  This little bugger loves anaerobic conditions (like let’s say a sealed mason jar) and non-acidic foods.  They produce a terrible toxin called Botulinum toxin that is extremely dangerous.  These guys are killed by boiling water bath, but their spores are not.  To kill the spores you need to get to 250 degrees F for 3 min.  Boiling water baths can’t do that.  A pressure canner can.

The other way to prevent the spore growth is low pH, below 4.6.  Applesauce is between pH 3.1 and 3.6, so it is acidic enough to prevent C. botulinum spores from growing, but still needs a good boiling to kill the live bacteria.  So you can use a boiling water canner to can applesauce.   I use my pressure canner anyway for two reasons.  First, I don’t want sick family or exploding cans so why not take the extra precautions?  The second and even more important reason is that I can seal 7 jars in 10 mins in the pressure canner or 7 jars in 30 mins in the boiling water bath, so I just get done a lot quicker with the pressure canner.

Back to the process.

Fill your clean mason jars with hot applesauce.  The temperature is important for a number of reasons but mainly you want it to stay hot to keep any bacteria from growing, and second a cold jar placed in hot water will sometimes crack and you will lose your delicious applesauce.

Leave about 1/2 inch of headspace at the top of the jar for expansion of the applesauce.

Wipe the tops of the jar to get any applesauce off the rim, so the lids will seal properly.

Cover with clean lids and put a band on fairly snugly (don’t take out the monkey wrench but don’t just twist lightly).

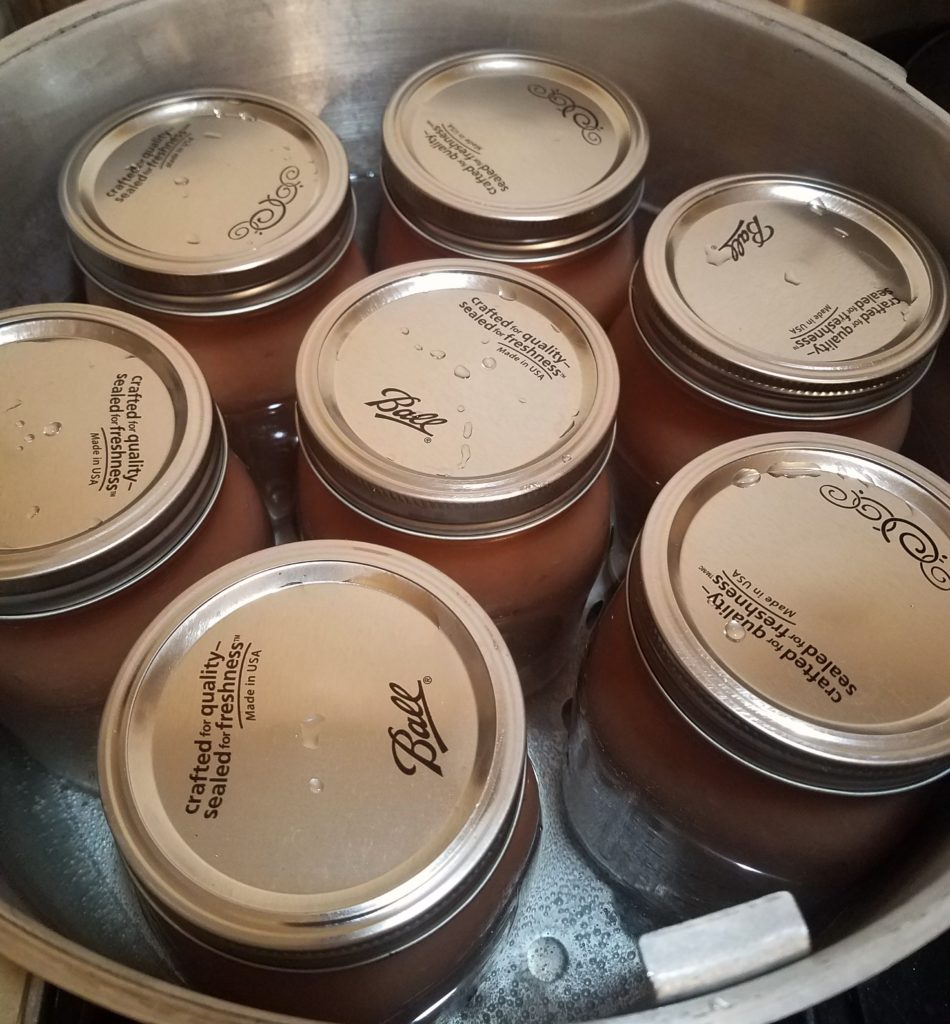
Place the jars in a boiling water canner or a pressure canner.  Boil for 30 min, if you use a boiling water canner be sure to cover the jars with water.  Or you can pressure can for 10 min.  It is important that you start the time when the water is at a rolling boil or the pressure valve pops up on your canner not once you put the jars in.

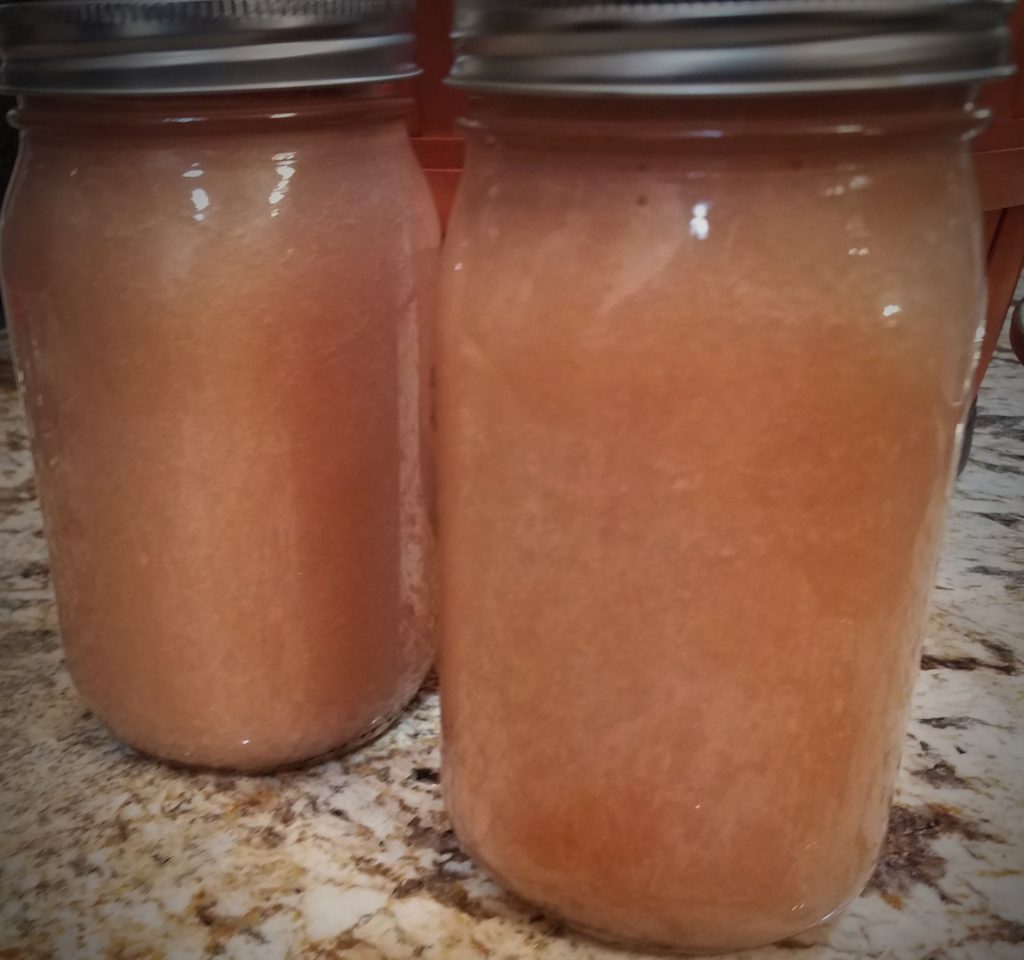
When you take them out, place them on a towel to cool at room temperature, you should hear a popping sound as the lids seal and the little “button” pops in.  Check the seal by ensuring that the lid center has popped down.  If it hasn’t refridgerate at eat within a week.

Just like that, you have amazing homemade applesauce that you can store for 12 to 18 months.


© 2024 Original Food Dude

Theme by Anders NorenUp ↑