Original Food Dude

The art of cooking. The science of food.

Author: dangenho@gmail.com (page 2 of 4)

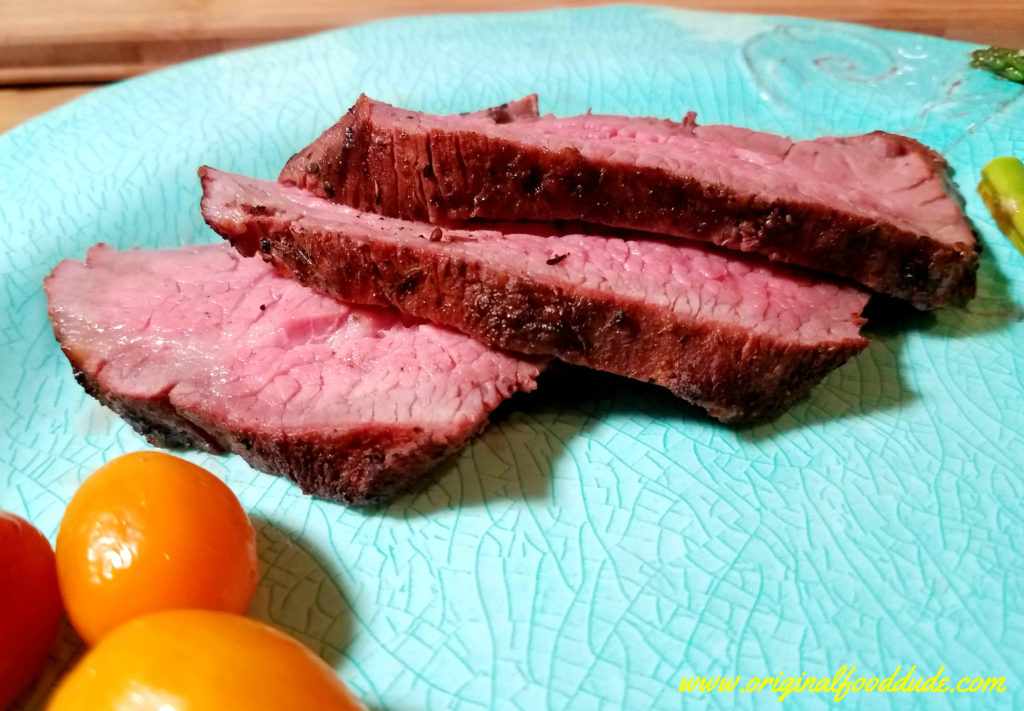
Plum Wood Tri-Tip

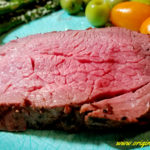
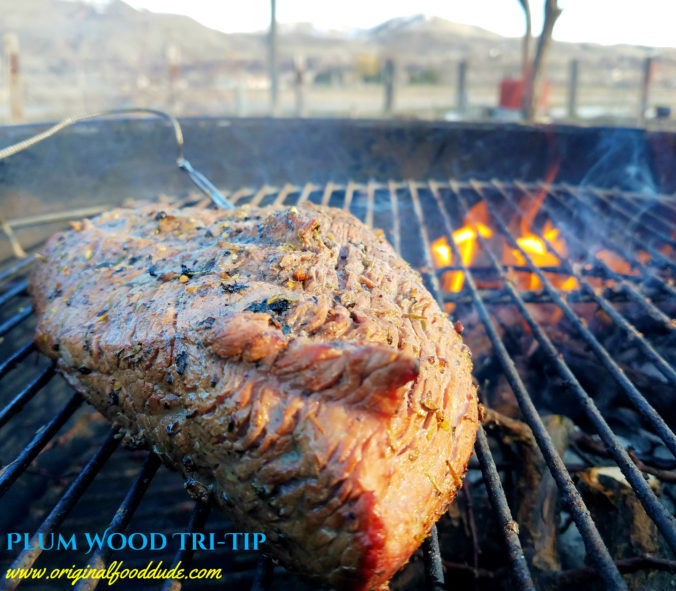
This beef tri-tip smoked over plum wood is fantastically aromatic and incredibly delicious.  Try it on a warm Ciabatta roll with provolone, you won’t regret it.

With the warm weather that we’ve finally had, and I really mean finally, I decided to bust out the old grill and do a little outdoor cookin’.  What better way to fight off the winter blues then a hot grill and flavorful meat?

Barbecue Class

Years ago I was a graduate student at Texas A&M (gig em’ Aggies).  While I was there a  bunch of classes were organized for incoming freshmen to allow them to get to know a professor in their degree program.  You see a lot of students at Texas A&M come from towns with less people than the school itself.  Some of the kids whole high school had less students then one classroom at A&M.  So they started these classes to help them deal with the transition a little better.

Pork Shoulders on the Smoker

My major professor’s class was called Texas Barbecue.  Enough said, mic drop, walk out knowing you are awesome, right?  Right.

There were about 15 students in the class and myself and my good friend were chosen to be the teaching assistants for the class.

We prepared for class by getting grills hot, meat cooked, or prepped (depending on what we were making that week) and cleaning up.  Sounds great, huh?  It actually was.

I got to write a lot of the recipes (I have no idea if they still use them other than my whole pig roasting apparatus) but we came up with a lot of stuff.  We cooked everything from lamb to chicken.  Even had Brazilian style BBQ, which is awesome by the way.  It was a great class.

I tell you that story because in that class we typically (except for maybe 2 weeks) used Weber grills and Weber water smokers.  To this day I still use a Weber grill for a lot of my outdoor cooking.  I will say this in bold so the world knows it’s true (isn’t that how it works) GAS CAN’T MATCH CHARCOAL FOR FLAVOR.  It never has and it never will.

Click to get a grill just like mine.

During one particular class I performed a little exercise on the flavors different woods gave when used for smoking.  I smoked a bunch of chicken using four different woods. Mesquite, Hickory, Pecan, and Oak.  Pecan won that group (to the dismay of the classroom full of Texans claiming mesquite the king).

About

There are endless ways to use smoke when cooking, but this post will focus on one of my favorite cuts of beef.  The tri-tip.

The tri-tip is a muscle that comes from the sirloin portion of a beef carcass.  Its scientific name is the tensor fasciae latae (TFL).  In humans we usually talk about it when we have tight hips, if so bust out a pyramid pose and stretch your TFL.

This muscle is very well known in California and is often referred to as Santa Maria BBQ.  There are some excellent versions out there but this one has to be my favorite.  I’m not bias I swear.
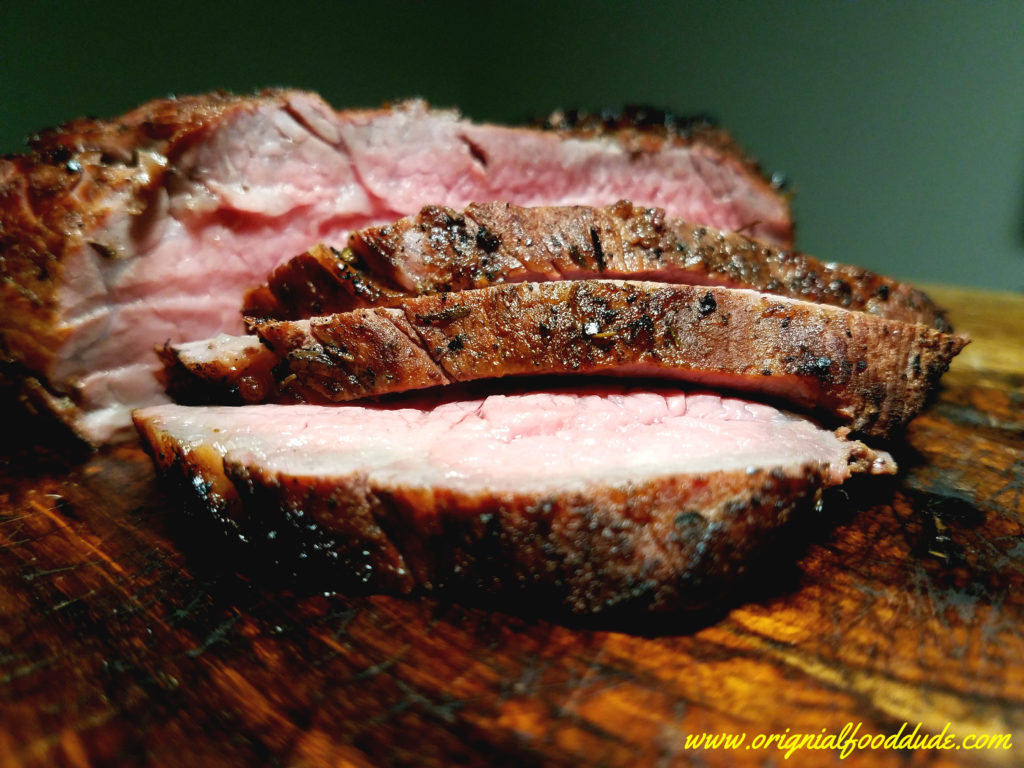
Can’t you just smell the sweet smoke

The beauty here is marrying the texture and rich flavor of the beef (I let my tri-tip age at least a week longer to tenderize it a little more) with the sweet and strong smoky flavor of the plum.  It makes for a killer combination.
You can buy plum wood here.

Plum Wood Tri-Tip

A delicious way to get outside.  This savory tri-tip with the sweet plum smoke is sure to please everyone at your next gathering. 

Course Main Course
Cuisine American
Prep Time 10 minutes
Cook Time 1 hour 30 minutes
Total Time 1 hour 40 minutes
Servings 6

Ingredients

  • 2 lb Tri-tip Trimmed
  • 2 tbsp Pink Rock Salt
  • 2 tbsp Whole Black Peppercorns
  • 2 tsp Dried Thyme Leaves
  • 2 tsp Red Wine Vinegar
  • 2 cloves Garlic

Instructions

  1. Start your coals on one side of your grill only, you should have half the grill hot and half warm.  
  2. Trim the tri-tip of excess fat, there will always be some fat.  Which adds a lot to the flavor.  
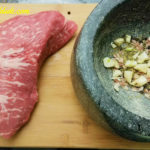
  3. Grind all the spices and garlic together, to a coarse grind.
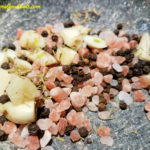
  4. Generously rub the tri-tip with red wine vinegar then the rub.  Coat it evenly.  
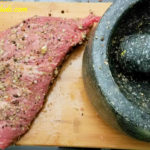
  5. Add your wood chips to the hot coals (I use plum but if you can't find it use apple or cherry).  Sear the tri-tip directly over the coals for 5 min on each side. 
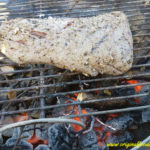
  6. Move the meat to the cool side of the grill ensuring that the thickest portion is facing the heat.  Insert your meat thermometer.
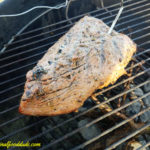
  7. Cover the grill and turn down the heat cook for about 1 hr or until the meat reaches 140 degrees F on your thermometer.
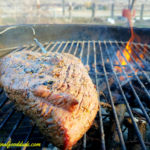
  8. Remove from the grill and let the tri-tip rest, loosely covered with tin foil, for about 15 min.  
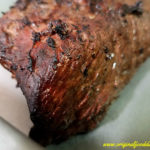
  9. Slice in thin slices across the grain (direction of the muscle fibers).  
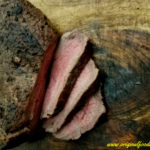
  10. Serve and enjoy.  

Well if that recipe doesn’t get you excited I don’t know what will.  Warm weather, good friends and grilled food make for a great memory.
 

Blowing Up Balloons With Yeast

About

Ok so this little experiment was a lot of fun for me.  I always think things like this are cool, does that make me a nerd?  I guess, but who cares.  Anyone can blow up a balloon using their mouth, especially me because I’m full of hot air, or so I’m told.  What is really cool is using yeast to blow up balloons, then you know you are awesome, and that’s exactly what we did.

Yeast is a little single cell fungus, or fungi if there are a bunch.  Reminds me of a good  joke.

“A mushrooms asks a flower on a date, she says “No”.  He says ” Aw, but I’m a fun guy.”” hahahahaha.  I know it’s cheesy but it’s funny.

Anyway, yeast are really cool because they break down sugars in a process known as fermentation.  In this process the yeast break down the sugars for their own growth and releases two bi-products: carbon dioxide and ethyl alcohol.

Testing to make sure the water is warm

In bread making the yeast breaks down the complex sugars in the flour (starches) and releases carbon dioxide in to the tiny air pockets in the bread.  This process inflates the bread (rising as we call it) and gives a fluffier and softer consistency to the bread.

If it weren’t for yeast we’d just get saltines I guess.  Thanks yeast.

I’m full of hot air

The yeast we use for bread is a specific yeast that does a very good job of producing carbon dioxide.  There are also wild-yeasts that’s spores (seeds) are airborne.  These we will use another time to make vinegar.

Experiment

Equipment

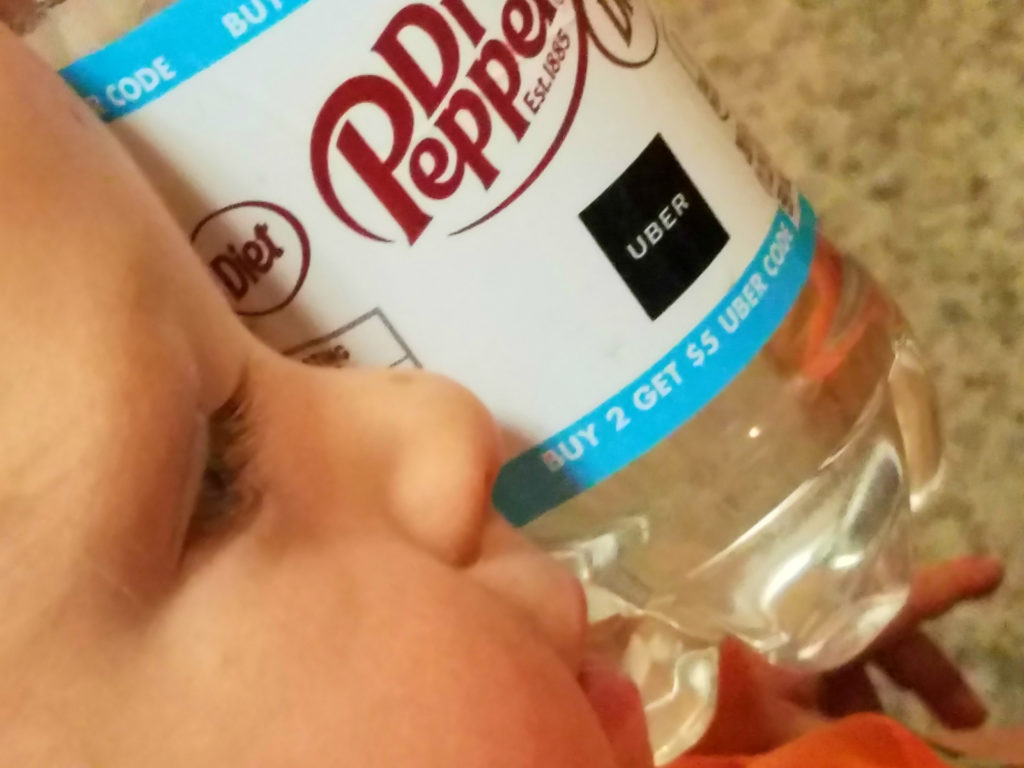
  • 20 oz bottle (preferably Diet Dr Pepper, because I trust people who drink it)
  • 3 cups warm water (should be just slightly warm to you)
  • 1/4 cup sugar
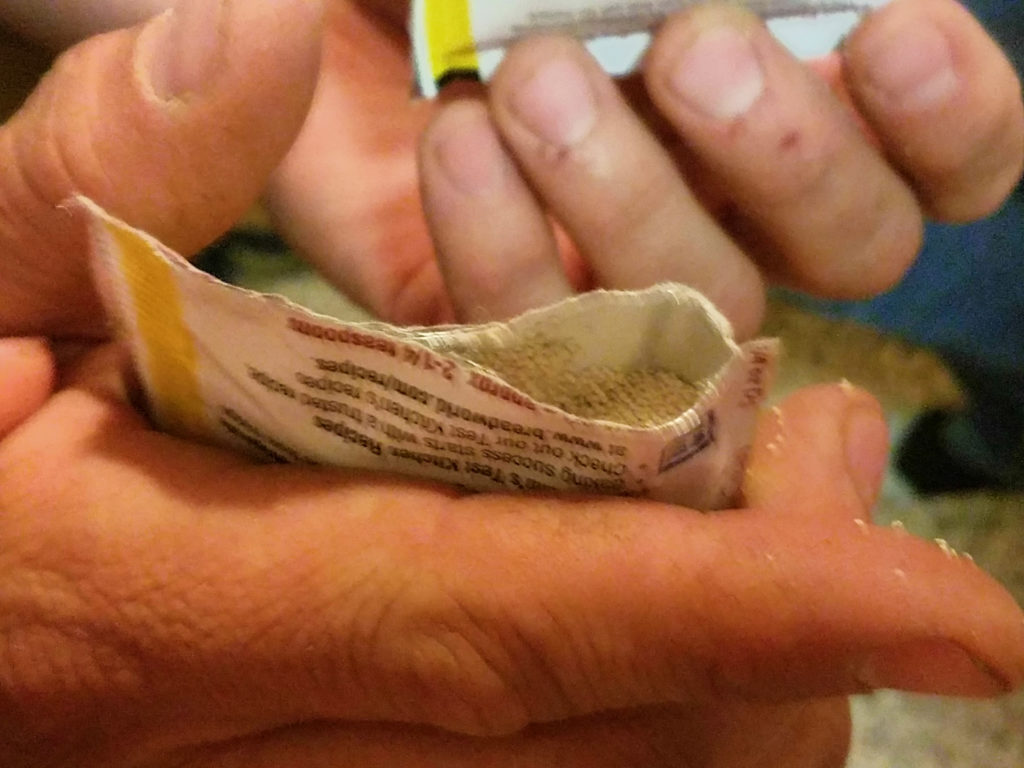
  • 1 package active dry yeast
  • 1 balloon

So this entire project cost me a grand total of $4.00.  That is including my diet Dr Pepper (DDP for those in the know).  I got balloons at the dollar store and the yeast is about $1.50 at the grocery store.   Most likely you have most of this stuff around your house.

Add Sugar

Shake shake shake

This is 3 part project that is very simple.

  1. Mix the water and sugar in the bottle and shake it up to mix the sugar in.   The kids love this part.
  2. Add the yeast and shake a little more.
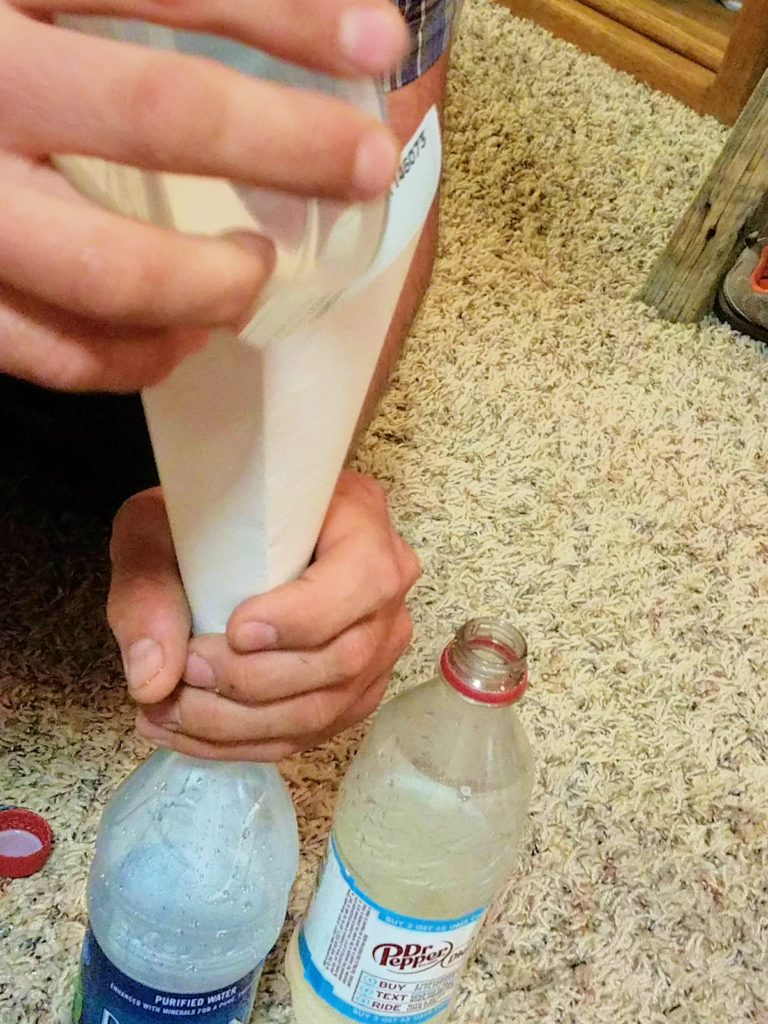
  3. Stretch the balloon over the open bottle mouth (I blow up the balloon first to show the kids that I make carbon dioxide too).  Place the bottles in a warm place.  Then wait.

Add Yeast

Patiently waiting

The yeast will begin rather quickly (within like 5 min for us) to produce carbon dioxide.  In fact the mixture will become very bubbly and you will see the balloon start to stand up right within 10 min.

10 min in

After about 1 1/2 hrs the balloon will be quite full.

About 45 min in

Draw a smiley face on the balloon and tie up the yeast balloon to play with.

1 1/2 hours in

Hopefully this little experiment will help your little ones understand how yeast makes your bread softer.  I like to take a piece of bread after and show the air pockets and explain how those are like tiny balloons in the bread that the yeast blew up.  I know my little foodie doodies were really excited for their PBJ after this.

Failure

Several years ago I was laying in my bed and had one of those “aha” moments, or so I thought.  I had magically been inspired to create the most awesome dessert ever.  I could picture it perfectly in my mind.  I could almost taste the sweet morsels and the tangy raspberry that would compliment it.  This desert would put all others to shame.

The next day I hurriedly went to the store to stock up on my ingredients for as the great Escoffier says ” The most skilled cook cannot attempt anything if given nothing….”.

My shopping list included the following:

  • Bananas
  • Fresh Raspberries
  • Dark Chocolate

Sounds like a winning combination right?   Wrong…

The Dude Diving, don’t have any pics of the ravioli sorry.

So what was my brilliant idea that I failed so miserably at?  Chocolate Banana Ravioli with a Raspberry sauce (I actually got the raspberry sauce right).

I started by mixing the basic pasta dough together, a little flour, salt  and egg to stick it all together.  Then I mixed in cocoa powder and sugar to sweeten.  I got the dough finally to a decent taste (I could never give it a really good chocolaty taste though).

I rolled it out and put my sliced bananas inside.  Then I pressed the top dough layer on and creased the ravioli with a fork.  All was well and I was confident in the success of my project.

Then things started to go awry, I dropped the ravioli in my boiling water where many of them promptly ruptured, apparently the cocoa had made my dough to dry to bind together.  The ones that didn’t blow up I prepared for eating.

At last my moment of triumph had come.  I had a bowl of my ravioli (although they were very ugly) with raspberry sauce on them.  I picked up with my fork and took the first bite, I think it lasted 5 seconds in my mouth before I had to be like Gaston and be “especially good at expectorating” (my what a guy, Gaston!!!).

The dough tasted like a piece of cardboard that had been sprinkled with cocoa powder, the bananas tasted rotten and where total mush.  The raspberry sauce was really good though.  So I tossed the ravioli and settled for some vanilla ice cream and raspberry sauce.

One of my favorite places ever, a market in Bruges, Belgium

What is the moral of the story?

Well I find two.  First, I failed miserably at cooking something I had dreamed up, but I didn’t give up dreaming up new things nor did I give up cooking.  In fact almost all of my favorite recipes I cook came after this experience.  It taught me to be more methodical in my approach to cooking.  That is, now I research what I want to make quite extensively before I begin developing a recipe (okay so I don’t write a dissertation on them or anything) .

The second moral is there is always silver lining.  The raspberry sauce that I made for that disastrous meal was my silver lining.  In fact I used that recipe for some time when ever I would make raspberry sauce, so although the meal failed I was able to get some good from it still.

At the risk of being philosophical, isn’t life like that.  If we give up on something we fail at we miss out on future successes that dwarf the failure.  Also if we look closely at our failures, typically we will find a silver lining, something we learned or garnered from the experience that we will carry with us to make us better in the future.

I hope we all remember our failures so we can be a little better for them.

Creamy Chicken Coconut Korma

What a wonderfully warm and flavorful chicken coconut korma this is!  Brings the taste of your favorite Indian place right in to your own kitchen. 

I have a confession to make, a serious sin I committed for years, I staunchly stated that I hated curry for close to 10 years (I know shame, shame, shame).  It all stemmed from a bad experience eating Thai Curry Duck, so I placed the blame on all curry and avoided the stuff like I avoid the scale (I don’t like talking to him he never says what I want to hear, jerk).

Then a few years ago I started reading about “food aversions” more specifically conditioned taste aversions.  As it turns out my dislike for curry was all in my head….. whaaaaatt?  I had been wrongfully berating a whole type of food (multiple types in fact).  How could I?

So I decided, I would conquer this aversion, I would eat some Indian curry to overcome my psychological block.  Mind over matter.  But I needed to start simple, Chicken Tikka Masala and Chicken Coconut Korma, easy enough.  

I bought it at our local Indian restaurant, in a gas station.  Bite number one was mind blowing, I mean I was floored.  The warmth, the sweet and nutty flavors all popped at once, my taste buds where in Shangri-La.  Bite number two I was hooked, by the end of the meal I was addicted and by the umpteenth time eating it I was just a curry tweeker.

Seriously, how did I screw this one up so bad, 10 years wasted….

So I set about to make my own (because that’s the kind of guy I am) and after failing multiple times, yes I admit it, I think I finally found the chicken coconut korma for me.

Garam Masala

Spice is the key to good Indian curries, and critical to getting the curry mixture right is garam masala.  Garam means “hot” or something like that, and masala is a “mixture of spices”, so garam masala is part of the warming attribute of curry.
A couple of years ago I was on a plane coming home from a work trip.  I was sat next to a Filipino woman and began talking to her.  Her husband is from India, and we got talking about curry (for some reason all my conversations end up about food, my poor wife).
She told me her Indian mother in law always roasts the spices she uses to make her food with.  A light went off for me, if fresh ground spices are better, would roasted ones be better?  The answer is….. YES.  Especially for curries.

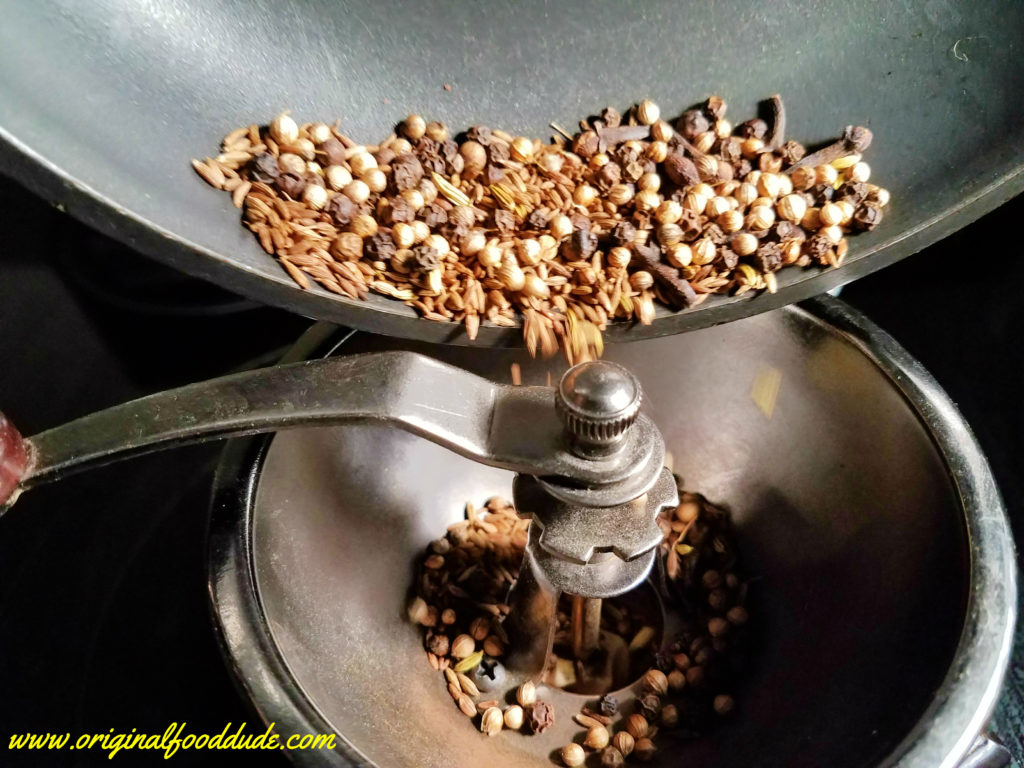
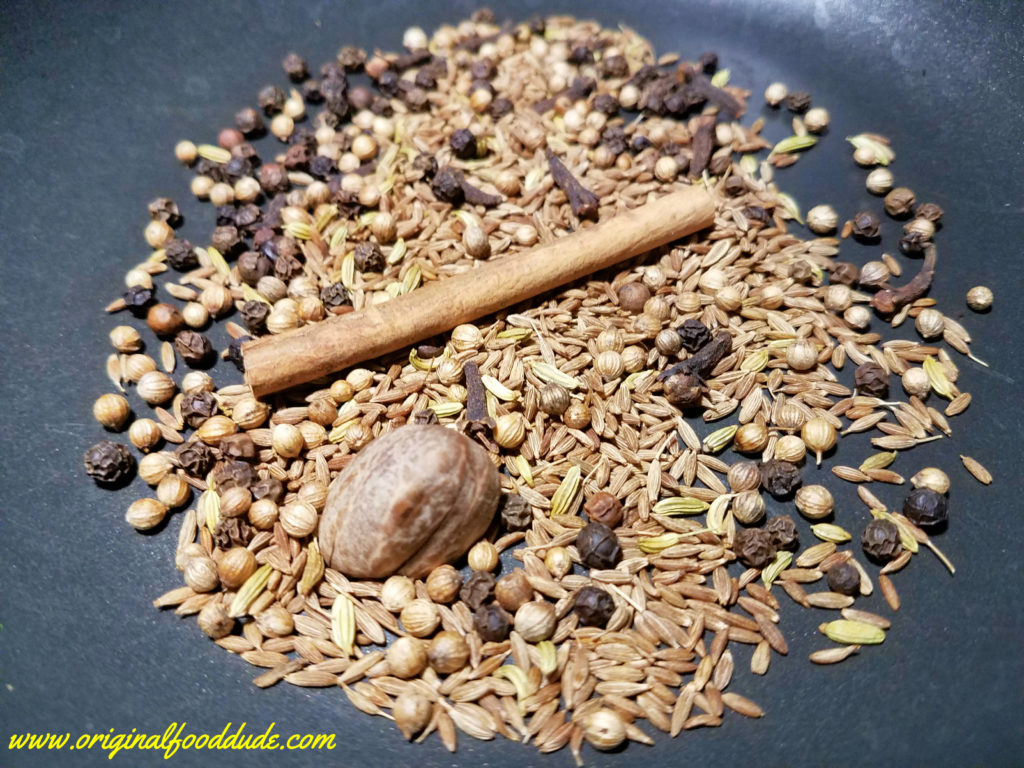
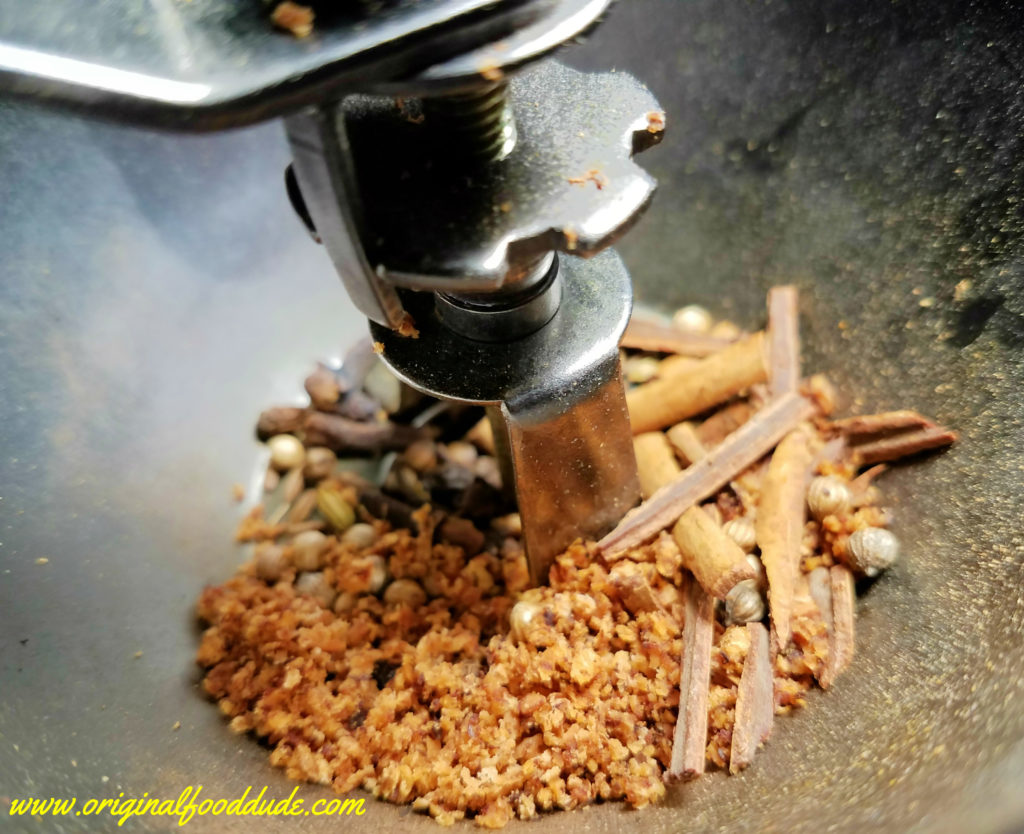
So to make my garam masala for my chicken coconut korma (because why would you buy it) I started with whole spices and roasted them by putting them all in a frying pan together and tossing them over medium heat until they smelled nutty and spicy.  The spicy smell obviously comes first.
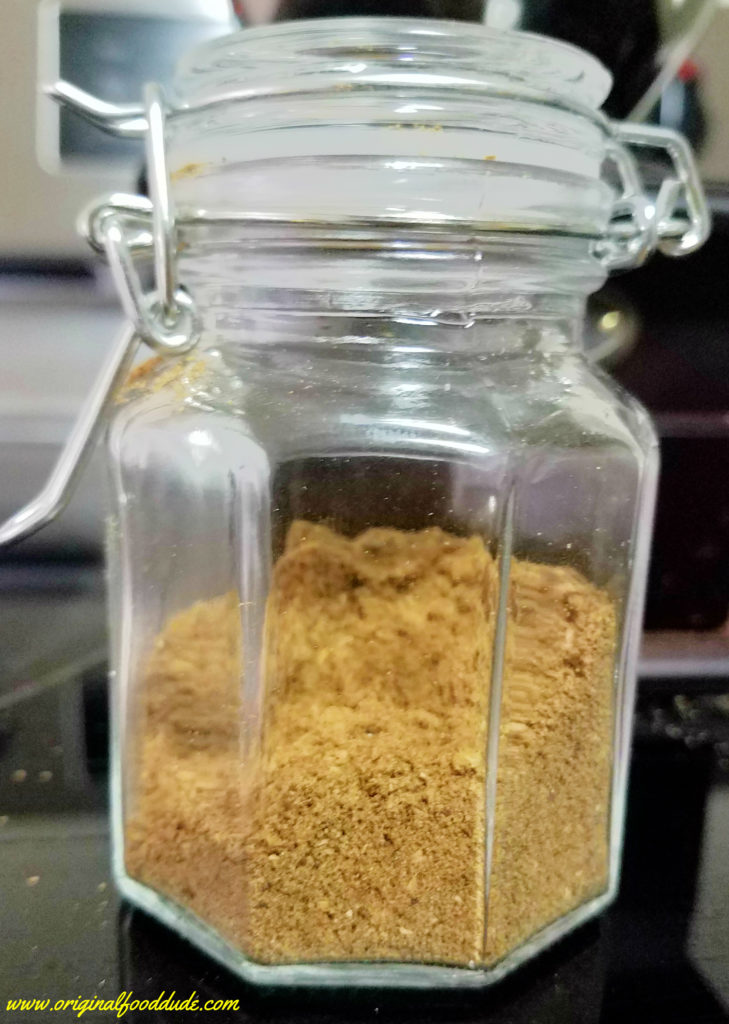
Then I ground the whole spices in my spice grinder (actually it’s a coffee grinder, but I use it for spices).    Again use whole spices not powdered stuff.

Garam Masala

Quick and delicious garam masala. 

Prep Time 5 minutes
Cook Time 10 minutes
Total Time 15 minutes

Ingredients

  • 1 tbsp cumin
  • 1 tbsp coriander
  • 2 tsp cinnmon
  • 1 tsp fennel
  • 1 tsp cardamom
  • 1 tsp clove
  • 1 tsp nutmeg
  • 1 tsp black pepper

Instructions

  1. Roast all the spices for about 10 min over medium heat, until they begin to smell nutty and very spicy.  Then grind them in a coffee grinder or small food processor.

Recipe Notes

Where ever possible use whole spices and grind them yourself. 

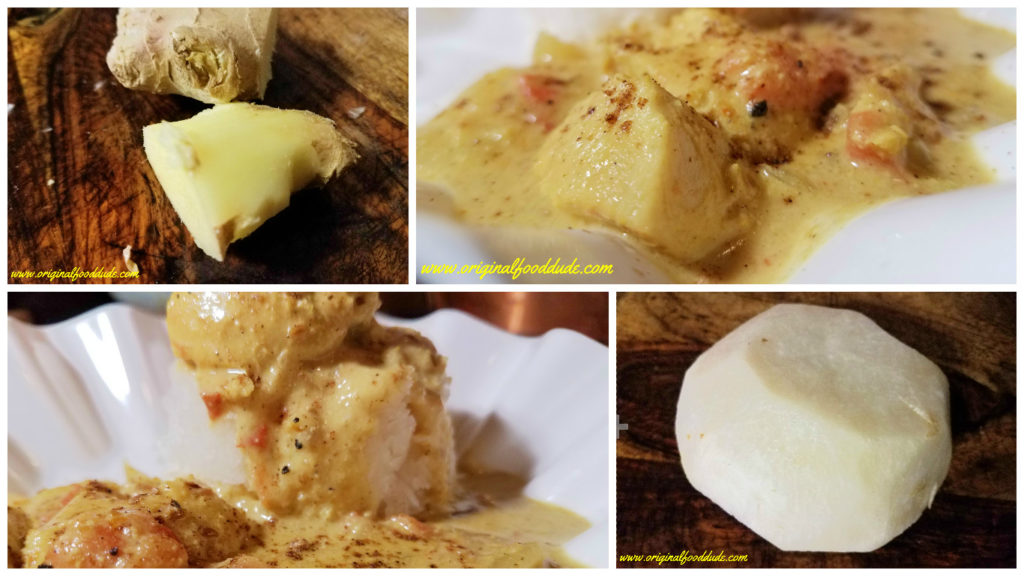
Jicama Rice

A little twist on the classic here is to use jicama rice in place of regular or brown rice.

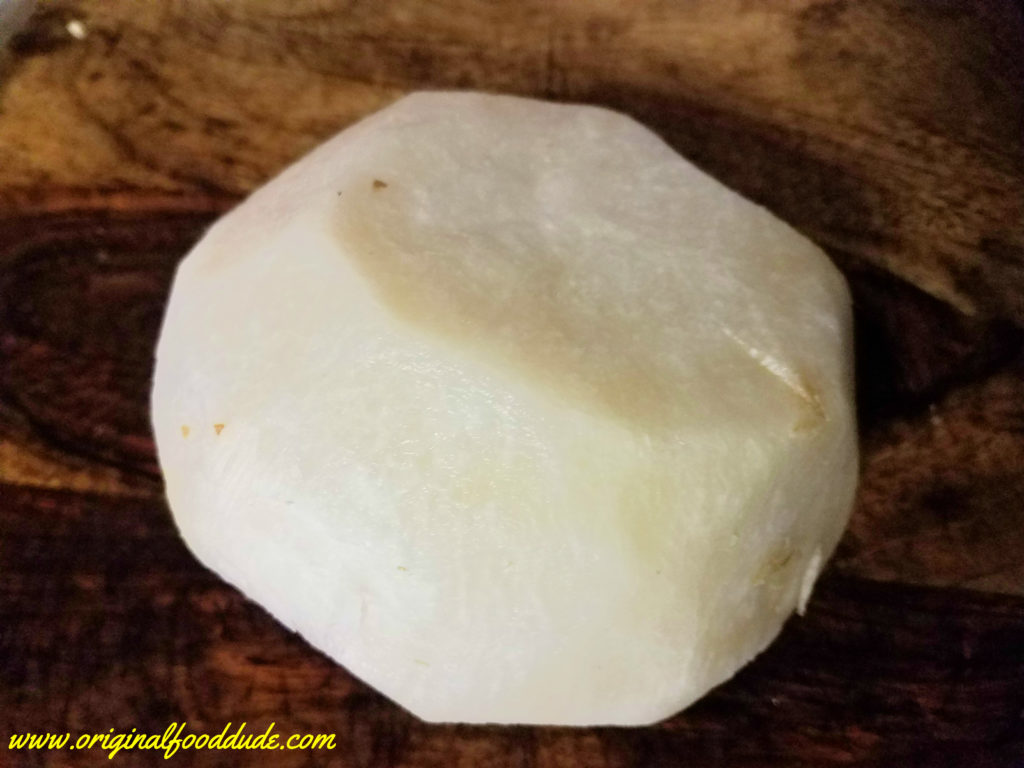
If you’ve never had jicama it is like a mild radish crossed with a potato.  It is a great substitute for rice in this recipe.

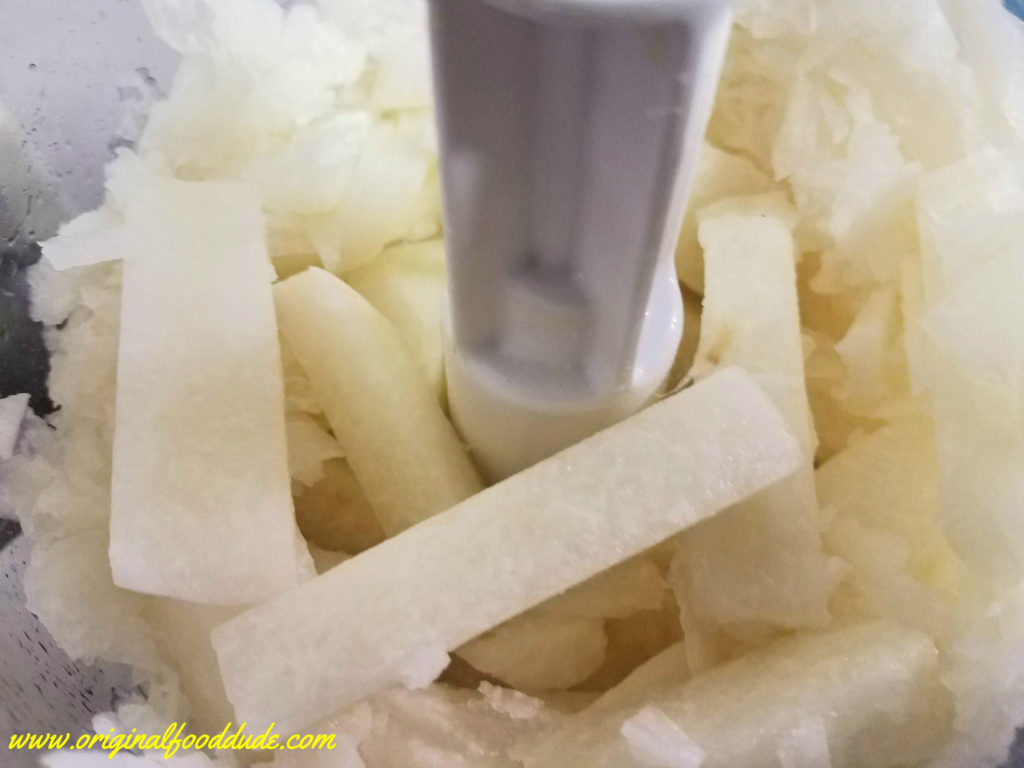
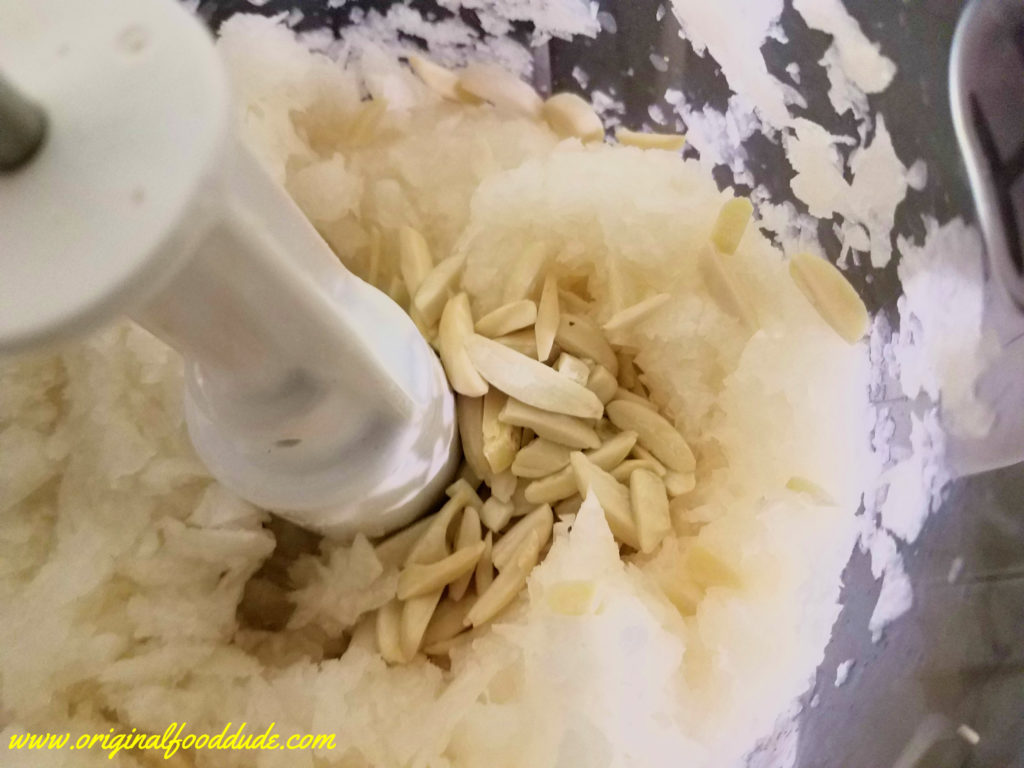
All you have to do is peel your jicama and dice it.  Then process it in your food processor until it is the right texture.  Use your pulse to prevent pureeing.

I like to add blanched almonds to it for a little crunch, yum.


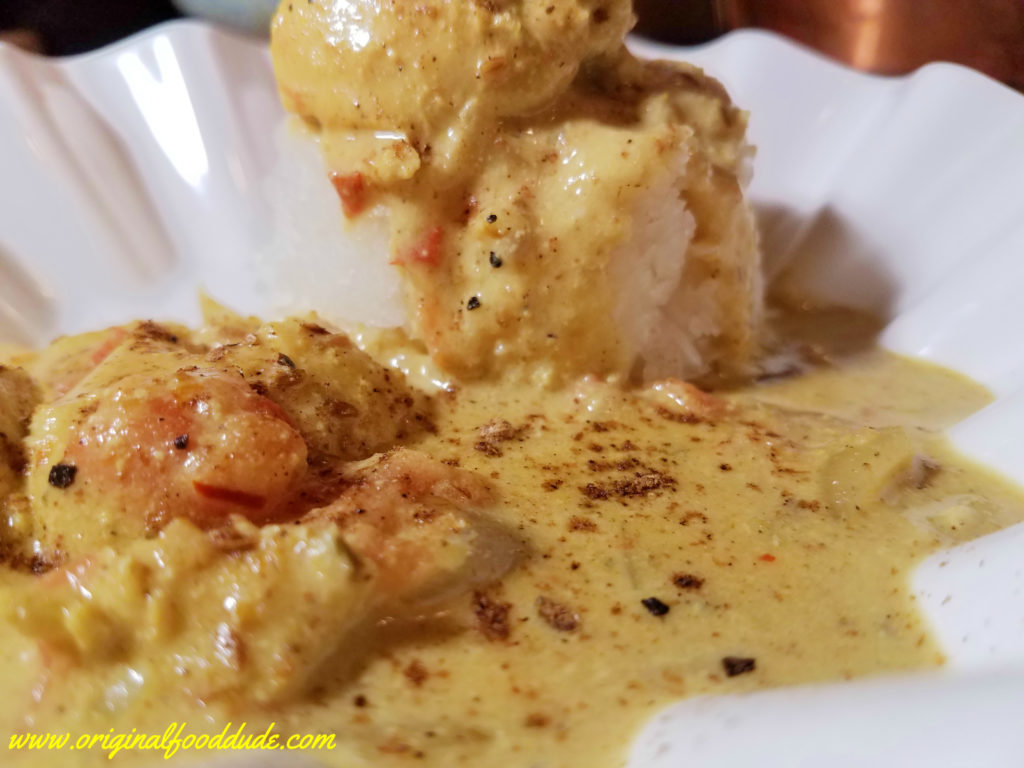
Creamy Chicken Coconut Korma

What a wonderfully warm and flavorful chicken coconut korma this is! Brings the taste of your favorite Indian place right in to your own kitchen.

Course Main Course
Cuisine Indian
Prep Time 15 minutes
Cook Time 1 hour
Total Time 1 hour 15 minutes
Servings 6

Ingredients

Chicken Marinade

  • 2 whole chicken breasts
  • 1 cup yogurt
  • 2 tbsp cumin
  • 2 tbsp garam masala
  • 1 tbsp coriander
  • 1 tbsp black pepper
  • 1 tbsp salt
  • 2 tsp cinnamon
  • 1/2 tsp red pepper or cayenne 1 tsp for hot

Korma Sauce

  • 2 tbsp butter
  • 1 small onion diced
  • 2 cloves garlic minced
  • 2 tbsp garam masala
  • 2 tbsp coriander
  • 2 tbsp cumin
  • 1 tbsp salt
  • 1 tbsp black pepper
  • 2 tsp cinnamon
  • 2 tsp ginger fresh grated
  • 1 tsp turmeric
  • 1 tsp cardamom
  • 2 medium tomatoes dicedd
  • 1 13.5 oz can coconut milk
  • 1/2 cup heavy cream
  • 1/2 cup cashews

Instructions

Chicken Marinade

  1. Dice the chicken breast in to 1 inch cubes.

  2. Place the chicken, yogurt and spices in a zip lock bag together and work them around to mix. 

  3. Let marinade in the fridge at least 6 hours and up to 24 hours. 

Korma Sauce

  1. Dice the onion and mince the garlic.  Sweat them in the butter (that is start cooking them until they become slightly see through)

  2. Add all the spices and cook for 5 min over medium heat.

  3. Turn the heat up to medium high and add the chicken. Cook until the chicken is cooked all the way through, about 10 min. Toss in the tomatoes and cook about 5 more minutes

  4. Next mix in the coconut milk and cream. Cover and simmer for 25 to 30 min, minimum. It seems to me to longer I let it simmer the more the flavors meld together.
  5. Finally throw in some cashews and give it a couple minutes with them.

  6. Then spoon it (not that kind of spooning) over a mound of jicima rice and I toss just a sprinkle of garam masala on it.

Recipe Notes

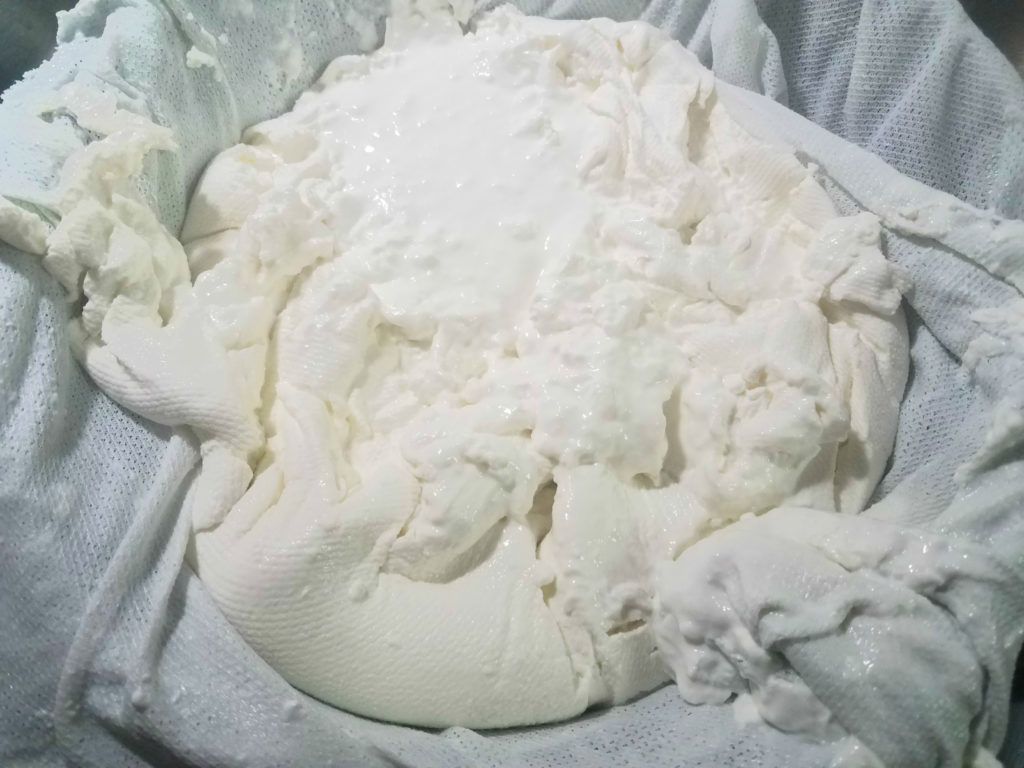
Try and use homemade yogurt, click here to learn how to make it

Enjoy this amazing chicken coconut korma, better yet serve it to friends and tell them it’s a secret family recipe.  Chicken coconut korma is sure to be a big hit, and really not all that hard.

Yogurt Fraiche

This is a super easy and fun way to make a classic treat.  Perfect for the little ones to learn about bacterial cultures.  Requires very little time and ingredient you probably already have in your fridge.

About

Yogurt is an amazing food.  Yogurt has been made for thousands of years.  Most likely early herdsmen in Mesopotamia stored milk from their animals in pouches.  That milk may have been exposed to bacteria that  caused it to curdle into a yogurt like substance.  Over time the process was refined and managed, but the same concepts that made yogurt in Mesopotamia thousands of years ago are used today, in your kitchen, to make this treat.

There are a myriad of bacteria that will convert milk to yogurt, given the right environment.  But today well mention 7.

Starter culture

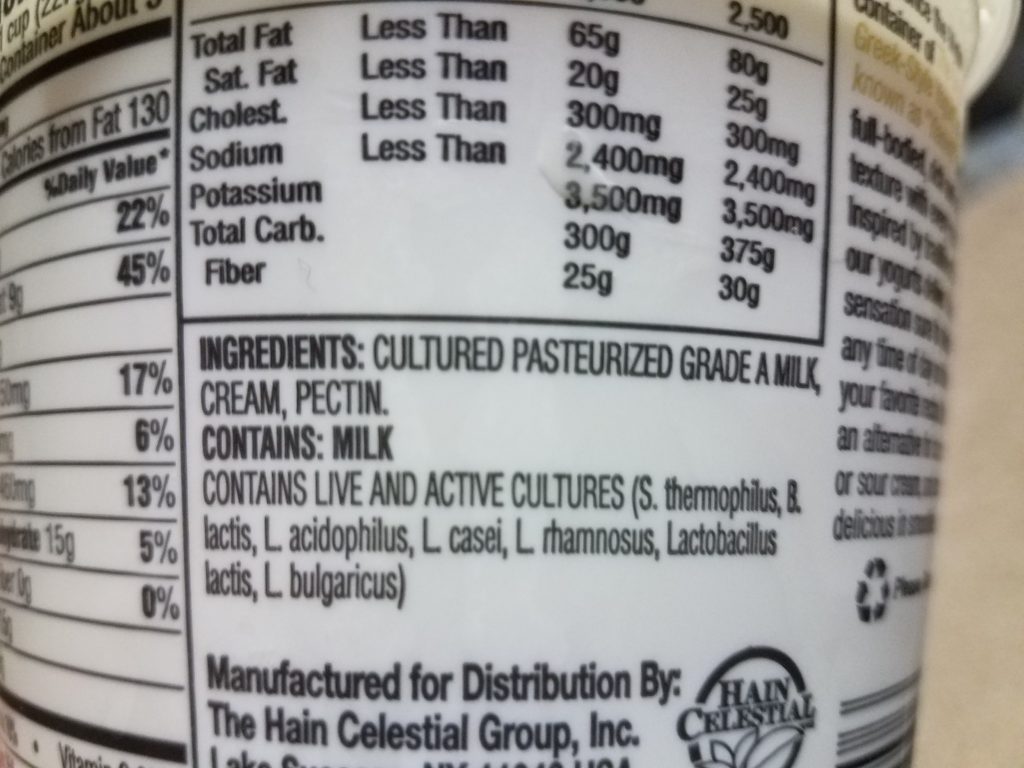
The back of the yogurt I used for starter culture

Lactobacillus  

These bacteria are part of what is known as the lactic acid group.   The lactobacillus are present in many different kinds of food production from kimchi and sauerkraut to cheese and yogurt to beer and cider.   They convert sugars in to lactic acid.  In the case of yogurt they are converting lactose to lactic acid.  That acid gives yogurt its tartness (it is actually sourness that our tongue recongnizes, a little more about that here)

  1.   Lactobacillus acidophilus
  2.   Lactobacillus casei
  3.   Lactobacillus rhamnosus
  4.   Lactobacillus delbrueckii subspecies
    1. lactis
    2. bulgaricus

These five lactobacillus species (and subspecies) are fairly common in most yogurts, not all will be in every yogurt.  When I look for a starter yogurt (will explain that I swear) I check the back to see which one has the most variety (it is the spice of life after all) of bacteria cultures.

Other

  1. Streptococcus thermonphilus – another lactic acid bacteria that is believed to help people with lacotse intolerence digest milk
  2. Bifidobacterium lactis – added as a probiotic with quite a laundry list of potential benefits, click here to see them.

I would like to say I ate this, but my two little food doodies poached it out from under my nose, twerps

Bacterial Growth

Bacteria have 4 growth stages.  Lag, log, stationary and death (I guess the last one is the opposite of a growth stage but who am I to correct microbiologists).  First the lag phase, which is kind of like the time they are all getting ready, the engines are starting but nothing is happening yet.

Second in the log phase the bacteria are multiplying like rabbits in a carrot patch, they are growing at a logarithmic rate , that is a fancy smancy way to say really fast.  These bacteria are using up the available nutrients and leaving their by-products.  In the case of yogurt lactose is used up and lactic acid produced.


Next comes the stationary phase.  This is where the nutrients are depleted such that the number of bacteria has plateaued.  This is where we want to get to for the tartest yogurt (and I don’t mean the provocative nature of the yogurt).  Fort a milder yogurt leave in the oven for a shorter time.  Remember longer time  equals tarter yogurt.

Finally the death phase, pretty self explanatory, they die.  We don’t want to make it to this phase (or to the end of it at least) or your active culture super yogurt will be no more.

How To

Time: 1 1/2 days with only about 30 min of effort

Ingredients

Milk

3 tbsp yogurt (active culture)


Cold Milk

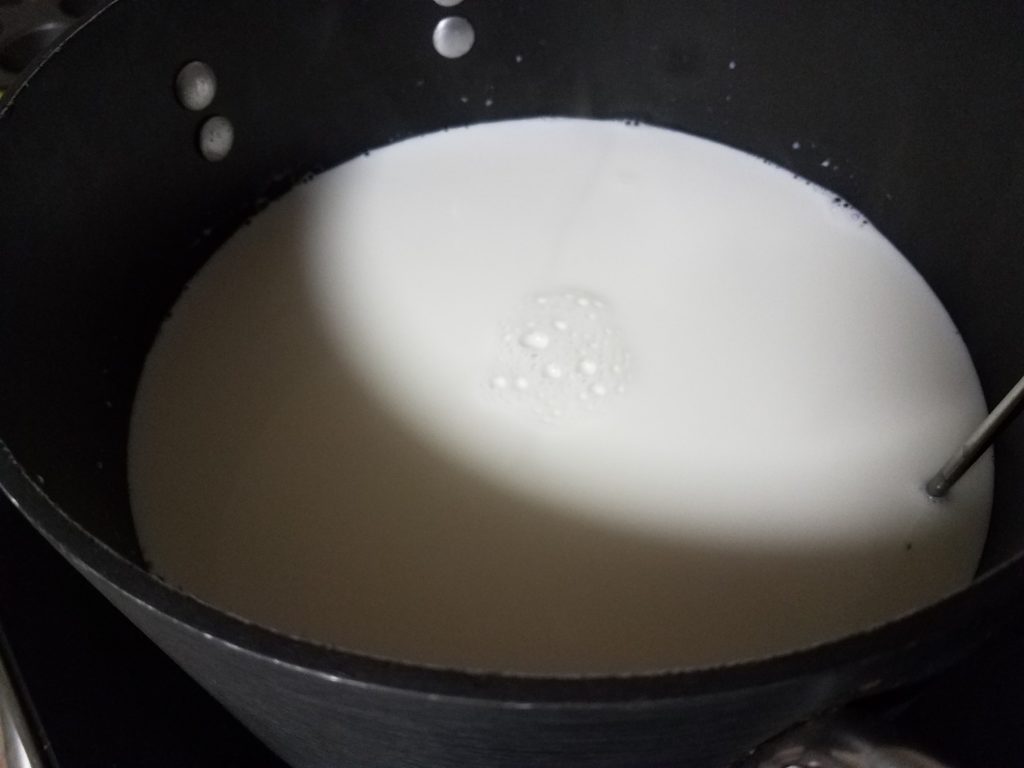
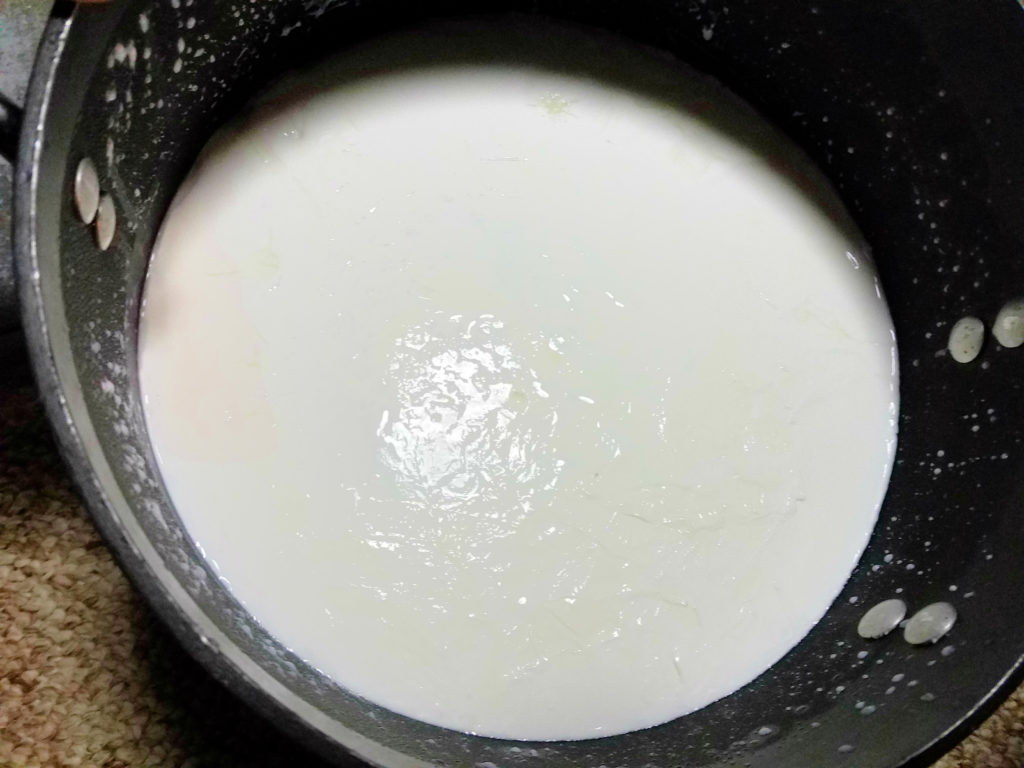
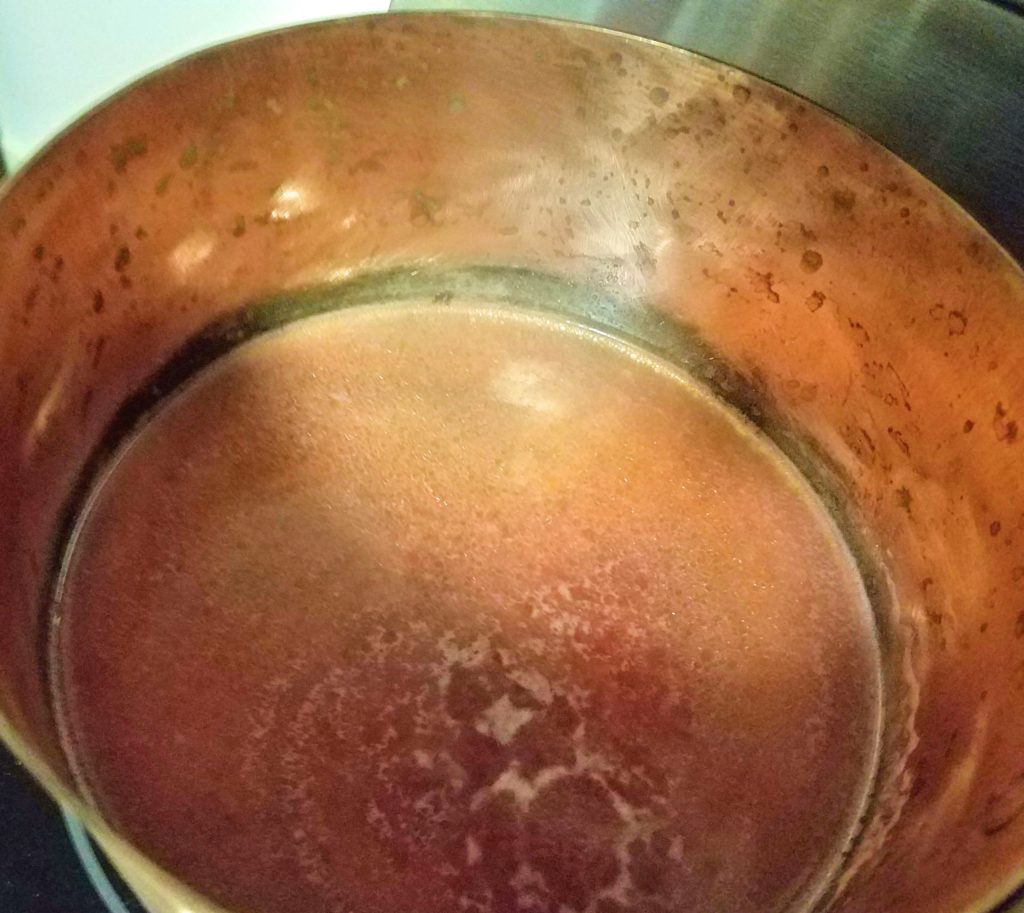
Heat 1 gallon of milk in a pot to 180 degrees, over medium heat.  Stir occasionally to prevent a scalding and to distribute heat evenly.  This kill any bacteria in the milk  so you are starting with a blank slate.

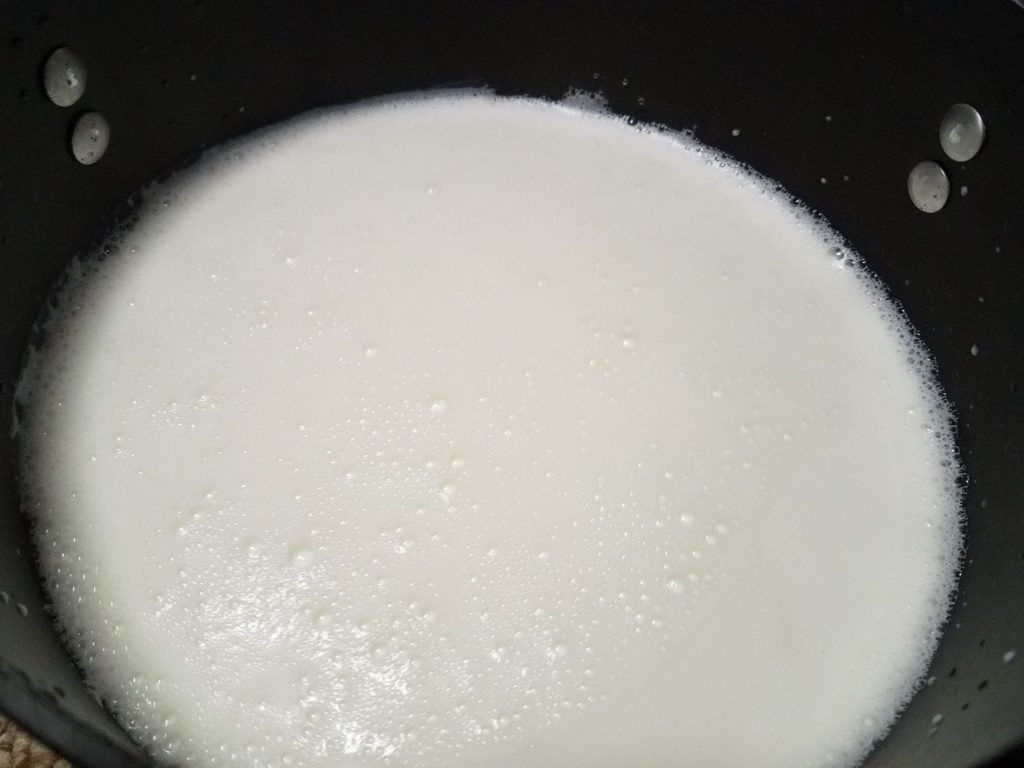
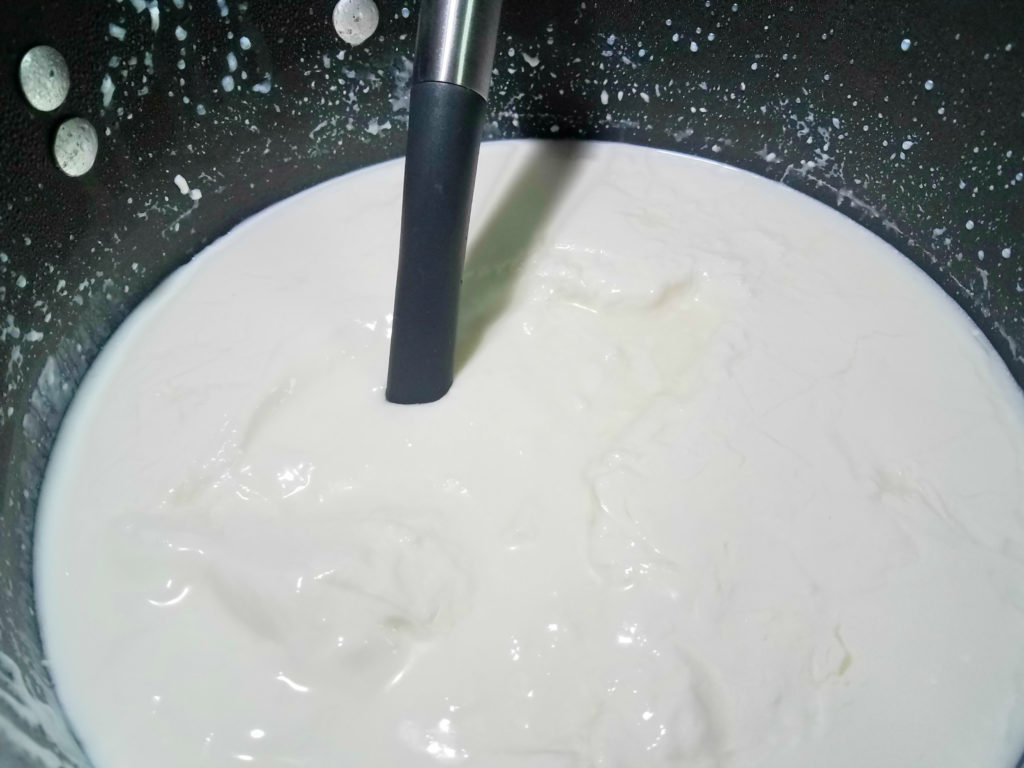
Cool the milk to 110 degrees (yogurt bacteria like a nice warm environment to grow in).  You can either wait and stir occasionally or put the pot in an ice water bath to cool quicker.  Don’t go below 100 degrees.  Take the yogurt and mix in to about 1 cup of the warm milk.  The mix that in to the whole pot stir in an up and down motion to get the culture mixed in.

Hot milk

That yogurt you mixed in is your starter culture.  The bacteria that are thriving in that

3 tablespoon of milk with grown and multiply until you have your own batch of yogurt with the same cultures as the store bought brand.  You can save some of your yogurt for future use on other batches (kind of like sourdough, which is a lactobacillus bacteria too).


Cover the pot and place it in a pre-warmed oven (set the oven at the lowest temp you have, then turn it off once it reaches temp).  Leave for minimum 5 hours but typically overnight.  If your kitchen is cool then turn the light on in the oven to keep it warmer.  This is where we are growing the bacteria.  Yay, microbiology (never thought I would say that, what a dork).


What you have now is regular yogurt, but for the snoody foodies (myself included) one more step is added to make it Greek (Opa!)

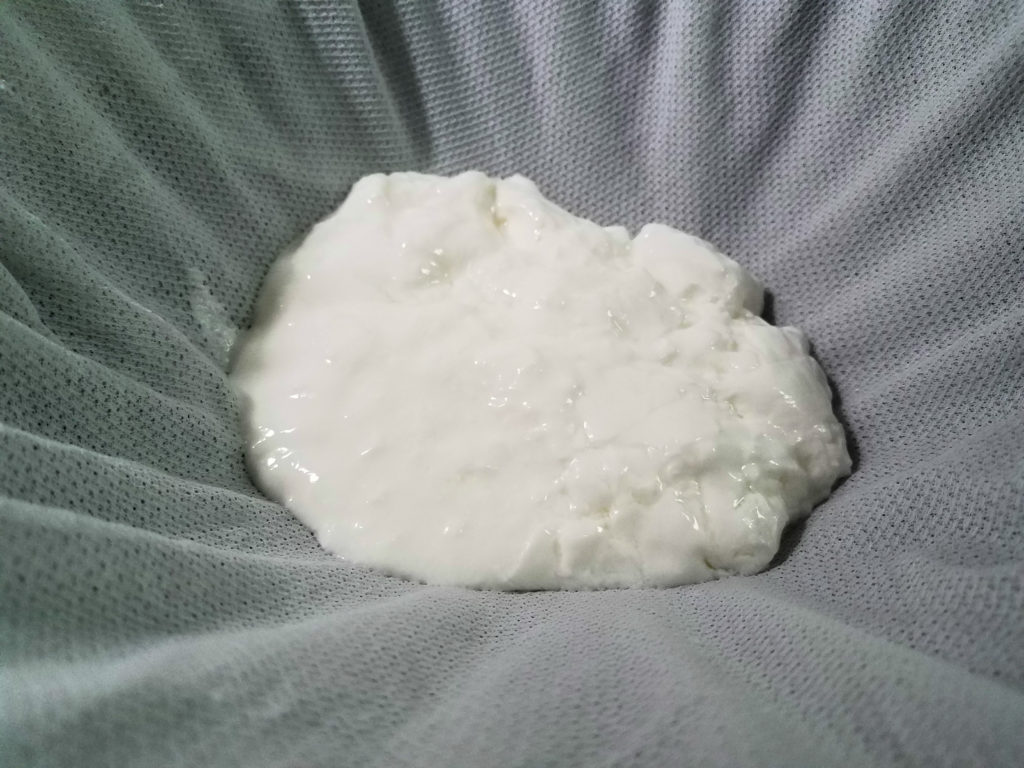
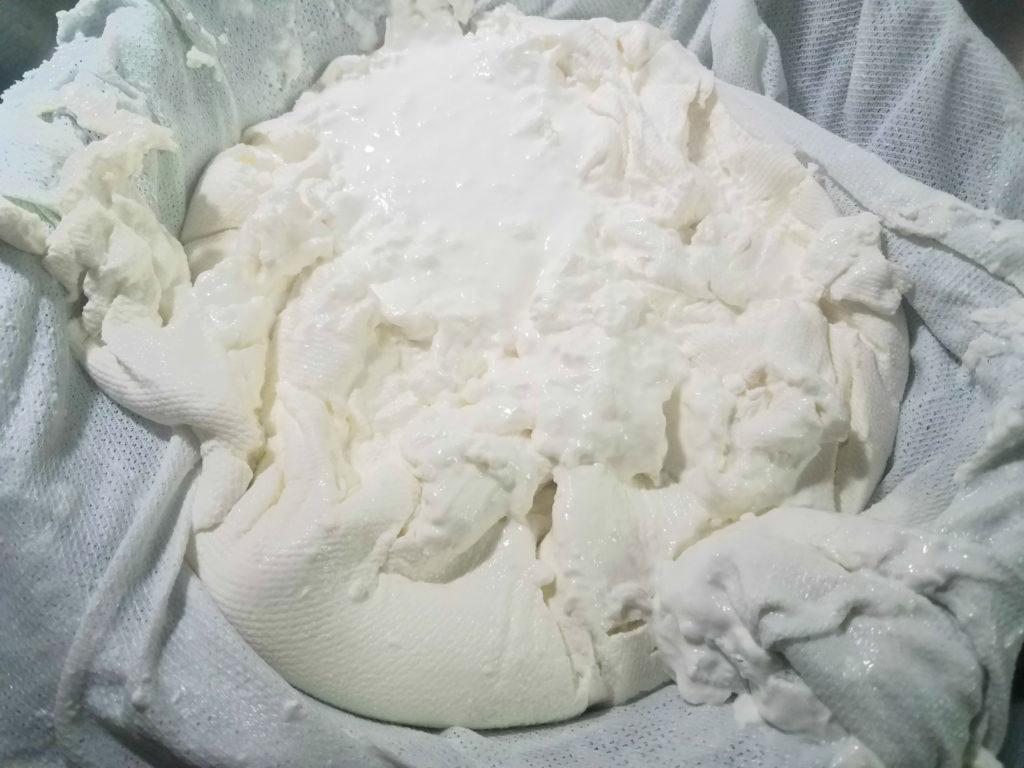
Spoon the yogurt into a colander lined with a mesh cloth.  Multi-layered cheese cloth, muslin, scrap cotton all work just clean it in a bleach solution first.

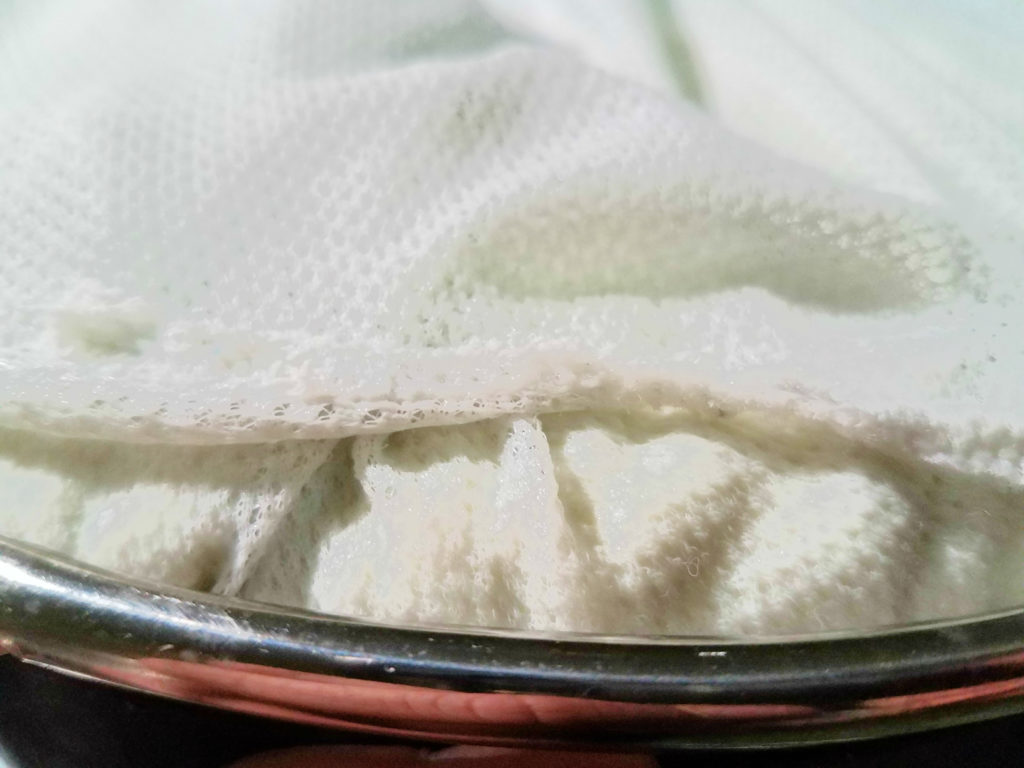
Wrap the cloth to cover the yogurt to protect it from drying to much on top.  Let sit in a cool place for several hours, even overnight if you would like.  Always keep something under the colander, you are straining the liquid off of the yogurt.

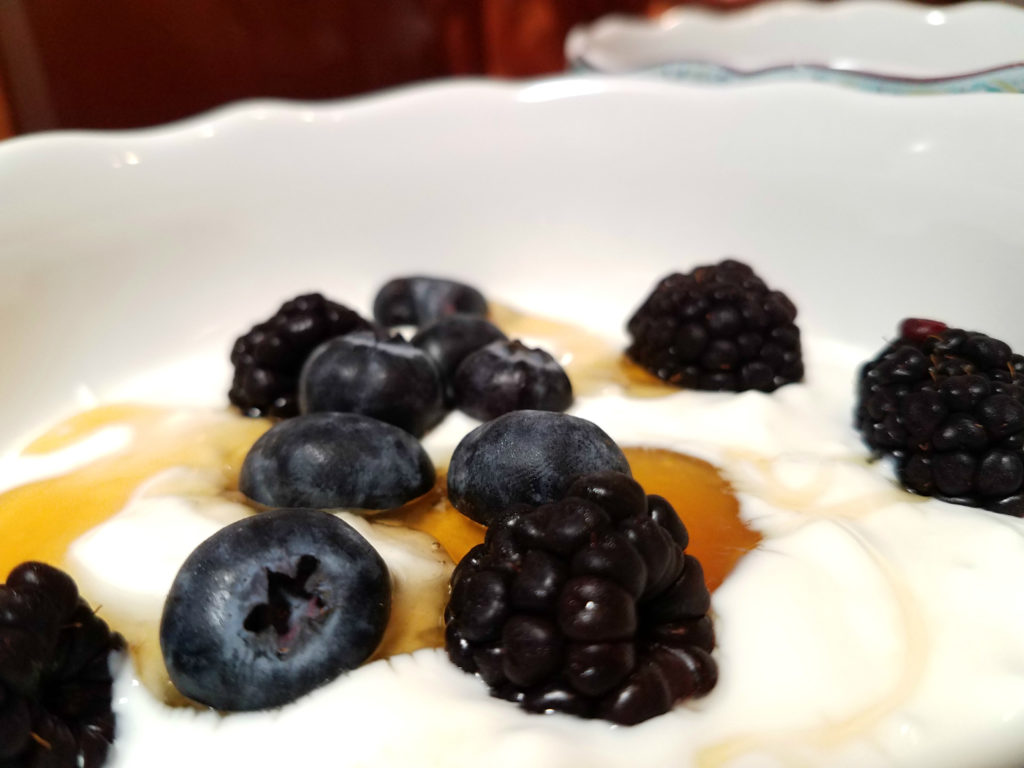
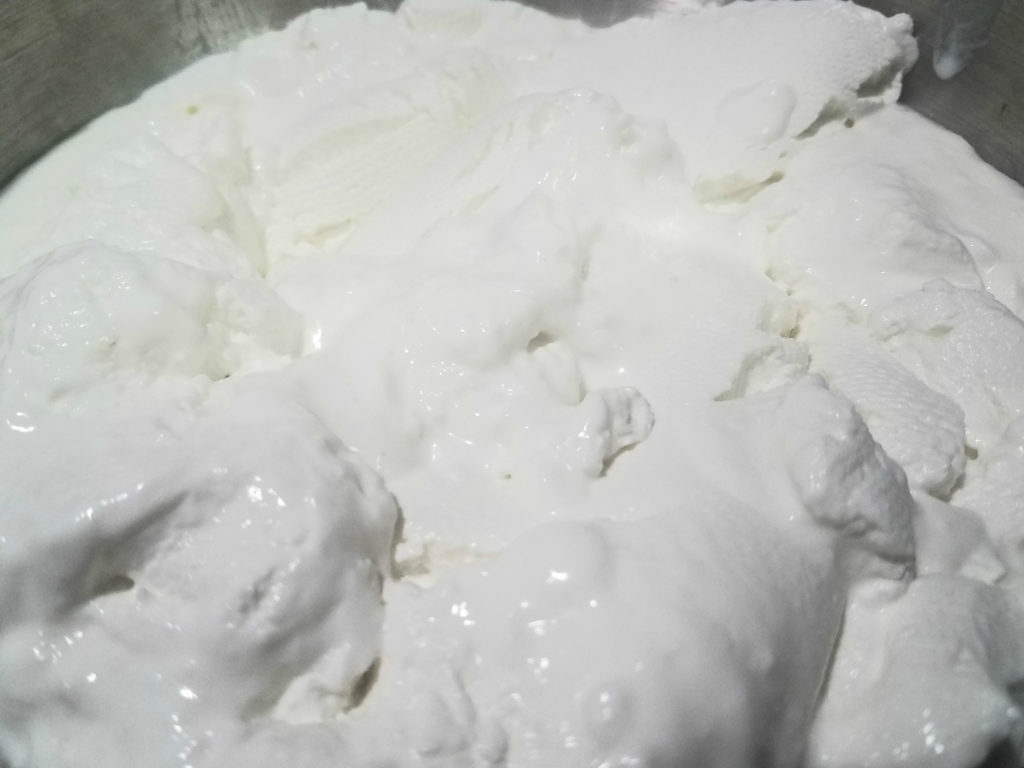
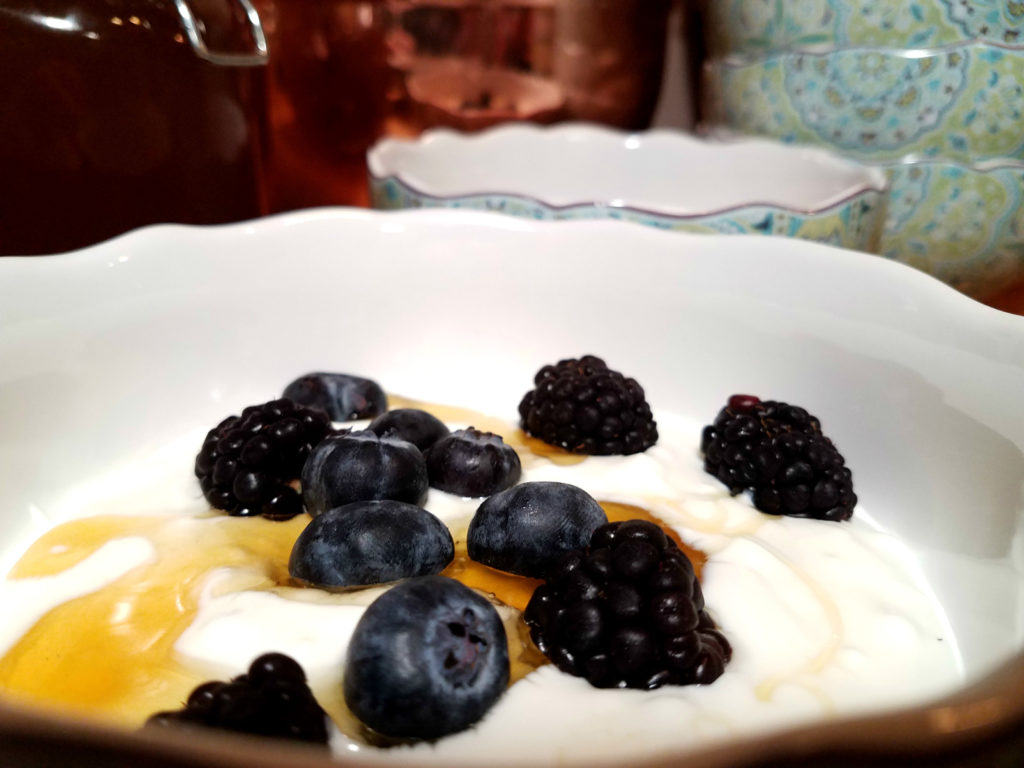
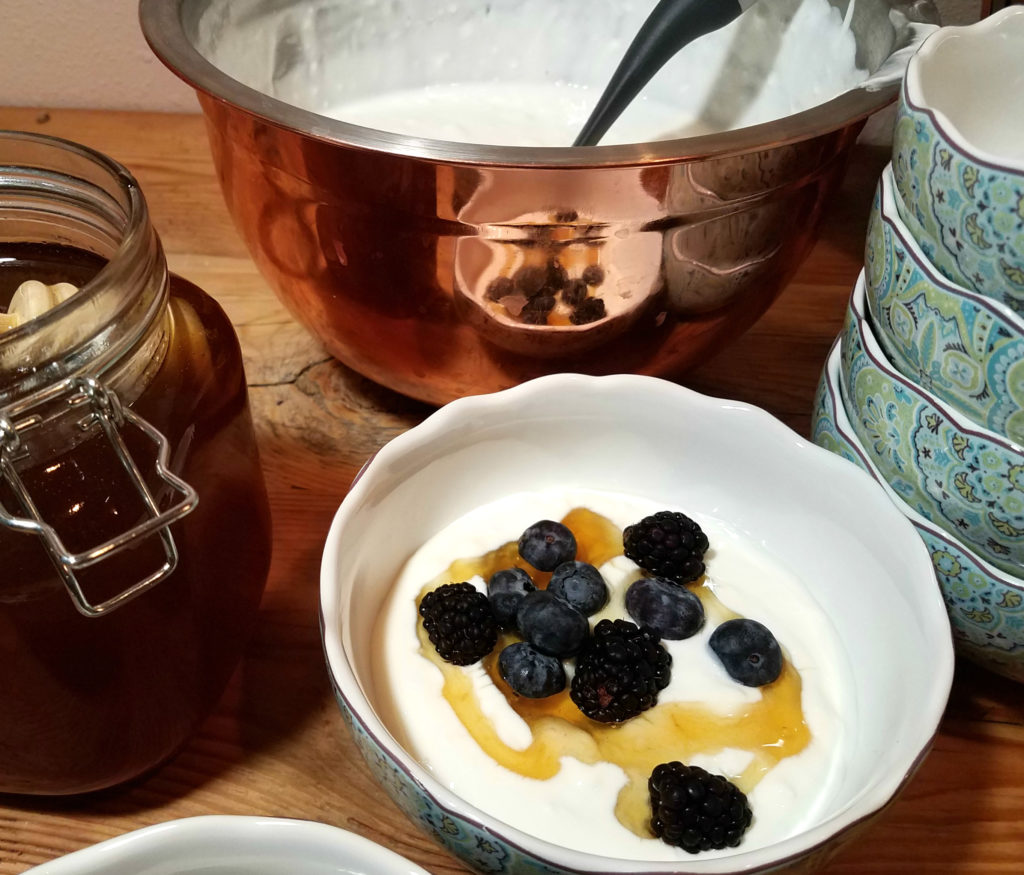
Unwrapped your deliciousness and put it in a bowl, anything can now be added to it (I like honey).

I like to whip it first to make it smooth.

Enjoy the bajebers out of it.

Be sure and check out my other dairy products that you can make right at home Mozzarella and Ricotta

Click to get a straining bag

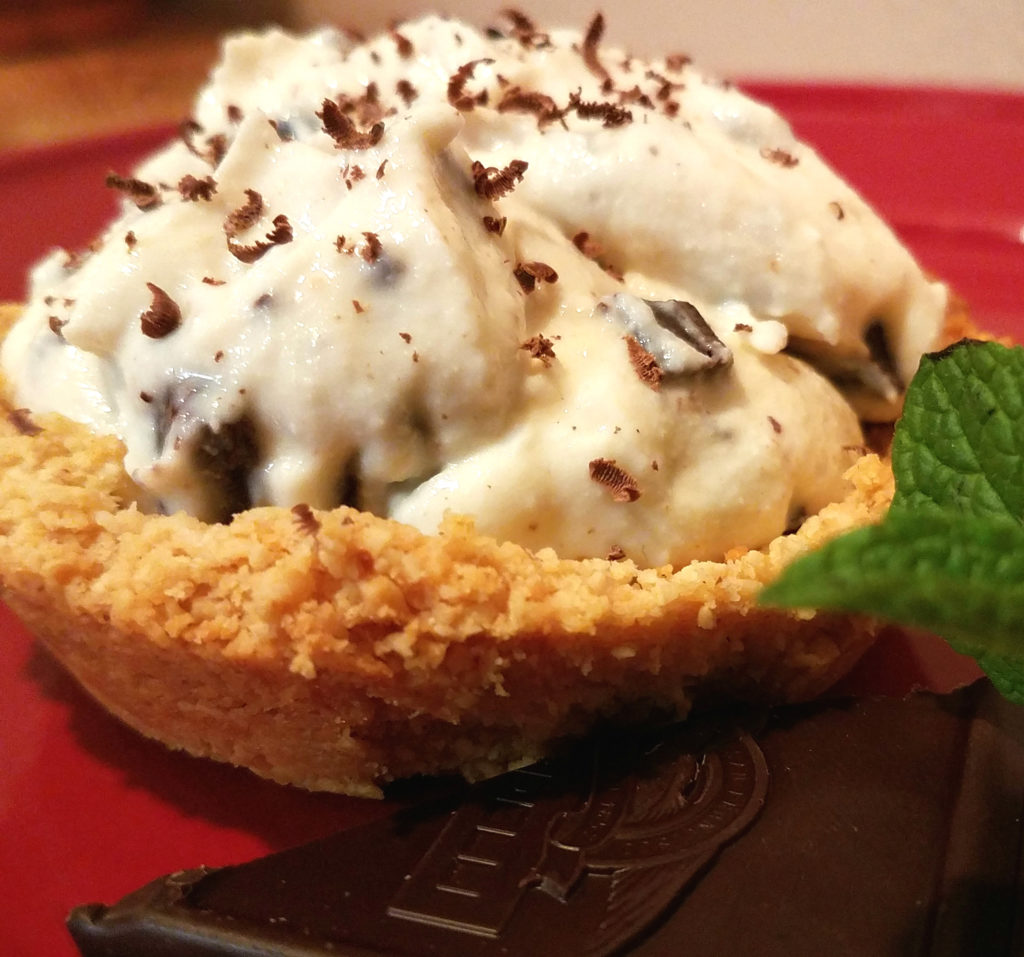
Flipping Incredible Cannoli Tart

Ok ok ok, I know that is a huge claim but I promise this cannoli tart will live up to the Napoleon Dynamite-ish title, after all it was filmed in the town I live in so I guess I should talk like him.

The best thing about this is how simple it is, it would be great for a simple treat to make with your kids.  But let’s be honest with each other though, you’ll make this cannoli tart and hide them from your kids, I know what’s up.

For those of you that have never had a cannoli … life begins now.  Those little devils are delicious.  Too delicious.

About Cannoli

Typical cannoli are made by filling a tubular shell with a riccota cheese mixture.  Its tube shape is where the name comes from, cannolo is the singular form of cannoli meaning “little tube” (so saying cannolis is wrong but I still do it).  The shell is a pastry made with white wine as the moisture to create a unique flavor and texture when fried.

Ghirardelli you are my friend

Cannoli are a traditional Sicilian desert and came to the Americas with Sicilian immigrants.   I can never talk about Sicilians without thinking of the Princess Bride, hahaha classic Vizzini.

Historically cannoli were made by nuns in the convents that would sell them around Carnivale (Mardi Gras).

Cannoli Tart

So why change a classic?  For two reasons:  because I can, and because I also love almond flour tarts, I mean who doesn’t (unless you have nut allergies, in which case sorry ’bout this post).  Also a cannoli tart just sounds so awesome, right?

Button to buy Braun food processor

Click here to get a great food processor, I use this one that my super awesome fantastic wonderful wife bought me for Christmas and it is worth every cent, we love it.

In order to make this recipe you need riccota, now if you are  in for a little more work you could make your own riccota from whey.  You can also buy riccota from the store, I won’t judge.  Either way is delicious.

Recipe

Serves: My Wife (she asked for this for her birthday but doesn’t want to share)

Prep Time: 10 min ; Cook Time: 10 min

Ingredients

  • Tart Shell
    • 2 cups almond flour
    • 2 tbsp butter
    • 3 tbsp white wine
    • 3 tbsp sugar
    • 1/2 tsp cinnamon
    • 1/4 tsp nutmeg
  • Filling
    • 1 3/4 cup riccota cheese
    • 1/2 cup powdered sugar
    • 1 tsp vanilla
    • 1 tsp cinnamon
    • 1/2 tsp nutmeg
    • Chocolate Chunks

Preheat oven to 350 degrees F.

Tart Shell

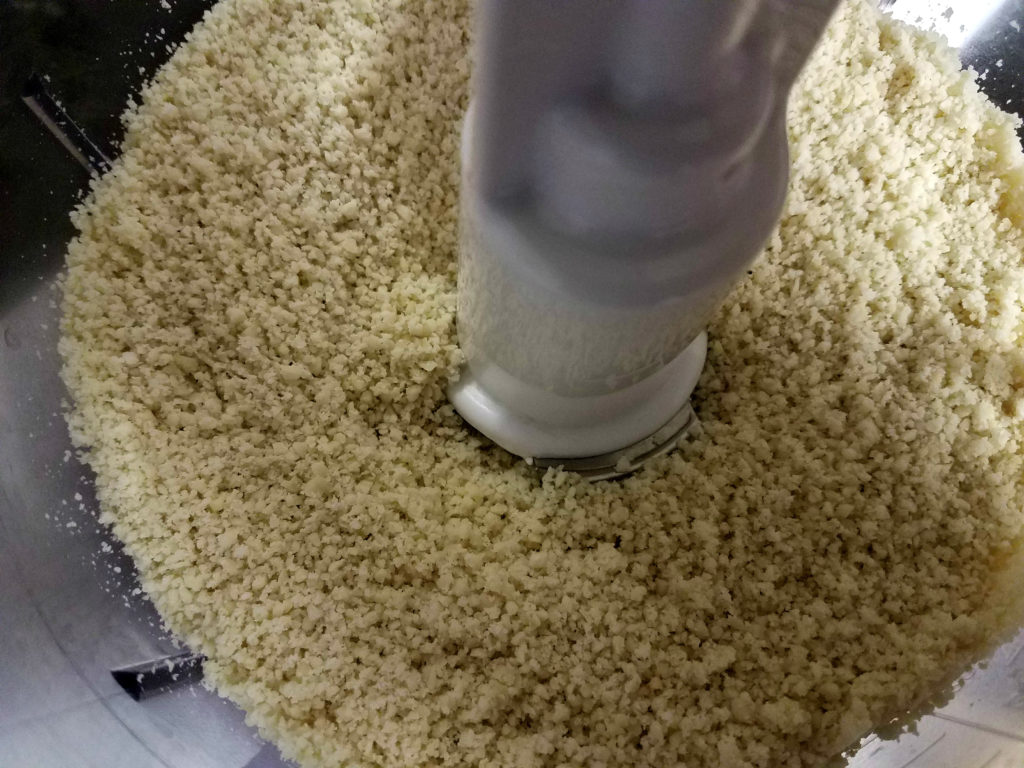
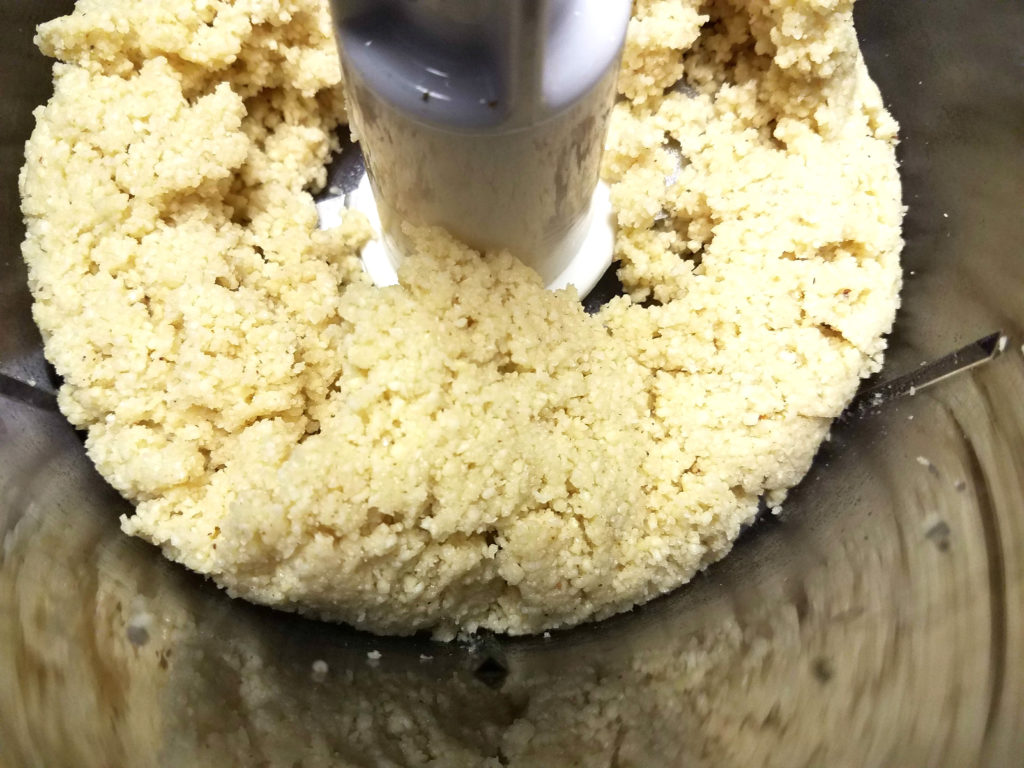
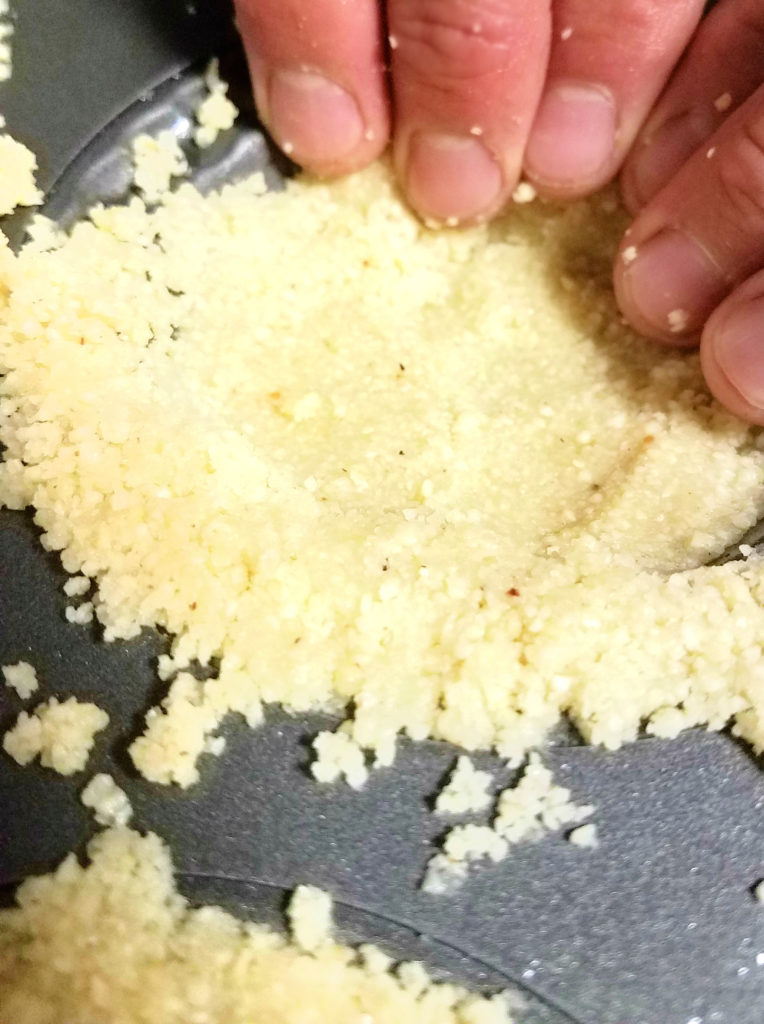
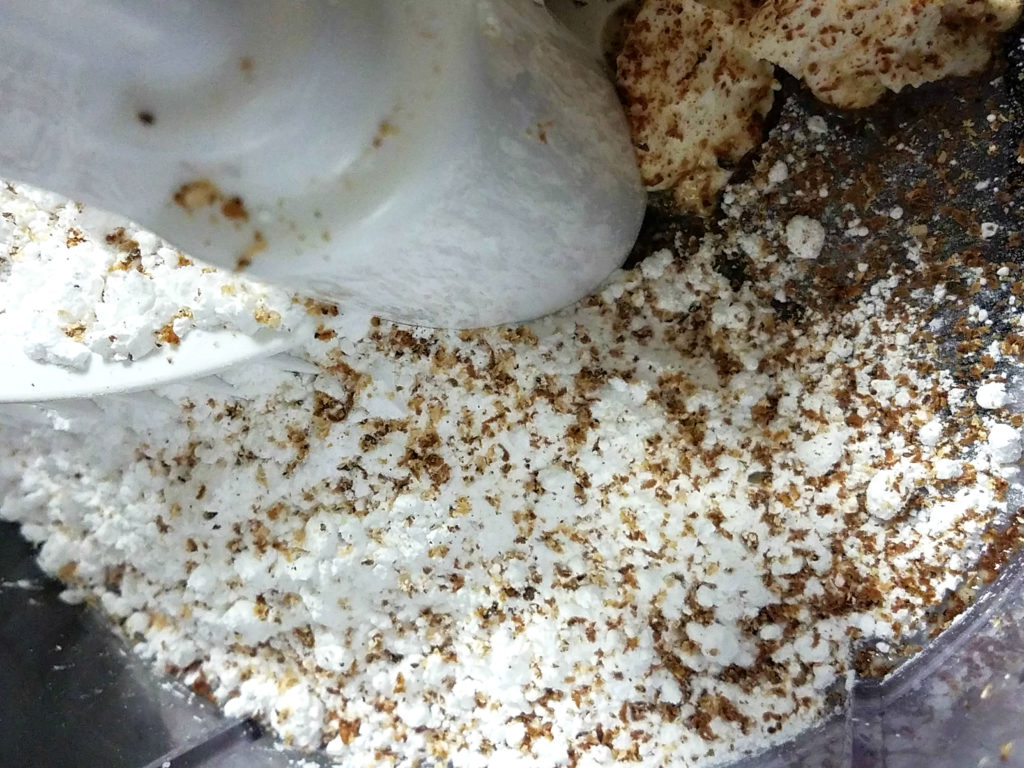
First of all pulse the almond flour a few times in a food processor to ensure it is smooth.   Next add other ingredients and blend until the almond flour sticks together.

Sticking together

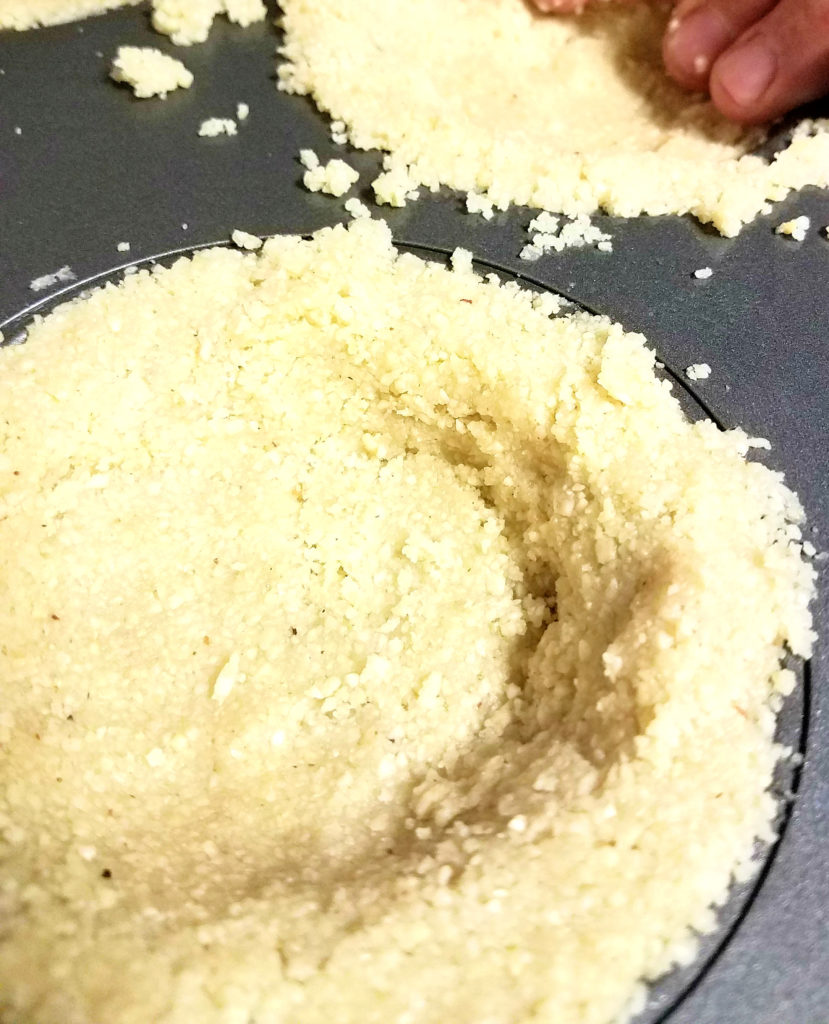
Then press the almond flour dough in to pregreased mini tart pans.

Be sure and fill them well.

If you don’t have a mini tart pan use a muffin pan or click the image to get one.

Button to buy mini tart pan

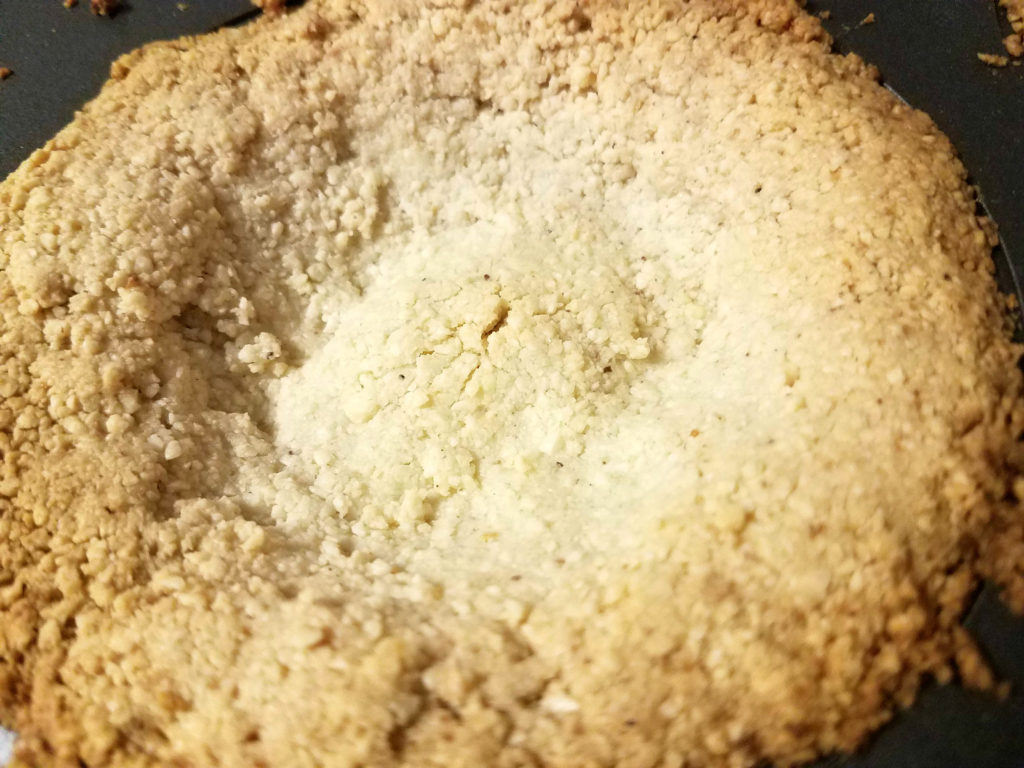
Bake these in the oven for about 10 min, or until golden brown.  You want to make sure they are done enough to stick together so if you oven runs hot, lower the temp and bake a little longer.

Filling

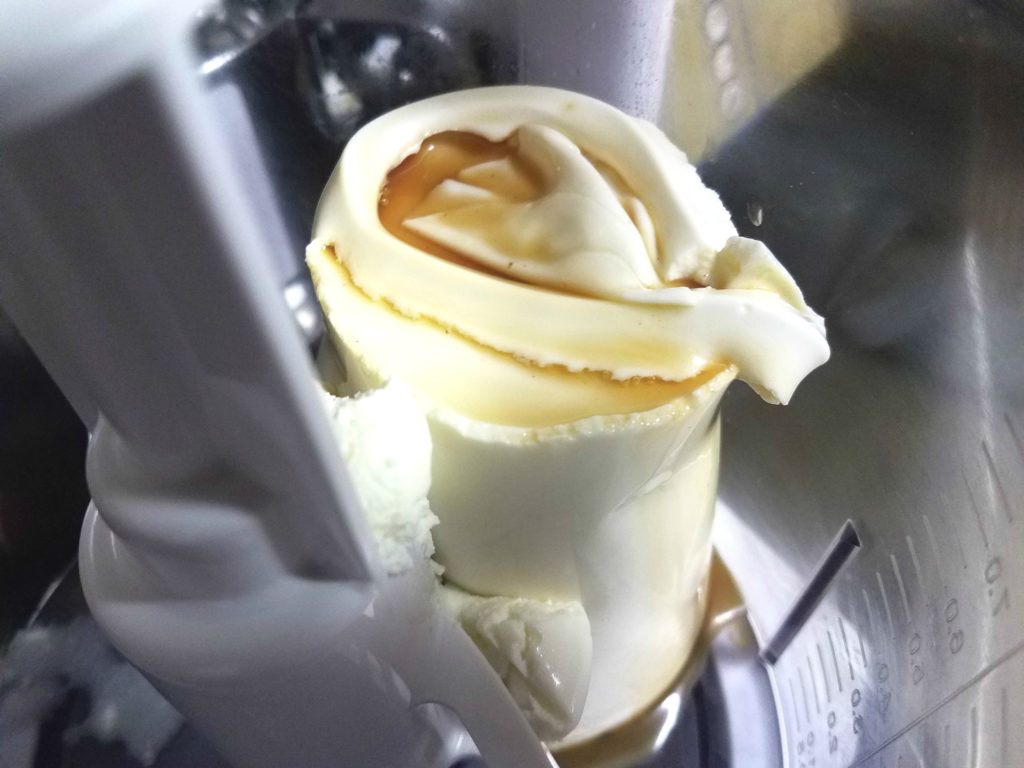
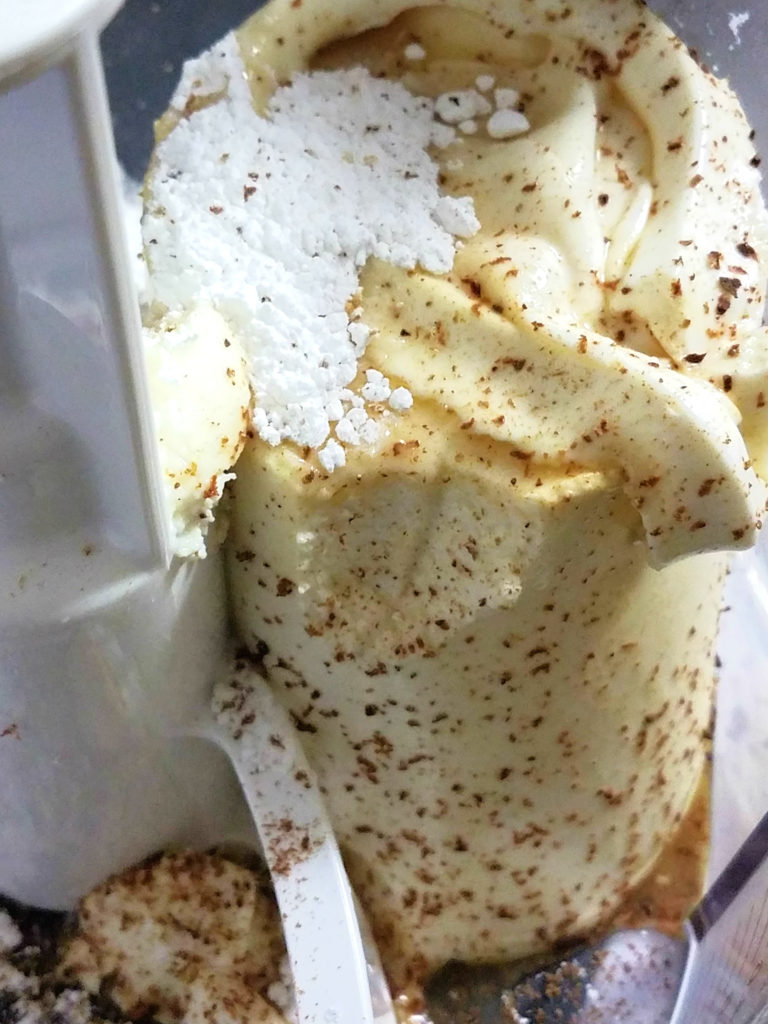
Add the riccota, vanilla, and powdered sugar to the food processor with a mixing blade (you can mix by hand or with a Kitchen Aid).

That is tahitian rum vanilla, I will show you how to make it some day

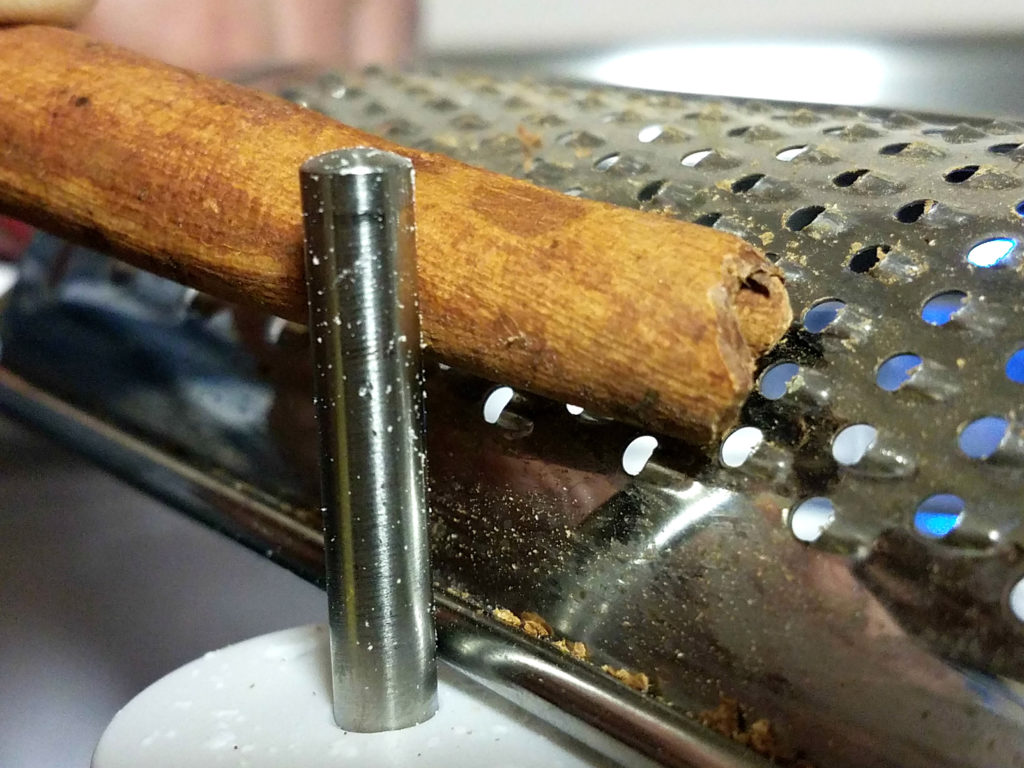
So here is the trick, do not, I repeat do not use preground cinnamon and nutmeg in this.  I will be posting a post as to why, but the short answer is they just aren’t near as good.  Get some real cinnamon sticks and whole nutmeg and grate them with a micro plane.  I’m serious, put down the powdered stuff.

Next add the cinnamon and nutmeg (grate it in).  Should smell amazing, like some exotic spa in Tahiti.

We love cinnamon

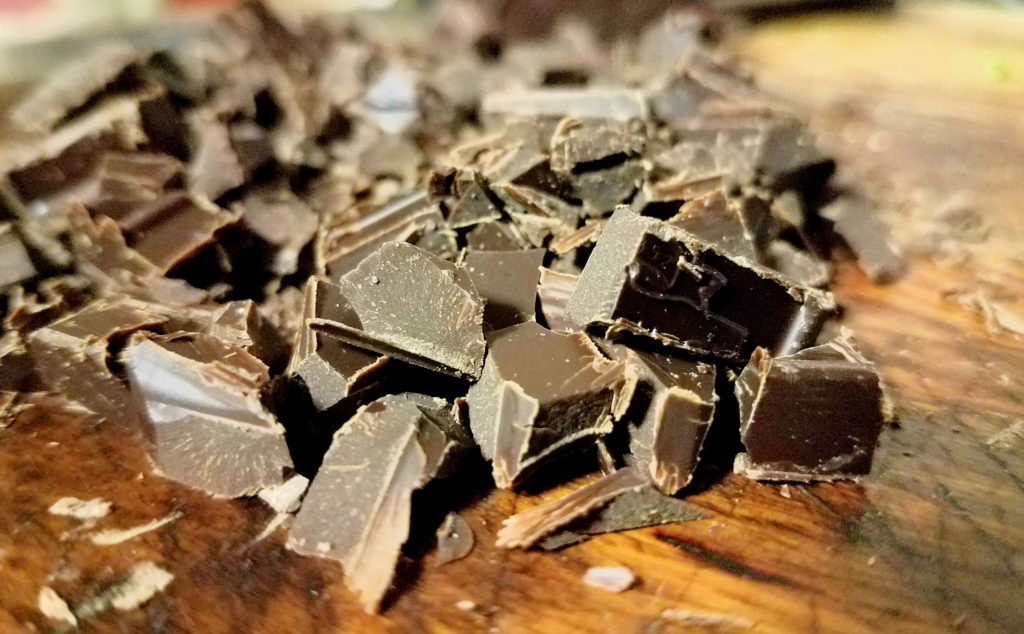
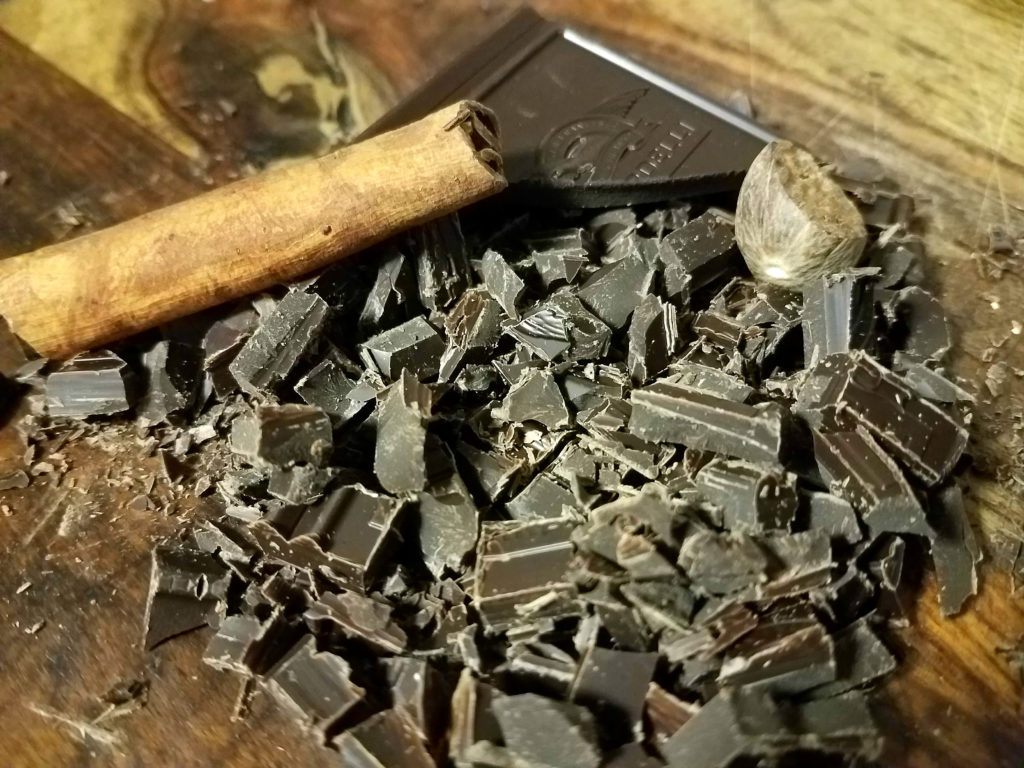
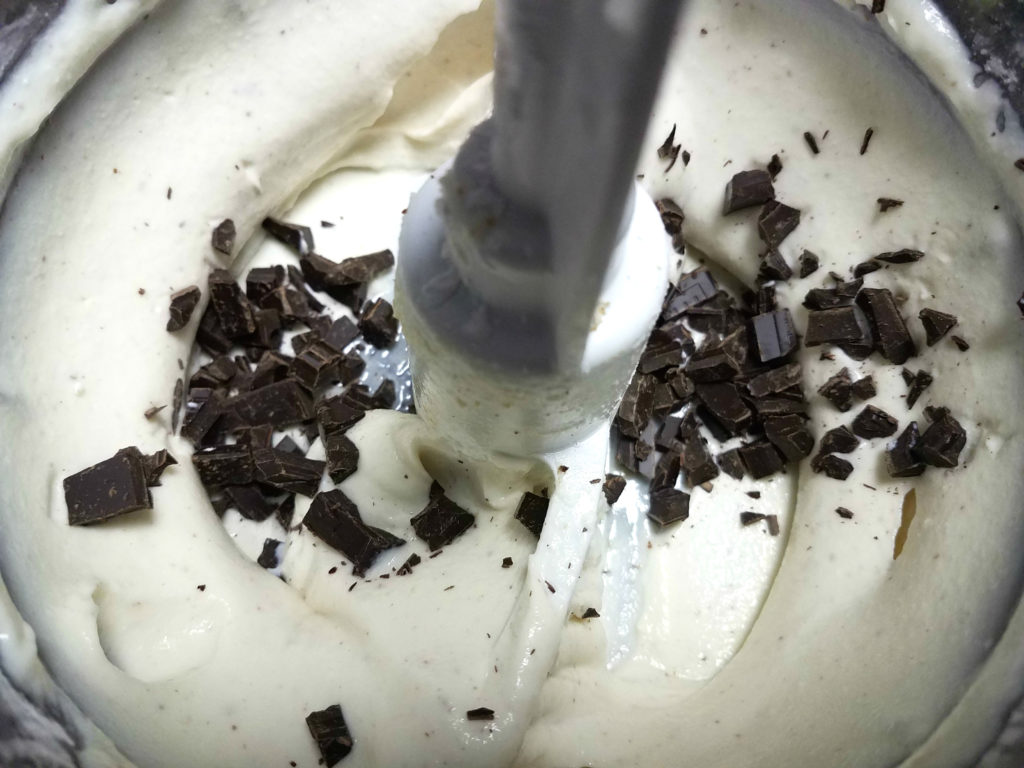
Blend all this until smooth then add the chocolate chunks.  I break up Ghirardelli 86% dark chocolate bar because I’m intense like that.

Cinnamon, chocolate, and nutmeg how can you go wrong?

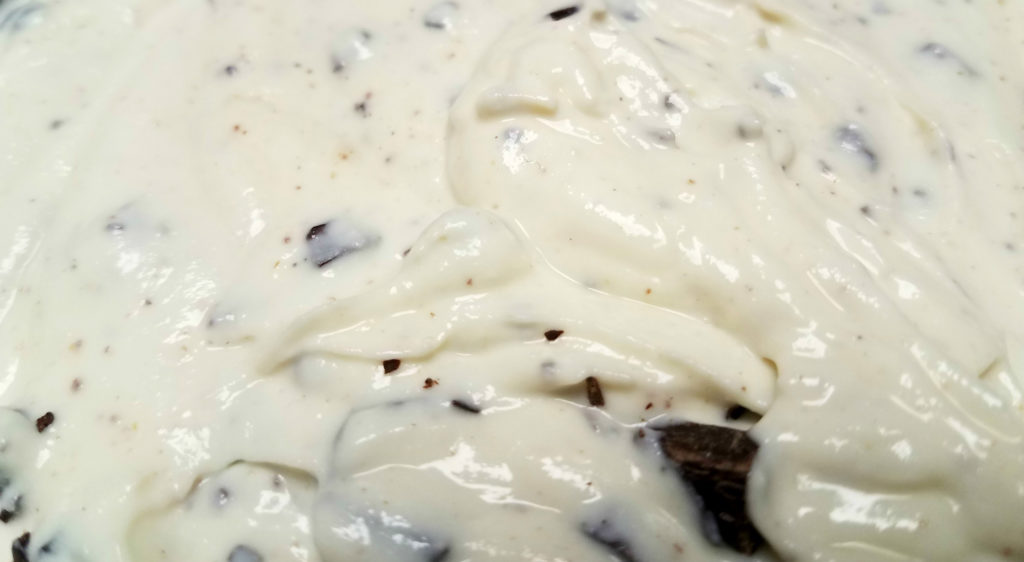
Next blend in the chocolate chunks.  Then throw the filling in the freezer for a bit while the shells are cooling so it firms up.

Shiny and scrumptous

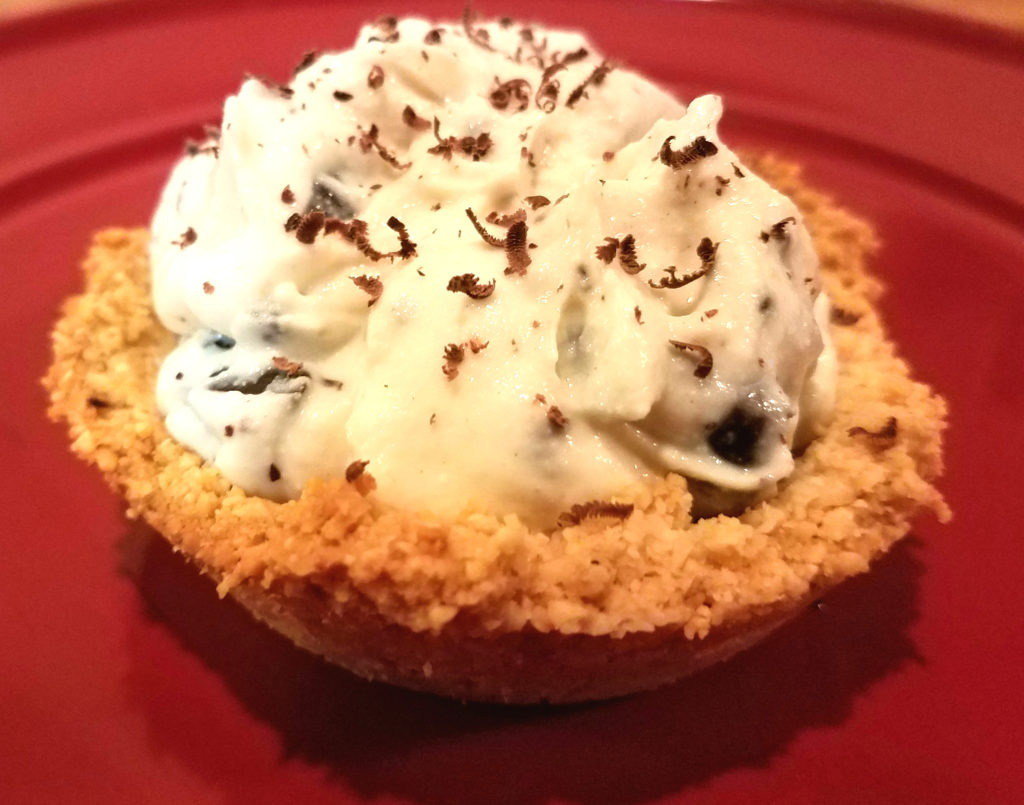
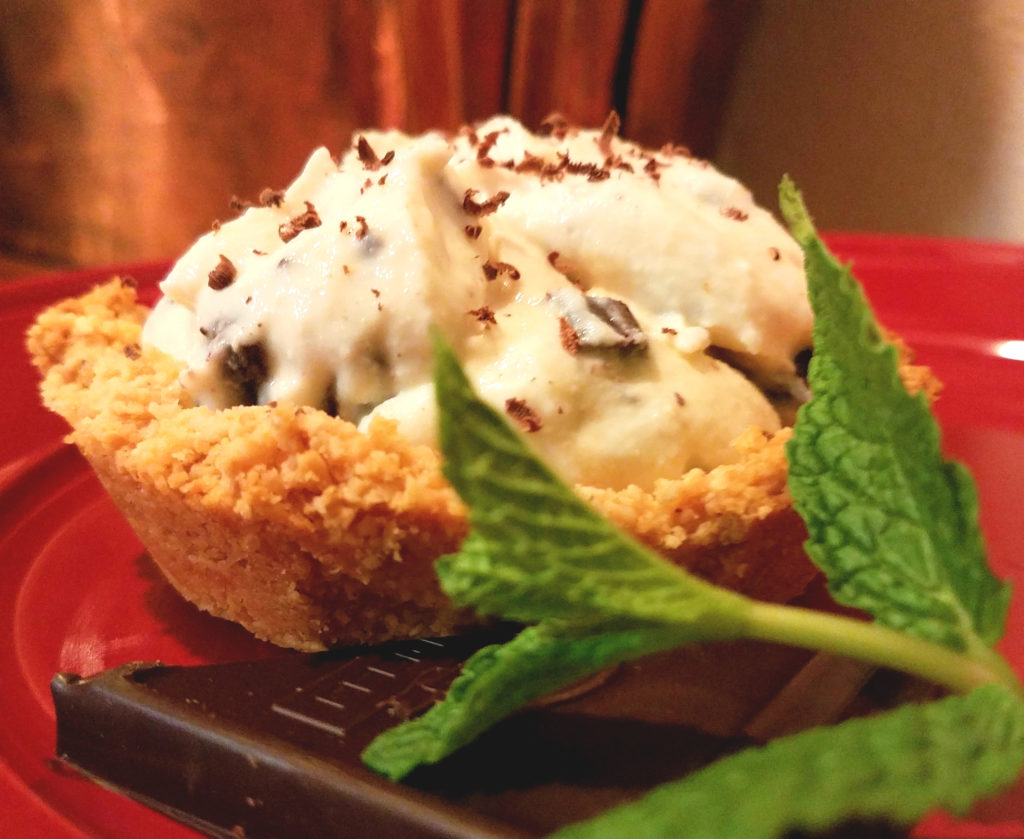
Finally fill each shell with as much filling as you can fit.  Then take that micro plane and grate a little chocolate on top for a nice presentation.

This cannoli tart is a great treat any time of the year.  They are simple and delicious, always a winning combination.  Peace out Napoleon.

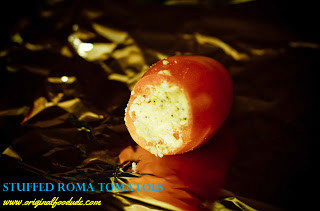
Healthy and Delicious Stuffed Roma Tomatoes

Think of the best savory meal you’ve ever had, do you remember it?  I do, it’s this one for me.  I love love love love….(you get the point) this dish.  Seriously I love it.  Ok I’ll move on now.

A little back story on this, about 10 years ago my family was gathering for a family reunion, there are a lot of us so that is a big proposition (9 kids, I know someone should have explained the birds and the bees sooner, but I guess I should be grateful because I’m the baby).  At this particular reunion my  dad proposed a cooking contest, with a cash prize.

A young and naive Dude at his family reunion that never saw his money… hint hint dad, jk

The entry had to be a vegetable dish, I know tomatoes are technically a fruit, but who cares they are used like veggies in cooking, right?   There were two categories, a kids dish and a best tasting dish.  Mine was voted the best tasting, but somehow magically the cash prize disappeared, funny huh?  To this day I still haven’t seen that prize money.

So I kept this little treasure in my back pocket and made it for friends and family, I had one roommate in college that would buy the ingredients every time he went grocery shopping just so I would make them again.  Worked out good for me, I love to eat them too.

Where our tongue recognizing flavors

So why are they so good?  Well the secret lies on your tongue, you see your tongue recognizes 5 distinct flavors.  They are: sweet, salty, sour (acidic, think lemon juice), bitter (think kale), and finally umami (savory).

Umami is a Japanese word that literally means savoriness, it is how our tongues perceive the presence of the amino acid glutamate in foods.  The presence is strong in meats, mushrooms, seaweed, cheeses, and tomatoes.

The very coolest thing about umami is the layering effects you can create with it.  By stacking two (or more) umami rich foods together you create a dish that is greater than the sum of it’s parts.  This is a super dish.  I like to think of the pizza I had a few years ago in a small shop in Venice, oh man was that umamified (I just made that word up, eat your heart out Dr. Seuss).

Check out that K2

This dish is definitely delicious, but what about healthy?  You know it.  Tomatoes provide a great dose of Vitamins A, B3, B6, B7, B9, C, E, and K1, geesh they are a regular alphabet soup of vitamins.  Feta cheese provides a great dose of vitamin K2, which is hypothesized to help in improve bone health and reduce heart disease by directing calcium deposits out of the arteries and in to the bones where they belong. Come on calcium fall in line.

All wrapped up like little presents.

Well if you aren’t convince by now I guess I’ve failed, this little miraculous and simple recipe hits it home in the two most important categories, taste and health.  If you add its simplicity you have a perfect trifecta, so get some tomatoes and get cooking.

Recipe

Servings: 1 (just kidding it will serve 4-6 people)

Prep time: 10 min ; Cook time: 20 min

Ingredients

  • 6 large Roma tomatoes
  • 8 oz feta cheese
  • 1 tbsp olive oil
  • 2 tbsp Cavender’s Greek Seasoning
  • 1/4 lb Small cooked shrimp (optional)

Preheat oven to 400 degrees.

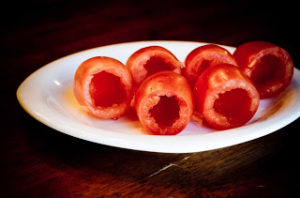
Hollow out the tomatoes by slicing the top off and scooping with a tea spoon.


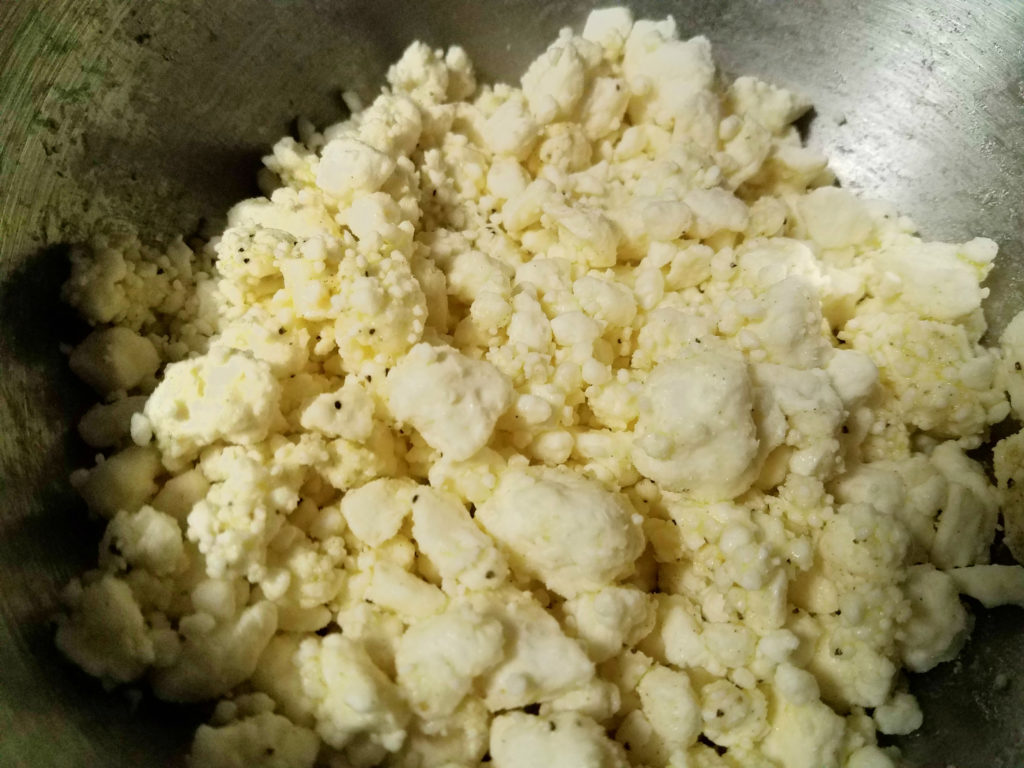
Blend the other ingredients together in a bowl.  If the feta is really dry add a little extra olive oil to make the mixture stick together.  Fill each tomato with the mixture.  Replace the cap and wrap in foil.  Cook for 20 minutes or until soft.

This little guys are also fantastic on the grill.  To grill, use toothpicks to secure the cap on and grill directly over hot coals until softened, best to grill standing upright if possible.  Even my friends that hate tomatoes love these.  We all have that one friend right?

This gadget works well to keep them upright on a grill


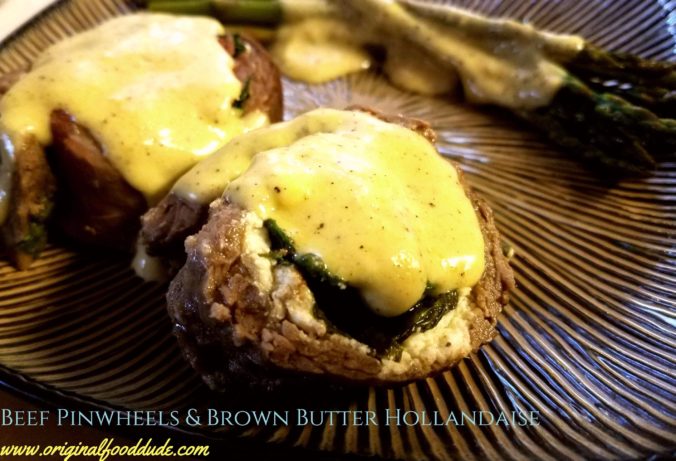
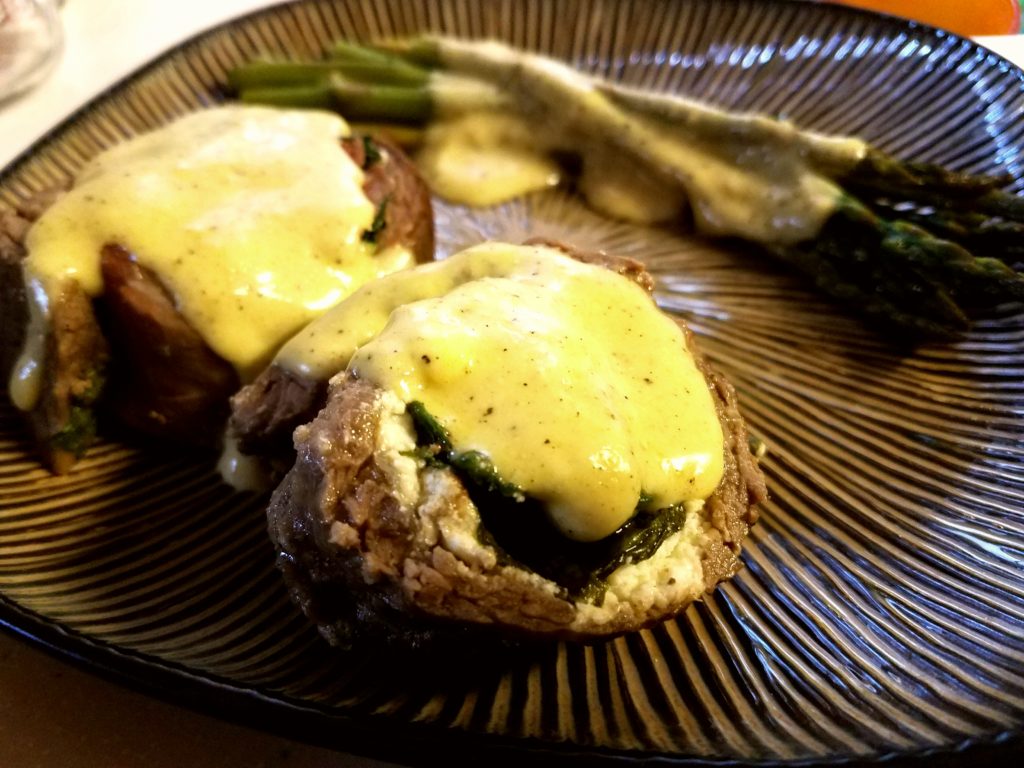
Beef Pinwheels with Brown Butter Hollandaise, Happy Birthday Buddy

My foodie doodie turned 3 recently so for his birthday dinner I made him this meal.  He ate it pretty well but then saw the cake and it was all down hill from there.  Oh to be 3 again and get to have your cake and eat it too, but us adults that cannot live by cake alone must have some sustenance.  This meal provides just that.

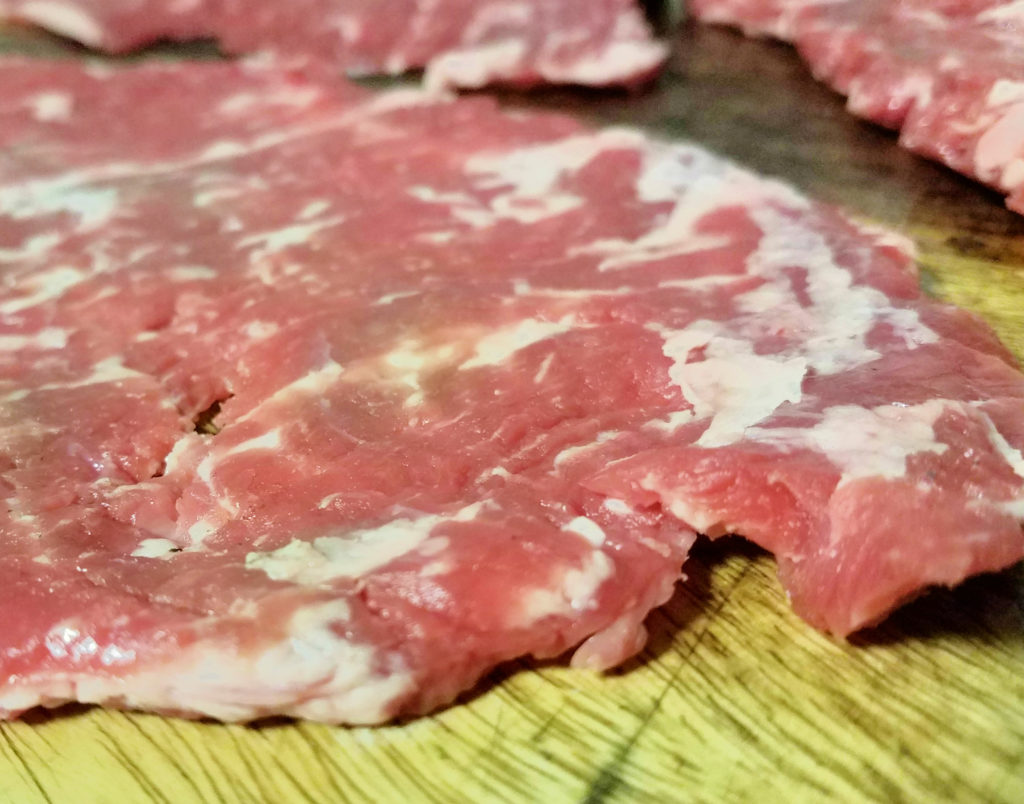
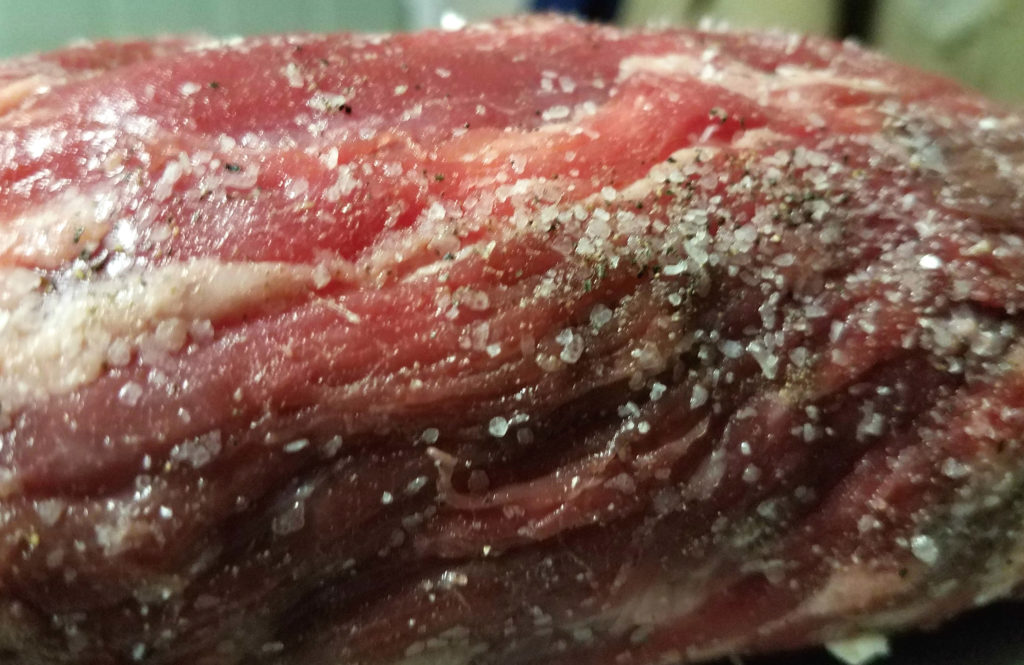
For this recipe I used beef skirt steak.  The skirt comes in two forms, maxi and midi.  Just kidding there are inside and outside skirt steaks.  The inside skirt is the tranversus abdominus muscle.  The outside is part of the diaphragm (the other part is called a hanging tender or hanger steak).  Maxi and midi would be better I guess but we are stuck with the names for now, maybe we should start a petition.

Beautiful Skirt

These muscles are long, thin and often tough but very flavorful.  To deal with the tenderness issues these cuts are tenderized using a mechanical device. I like the Jaccard.  They can also be tenderized using marination with acid, like fajitas (these are the traditional fajita muscle).

Click to order

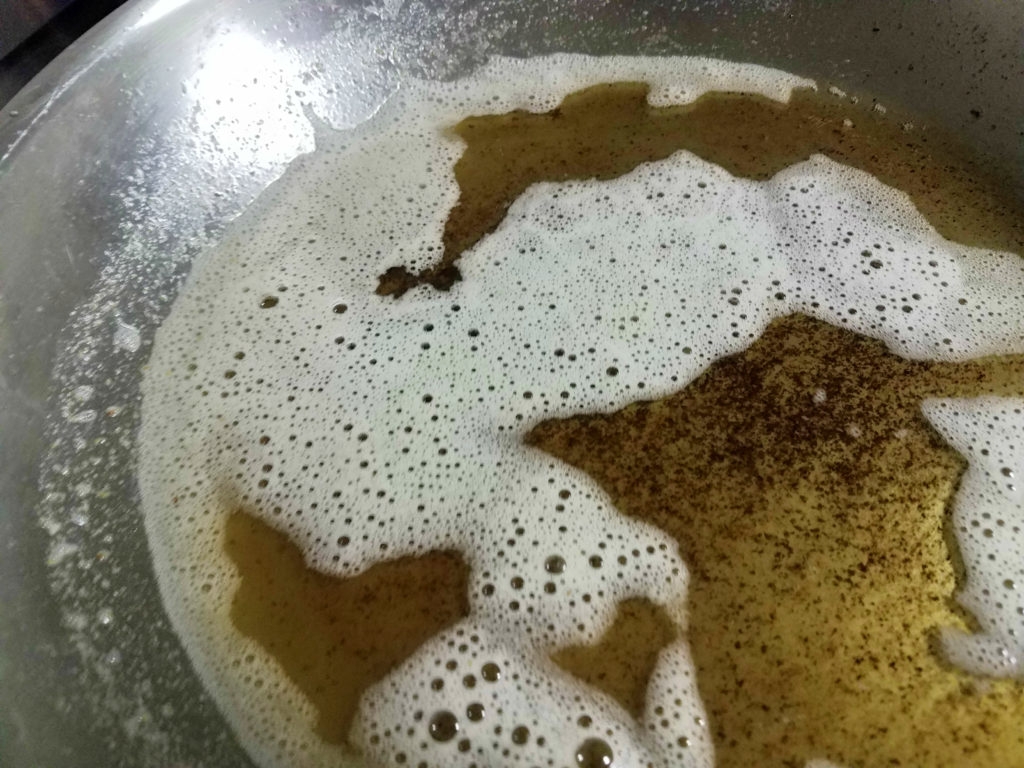
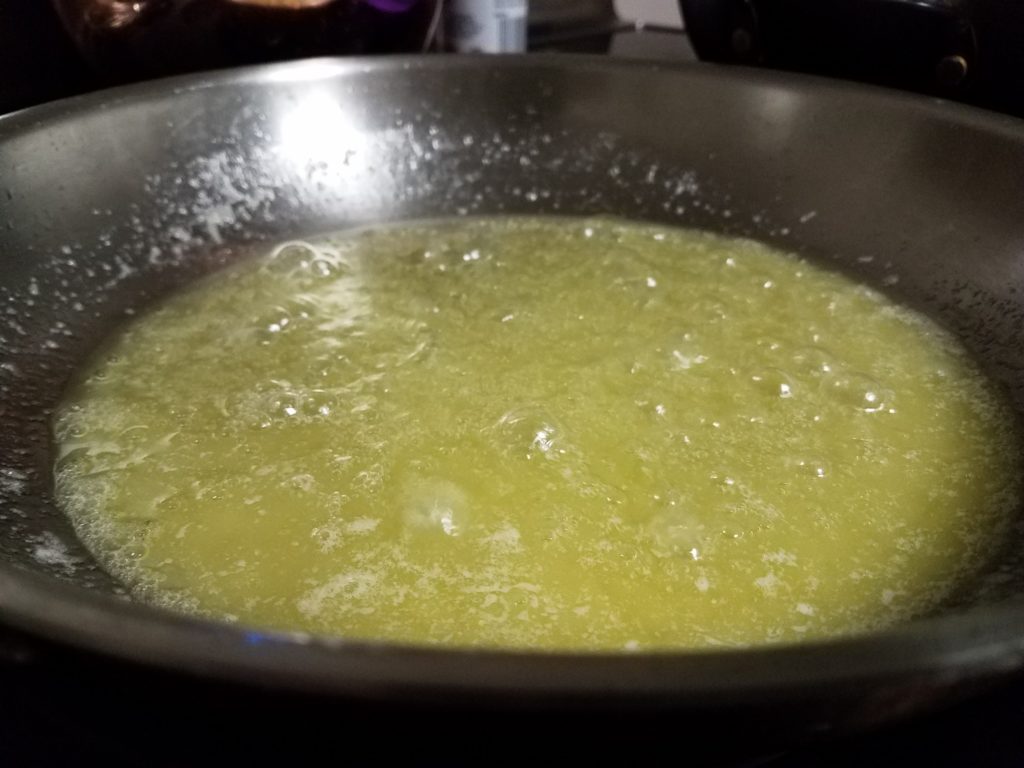
If you’ve never used brown butter  before I highly recommend it.  It is a great little trick to change the flavor of a recipe and give it a little nuttiness.  Brown butter doesn’t come from brown cows, how now brown cow, but is made by cooking the butter in a sauce pan until the milk solids in the butter brown.

Hmm maillard browning, drool

There are two reactions going on here Maillard browning of the proteins and carmelization of the sugars, both reactions create the unique nutty flavor that you get from brown butter.  Brown butter is da bomb, do people even say that anymore?

Also I know I’ve already done a hollandaise sauce, but really can you go wrong with it?  I mean it’s sooooo good.

Recipe

Serves: 4-6

Prep Time: 15 min ;  Cook Time: 25 min

Ingredients

  • Pinwheels
    • 1 1/2 lbs of skirt steak
    • Feta cheese
    • Fresh spinach
    • Kosher salt
    • Pepper
    • Cavender’s Greek Seasoning (optional)
  • Brown Butter Hollandaise
    • 1/2 cup butter
    • 4 egg yolks
    • 1/4 cup lemon juice

Preheat oven to 475

Pinwheels

Start by trimming your skirt steak of excess fat, then tenderize it using your Jaccard, they really are essential tools.  Be sure you hit every part of the skirt steak with the tenderizer.  The beef will flatten out.

Season your steak on both sides with a little kosher salt and pepper.  Mix your feta with some Cavender’s if you’d like (I likes a lot).

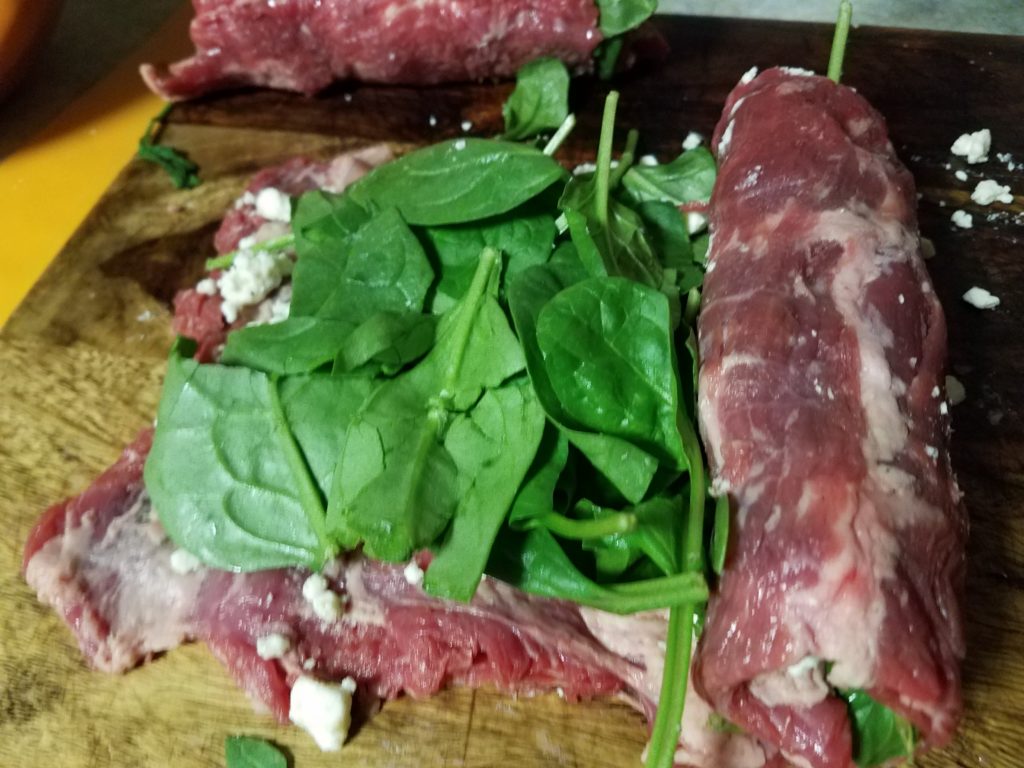
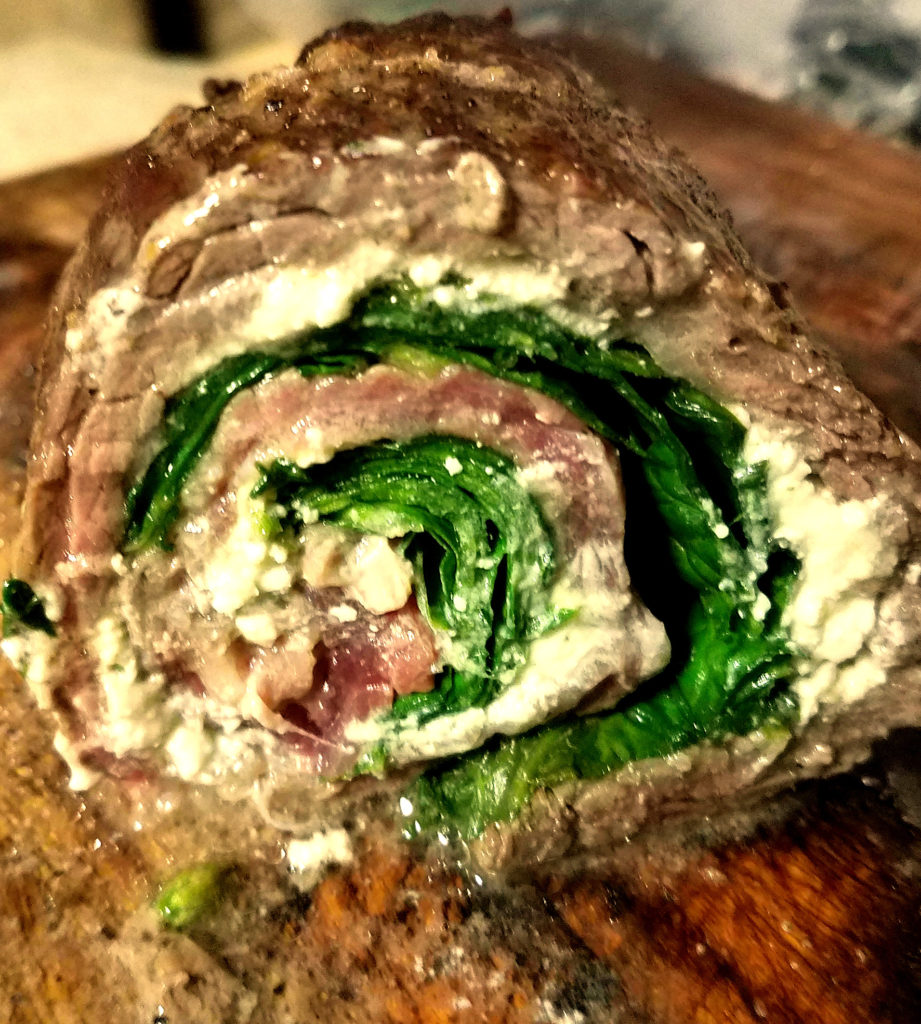
Press the feta on to the flattened steak, then cover with a double layer of fresh spinach.

Start from one of the short ends and roll the steak up like a cinnamon roll, yum…. cinnamon…..  Sorry, the meat fibers should run parallel to the direction you are rolling.  Toothpick the end of the steak back into the rest.

Season the outside with salt and pepper and cook for 25 min.

Slice in 1 inch think “rolls”.

Brown Butter Hollandaise

Melt the butter in a sauce pan on medium heat, shake the pan occasionally.

Once melted it will become foamy, keep cooking and shaking, or stirring, occasionally until it clarifies and brown flecks appear, about 5 min.  Cook a little longer, until the butter smells a little nutty.  Turn the heat down to low.

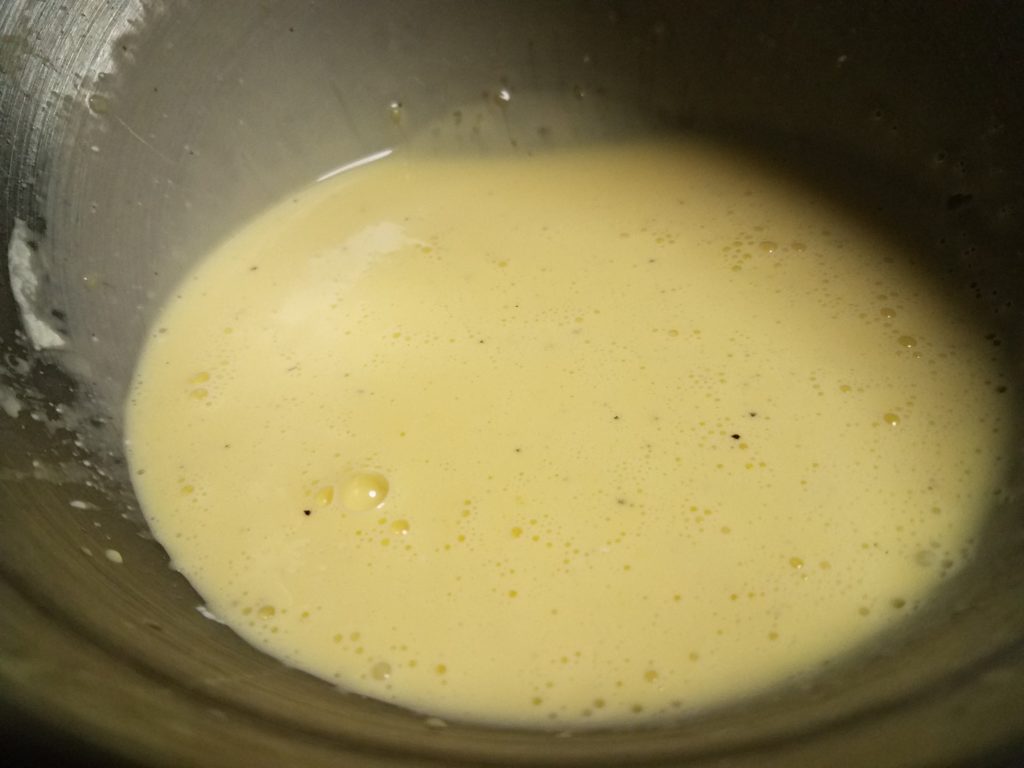
Egg yolk and lemon

  1. While the butter is cooking, whisk the egg yolks and lemon juice.  Then add it slowly, while whisking, to the melted butter.  Don’t stop whisking ever, if you add the egg and lemon too quickly the egg will cook and coagulate and you’ll end up with lumpy hollandaise rather than smooth and creamy hollandaise. Smooth and creamy is always better.

Serve while warm, pour over the pinwheels and enjoy, enjoy, enjoy.  Seriously this nutty flavored hollandaise is quite dreamy.

I recommend this guy for all your meat slicing needs

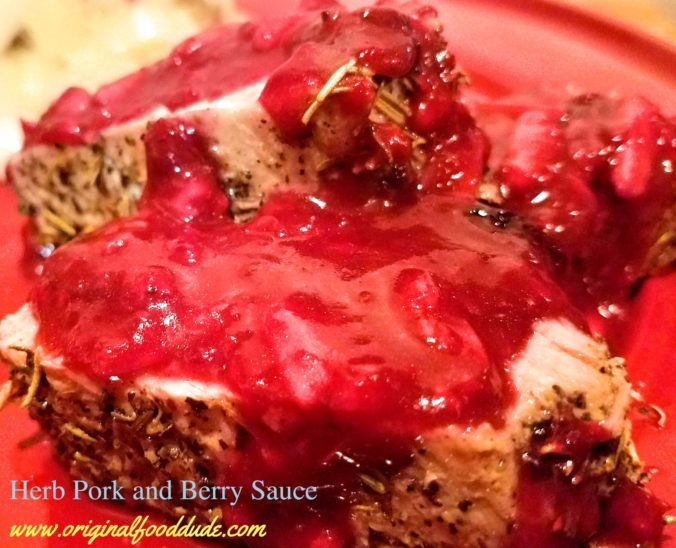
Herb Crusted Pork Tenderloin and Berry Sauce, forget about it.

WARNING:  This recipe is know to the state of California to cause a serious addiction issue.  

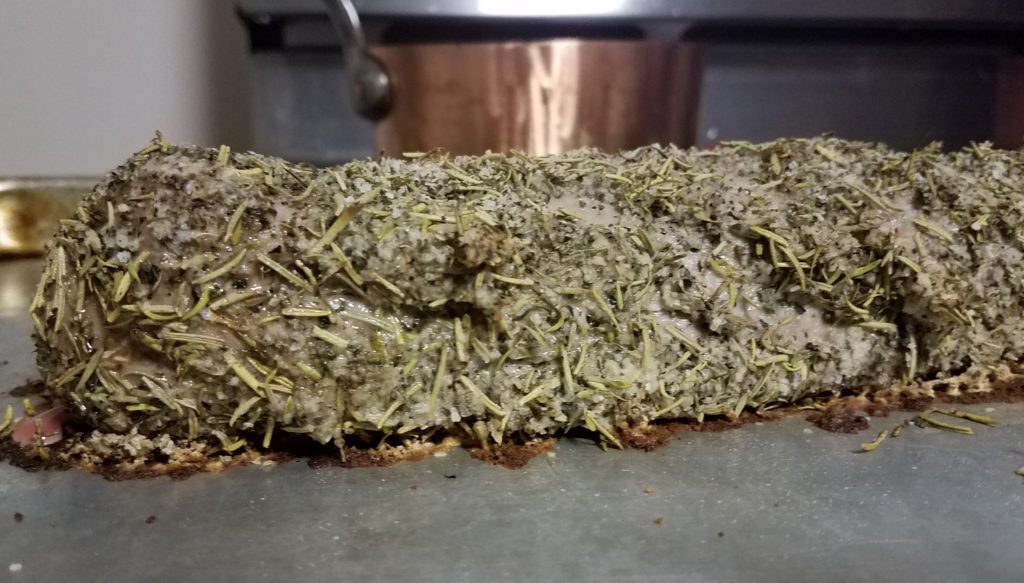
Seriously, I made this for my in-laws before they were my in-laws, right after I met my wife, maybe that’s why they agreed to let me marry her because I didn’t share the recipe and they needed their fix.  The crust on this tenderloin is just perfect I think, I had one friend who would try and cut extra crust off because she loved it so much.  I do too.  The herbiness and saltiness is awesome but then drop some berry sauce on top and like I said, forget about it.


So lets talk, I’m usually not super concerned with the whole health thing.  I mean I try to eat healthyish but then something awesome comes up and I forget, its really not a control problem just a memory problem, I forgot I was eating healthy.  This dish right here actually is pretty good for you.

Berries as we all know are loaded with antioxidants.  Rosemary has some great anti inflammatory properties and antioxidant properties as well.  Basil, thyme and garlic are nothing to shake a stick at either, but the real kicker is the pork tenderloin.

Pork Tenderloin

The tenderloin is a group of long cylindrical muscles from beef, pork and lamb (we have one too, but that’s called cannibalism and it is frowned upon in most cultures) that is called the iliopsoas.  The main muscle would be the psoas major with the iliacus as the secondary muscle in the group.   The tenderloin lives up to its name as it is the most tender muscle in the pork.

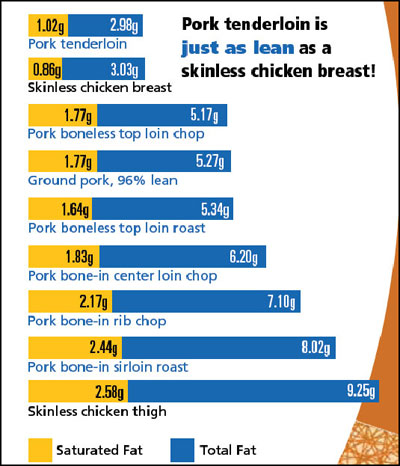
It also has a very unique feature in pork that makes it one of my favorites.  A single serving of pork tenderloin has a little under 3 g of fat.  To put that in perspective a serving of skinless chicken breast has a little over 3 g of fat.  Pork tenderloin qualifies for the USDA health claim “extra lean”, but it still has great flavor and tenderness.

Part of the tenderness effect comes from the use of the muscle, the psoas is a stabilizing muscle in pork (to help you understand where it is,  think of the Pigeon Pose in your yoga class, that is helping you stretch your psoas).  because the psoas is not used for locomotion in beef and pork it has a slightly different protein makeup which makes it more tender, beep beep beep nerd alert right?

So now that I’ve praised the pork tenderloin and shouted its merits from on high lets talk about the berry sauce.  Remember our tongue has 5 flavors it can detect (sweet, salty, sour, bitter, and umami).  While stacking like flavors can create a potent meal, mixing contrasting flavors creates a tantalizing effect as it lights up the taste sensors with an array of signals to send to the brain.  I mean one flavor all the time would be like a white house with white christmas lights and white flowers and white fences, eventually it becomes too much.  The classic example of mixing flavors is sweet and sour sauce at your favorite Chinese place, they don’t even try to hide what they are doing.

This stuff is like berry crack it is so addictive

This wonderful recipe does just that, the umami and salty flavors with the pork match perfectly with the sweetness of the berry sauce, together they create a flavor symphony anyone can enjoy.  There is little wonder to me why this is my mother in law and sister in laws very favorite thing I’ve ever made them.  Enjoy responsibly.


Recipe

Serves: 4-6

Prep Time: 10 min  ;  Cook Time: 20 min

Ingredients

  • 1 Pork Tenderloin (1.5-2 lbs)
  • 2 tbsp Red Wine Vinegar
  • Herb Rub
    • 2 tbsp Rosemary
    • 2 tbsp Basil
    • 2 tbsp Thyme
    • 2 tbsp Kosher Salt
    • 1 tbsp Black Pepper
  • Berry Sauce
    • 1/4 cup butter
    • 1/4 cup Red Wine
    • 1 cup berries (blueberries and raspberries are best)
    • 2 tbsp sugar (honey can be used)
    • 1/4 cup nuts (walnuts pieces or blanched almonds)
    • 2 tbsp all purpose flour

Preheat oven to 450 degrees F.

Pork Tenderloin

Set the tenderloin out on a plate and allow it to come up in temperature, some say room temp, but I’m not that patient.  Trim off any extra fat or “silver skin”, the silvery stuff covering some of the meat.  Rub the pork with the red wine vinegar to coat evenly.

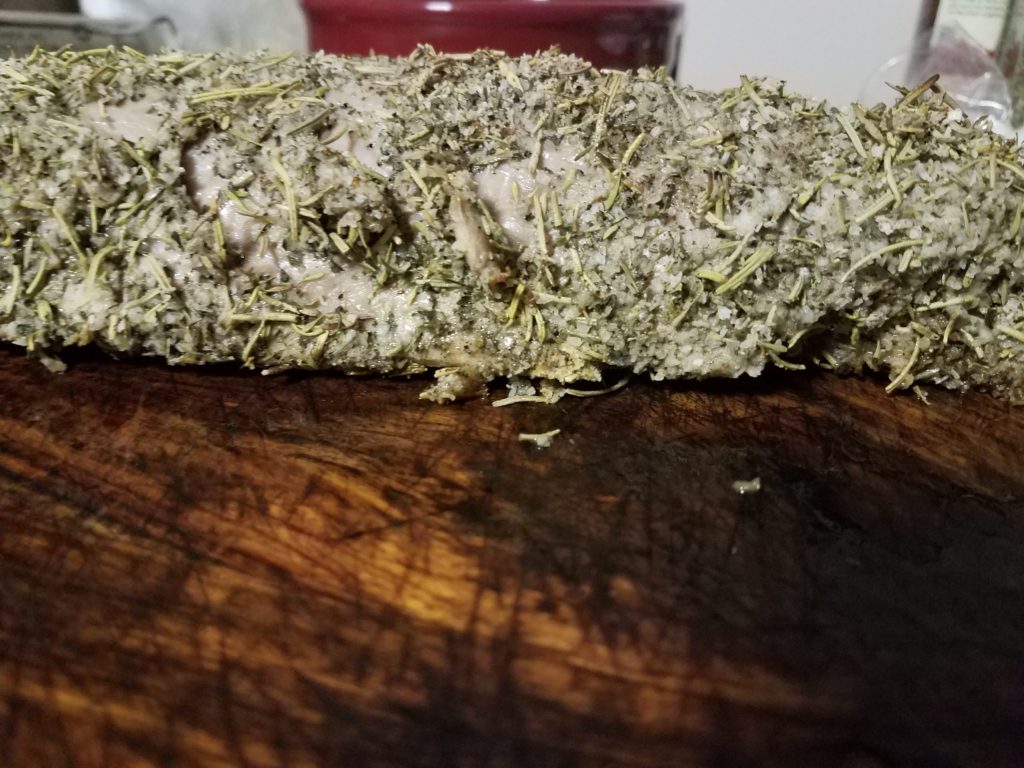
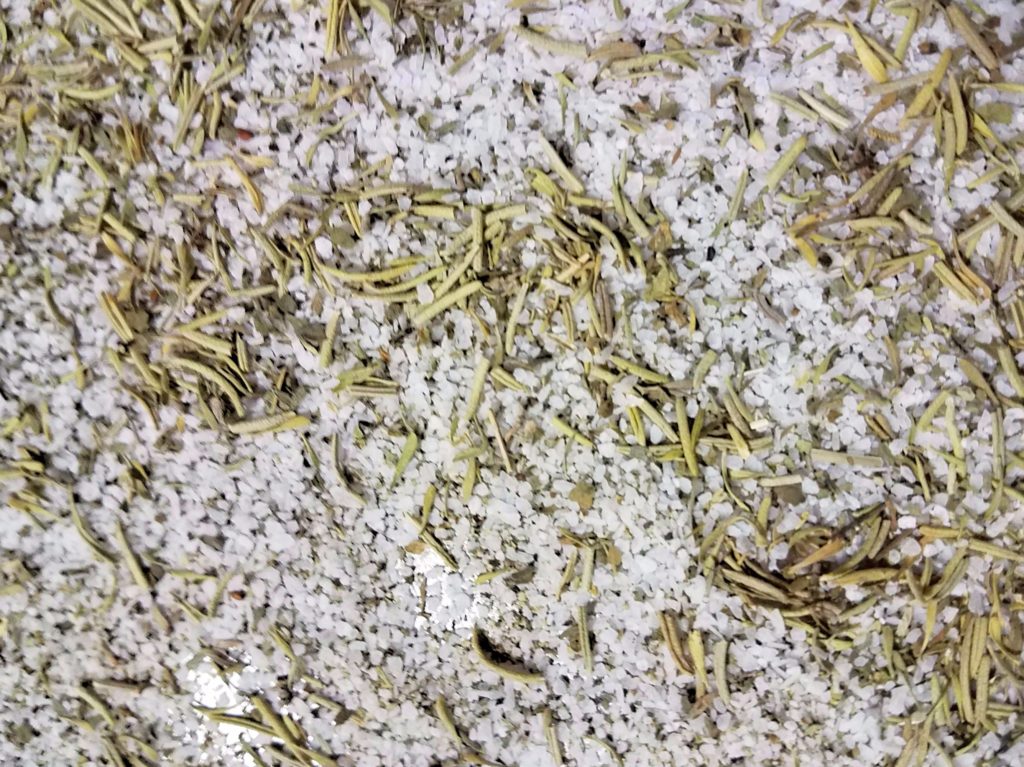
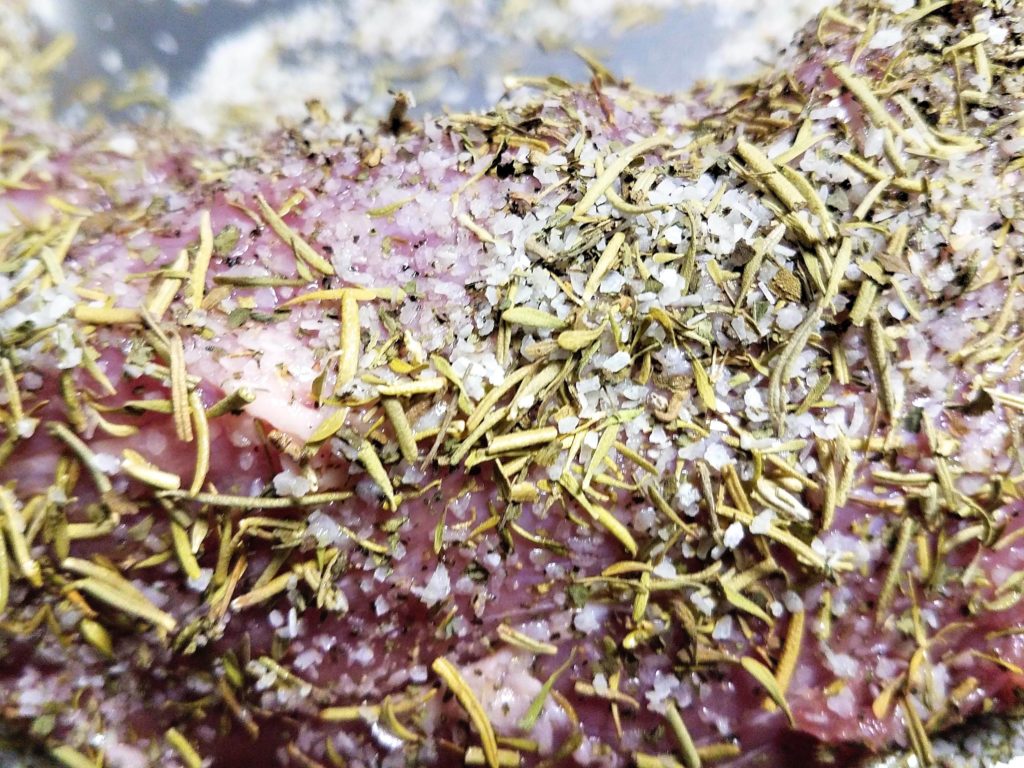
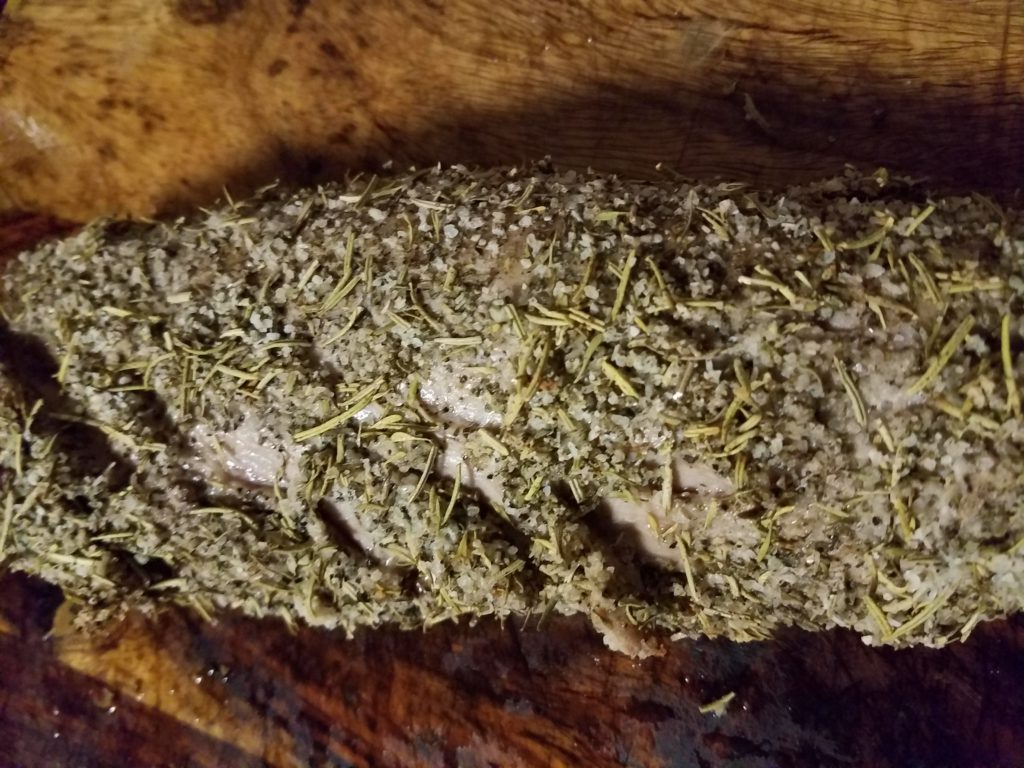
Mix all the herb rub ingredients together in a dish that is big enough to hold the tenderloin, I use a 9 x 9 cake pan.  Cover the tenderloin thickly with the rub.  The best way to do this is roll it in the rub, then pick up any missed rub and fill in areas that are lacking.

This rubbed tenderloin goes in the oven for about 20 min but really until your meat thermometer gets to 145 degrees is best.  Take it out and cover loosely with foil and let it sit.

Berry Sauce

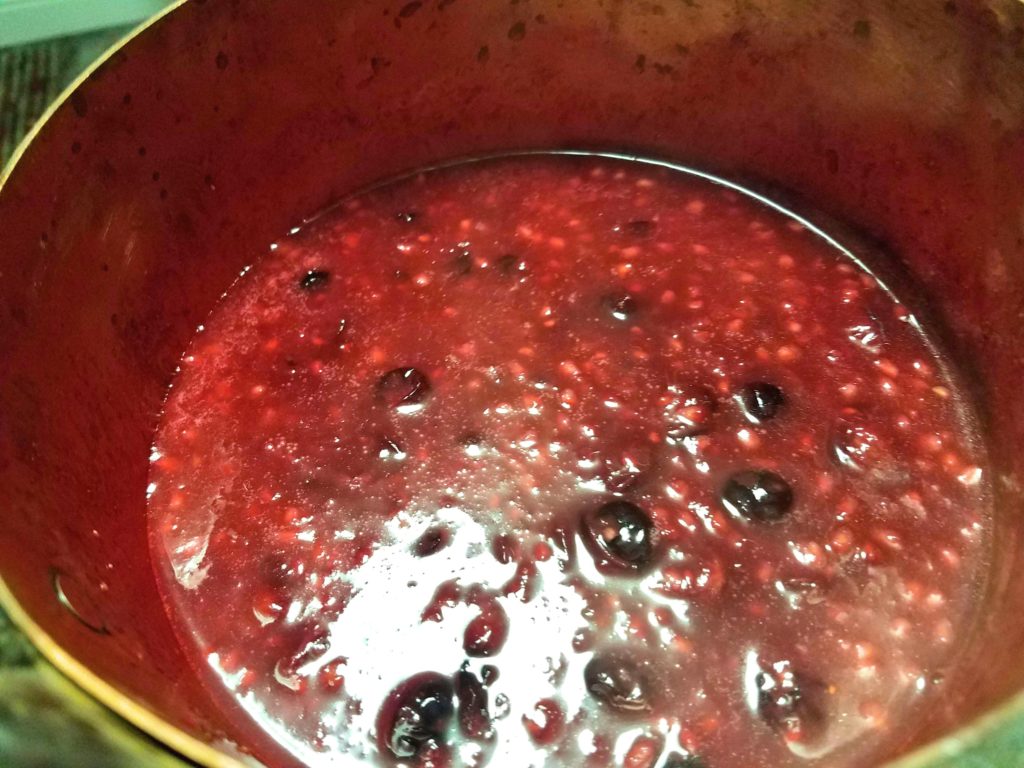
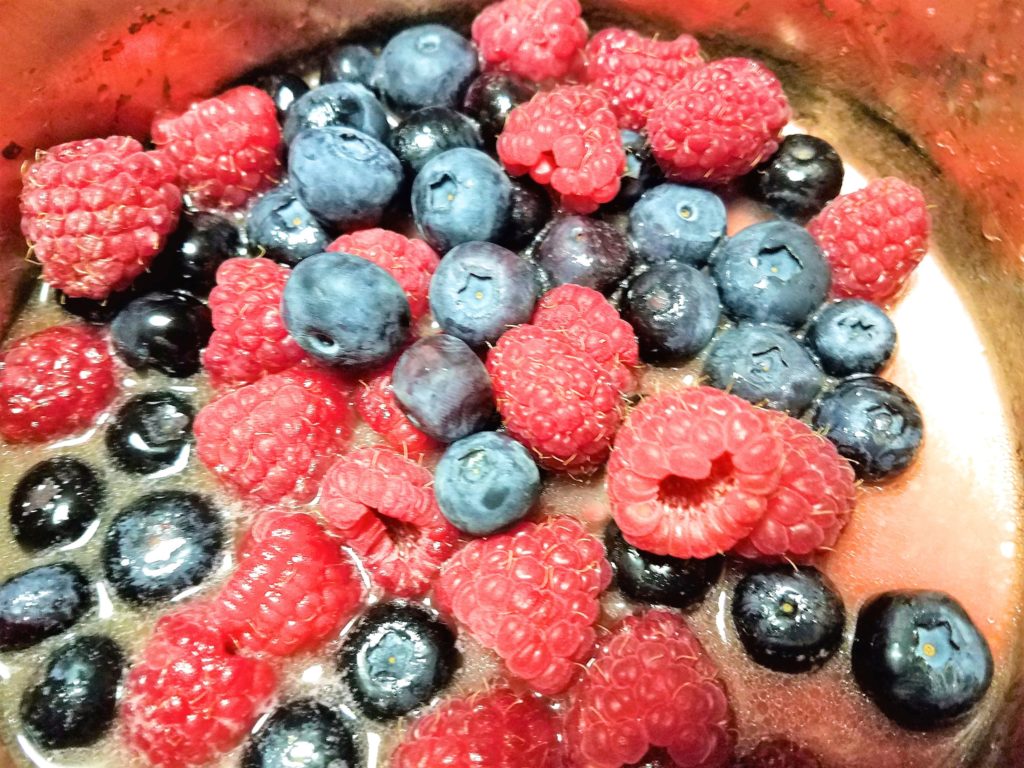
This is the pièce de résistance of this meal.  So maybe double it.  Make it while the pork is in the oven.  First melt the butter in a saucepan, add the red wine and berries and cook until the berries soften and mix in easily.

Mix them until they are relatively smooth, some chunk is good, wish it was that way for me.  I’ve used blueberrys, raspberries and huckleberries.  If you try another berry let me know how it goes.


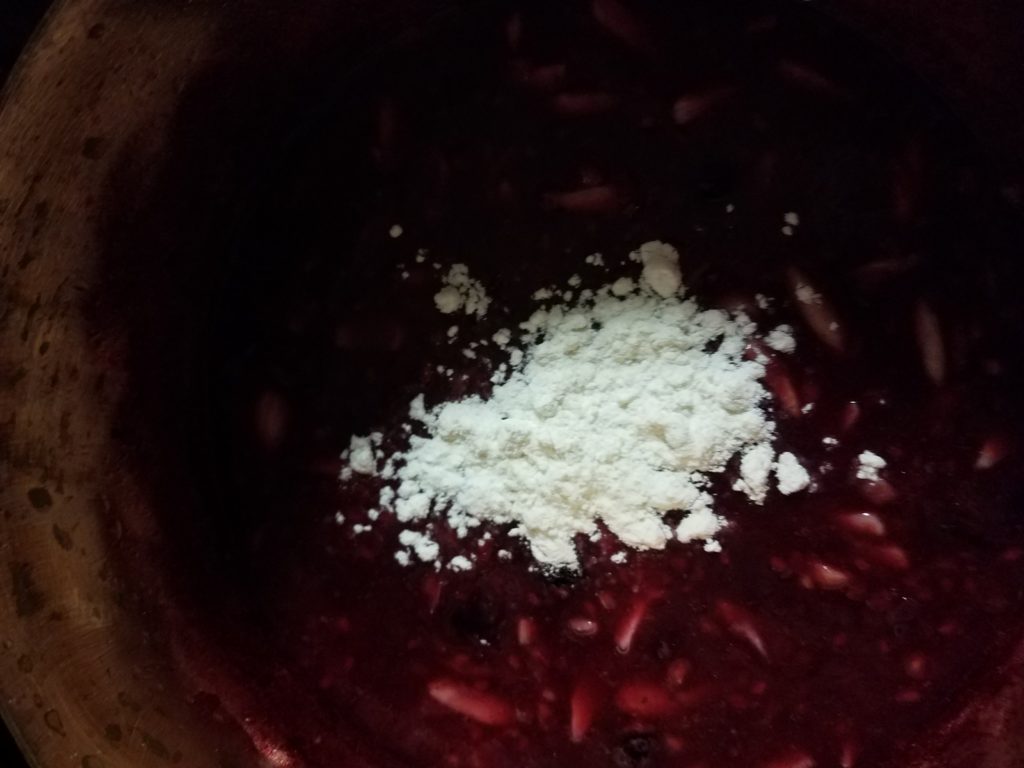
Add the sugar and cook for about 5 min, then add the nuts and flour.  The flour will thicken the berry juice into a sauce.

Slice the pork tenderloin into 3/4 inch thick medallions and cover with the berry sauce.   Serves well with rice.

I hope you love this meal as much as I do, it is undoubtedly one of my favorites to eat and favorites to make.  Share it with those you love and create a new family tradition of tenderloin Tuesday, way better than taco Tuesday.  


7 Steps to Spectacular Mozzarella In Less Than an Hour

Nothing beats the flavor of homemade cheese.  Especially full fat beautifully stretched mozzarella that goes well with almost anything.  This little How To will show a quick and easy way to delicious mozzarella from milk to mouth.  It’s fun to make and even funner to eat. 


My wife and her baby goaty

Last summer I mentioned to my wife that the weeds around our house were getting out of control and we could use some goats to help clean things up.  I thought that meant 2 goats that would be more temporary than anything.  Then I looked up and we had 6 goats, 6.  Four does and two bucks (crazy goat lady anyone?).  We were able to weed those down and get down to a manageable 3 goats, which is where we are now.  One mini nubian and two nigerians.  My wonderful wife does like milking them though and I like using the milk so we are safe with those numbers.

Our old Jersey cow.. she is no longer with us, frown

Our good friend on the other hand has a beautiful little Jersey cow  that produces far more milk but tends to be a little less butterfat than the goat milk.  Mini nubian milk is over 6% butterfat and jersey is about 5%.  That is a big difference, think skim vs 1% milk.  The interesting thing is when we made this mozzarella the goat milk yielded 18% mozzarella but the cows milk only a little over 12%.  That shows the difference in solid between the two.

So rather than write a typical recipe post I had to do a little sciency stuff too, so here it goes.  Milk is made up of solids suspended in water.  Those solids are proteins, minerals, fats, and some other micro solids (not as important for what we are dealing with).  For this little experiment and how to I used 1 gallon of mini nubian milk from my wife’s goat Delilah (Bulila if  you are my son) and one gallon of Jersey milk from our friends cow buttercup, always make friends with someone with raw milk if you want to make your own cheese.

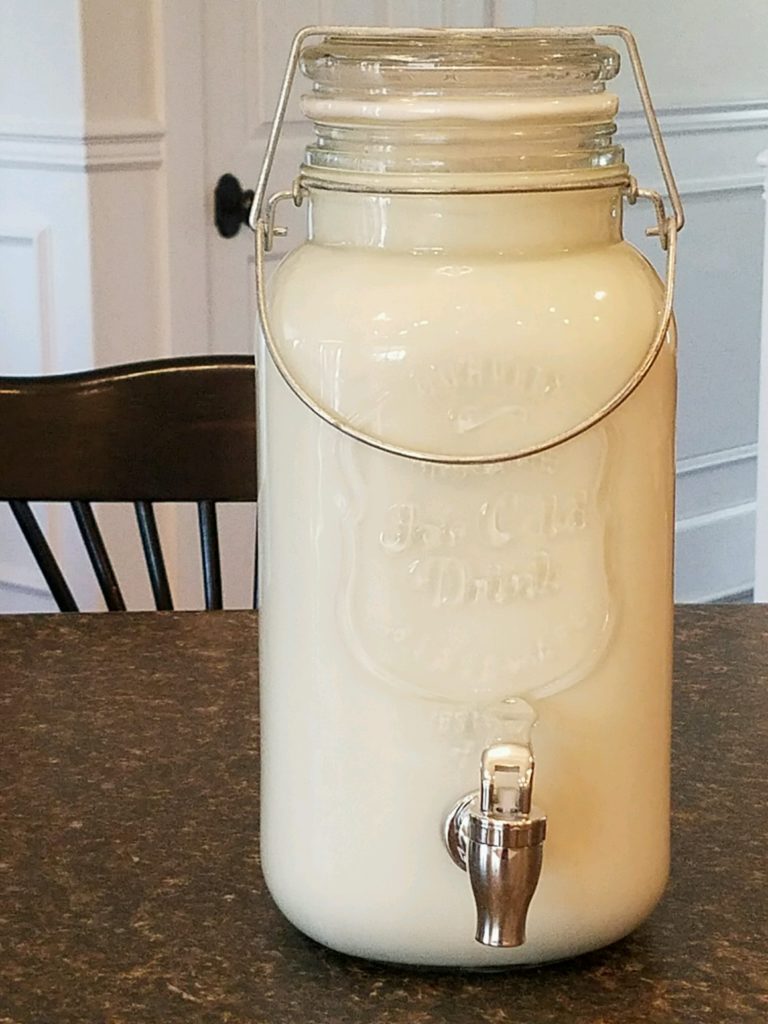
1 Gallon of Delicious Goat Milk

Both of the milks where fresh and raw (not pastuerized nor homogenized).  Interesting little note goat milk doesn’t separate like cows milk it is naturally pretty homogenized.  The cream doesn’t really rise to the top in it.

Ingredients:

  • 1 gallon milk (use whole raw milk if possible)
  • 1.5 tspn citric acid
  • 1/4 tsp rennet
  • Water

Steps to Make Mozzarella

1.Acidify the Milk

Put your milk in a large pot (don’f fill it to the top or you will be sorry when it is a pain to work with).

Click Image to Order

Add citric acid to the milk to lower the pH of the milk.  Use powdered citric acid mixed in cool water.  1 and 1/2 teaspoons per gallon of milk.  Raw milk is typically around a pH of around 6.6, citric acid is a 2.2, so by mixing in citric acid the total pH of the milk drops significantly.  This is important because doing so begins the curdling process, which is essentially a protein denaturation.  The protein we are concerned with is casein and we want it to open up and become weakened so we can further mess with it in a later step.  Yay, science.

2.  Setting the milk

Heat the milk to 90 degrees F, be stirring occasionally to make sure it is heating evenly.  I’ve forgotten about that part and scalded the bottom before, fool me once darn stove. Once it is at 90 degrees (can go to 95 to so don’t panic)remove from heat and add the rennet.  This rennet will be diluted in 1/4 cup cool water.  I used liquid animal rennet that comes from Ricki Carroll, who is like the cheese queen, in fact this recipe is a modified version of hers.   Mix the rennet in well then let the pot sit undisturbed for about 7-10 min.

Click Image to Order

So again back to the sciency stuff.  Rennet contains an enzyme called chymosin (or rennin) that goes after those casein proteins I mentioned early and disrupts them further.  Those proteins are usually suspended in the liquid portion of the milk, but after all the shenanigans they bind together and end up separating from the liquid.  This is what forms the curds that we will cut in the next step.

3.  Cut the Curds

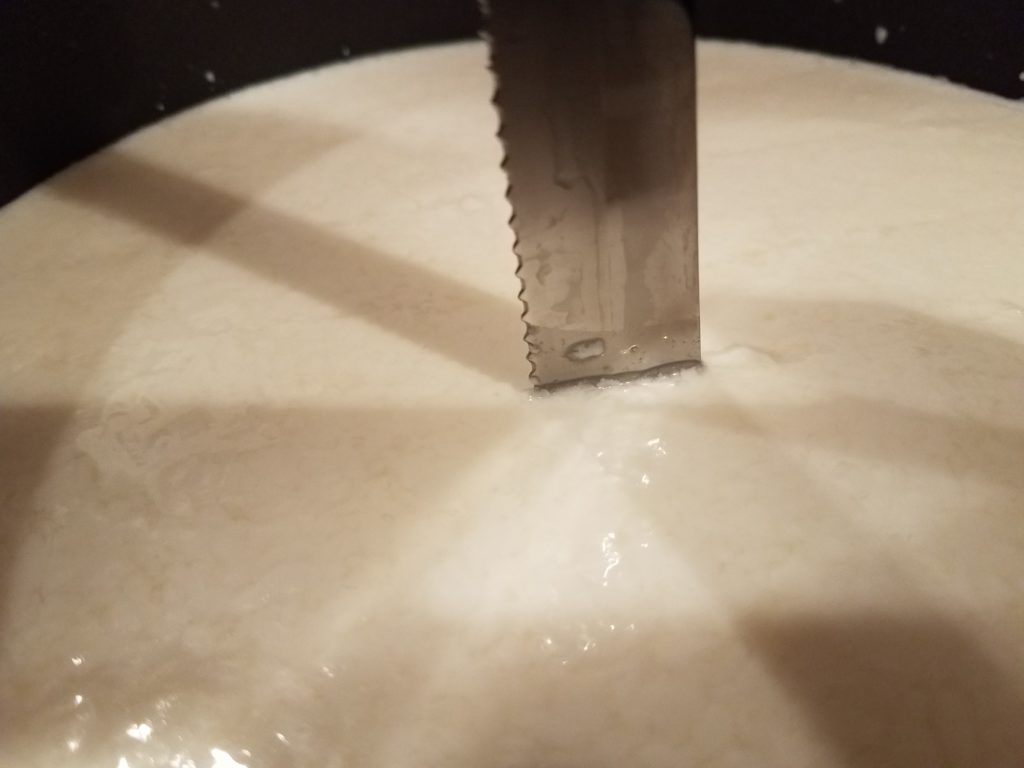
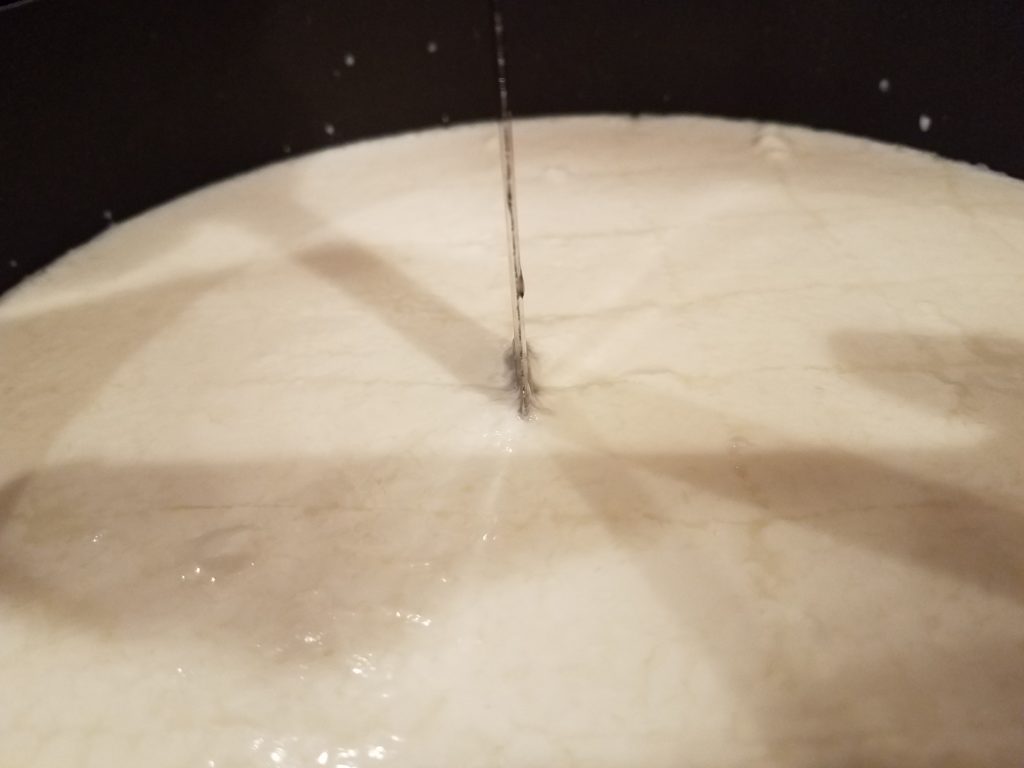
Now take a long knife and make a cross cutting pattern in the set milk.  Cut about 1.5 to 2 inches apart in each direction, be sure and cut all the way to the bottom.

Cut across first cuts

This process begins seperating the curds (casein and fat) from the whey (water and whey protein).  This is what little Miss Muffet was all about, but what the heck is a tuffet?

4.  Heating and Curd Seperation

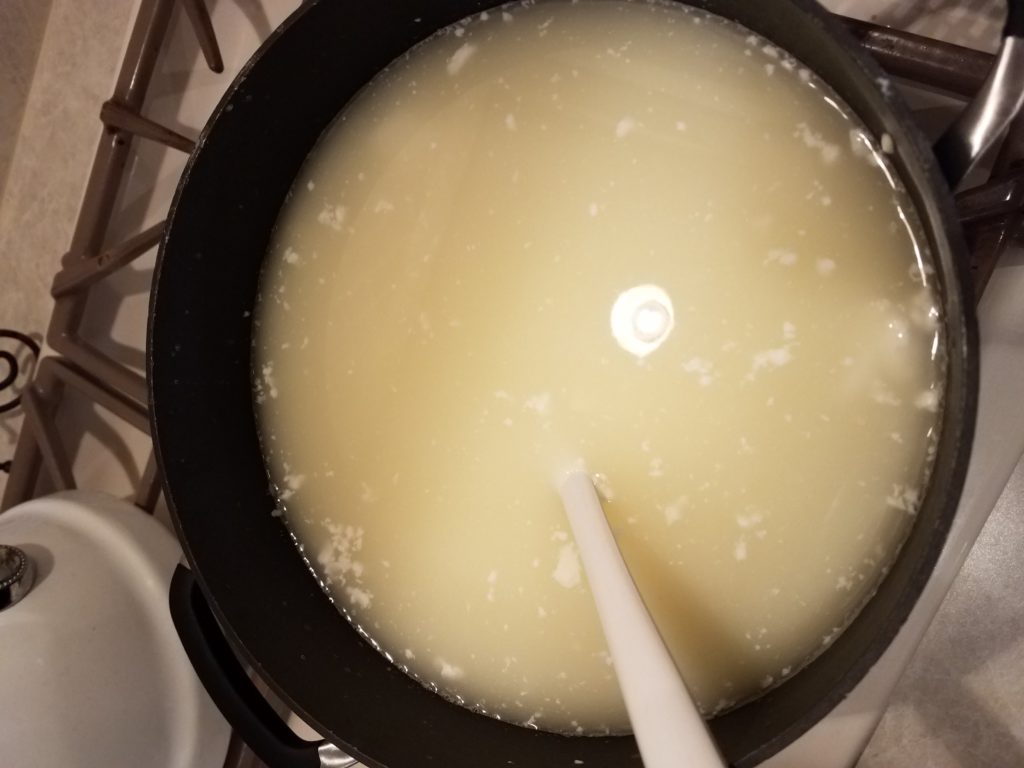
Return the pot to the stove, heat the curds and whey to 110 degrees F.  Stir with a ladle gently to slightly disrupt the curds to get them to release more whey.  Remove from heat and stir for about 2 or 3 more minutes, typically the curds will sink in the whey.


5.  Get the whey out

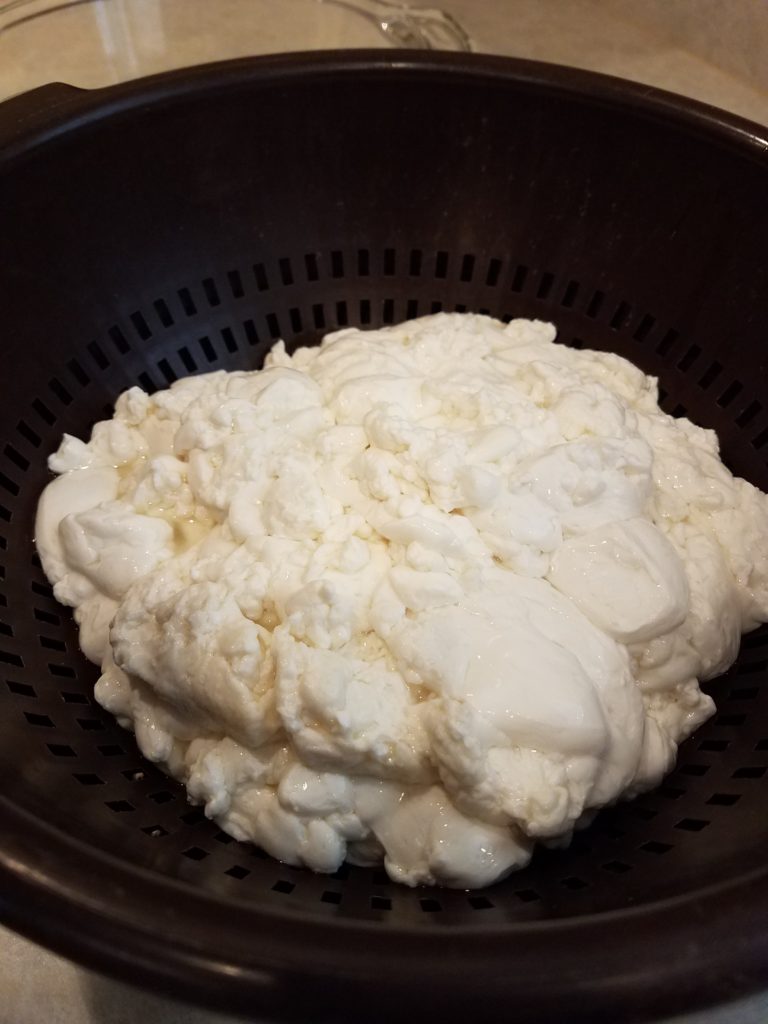
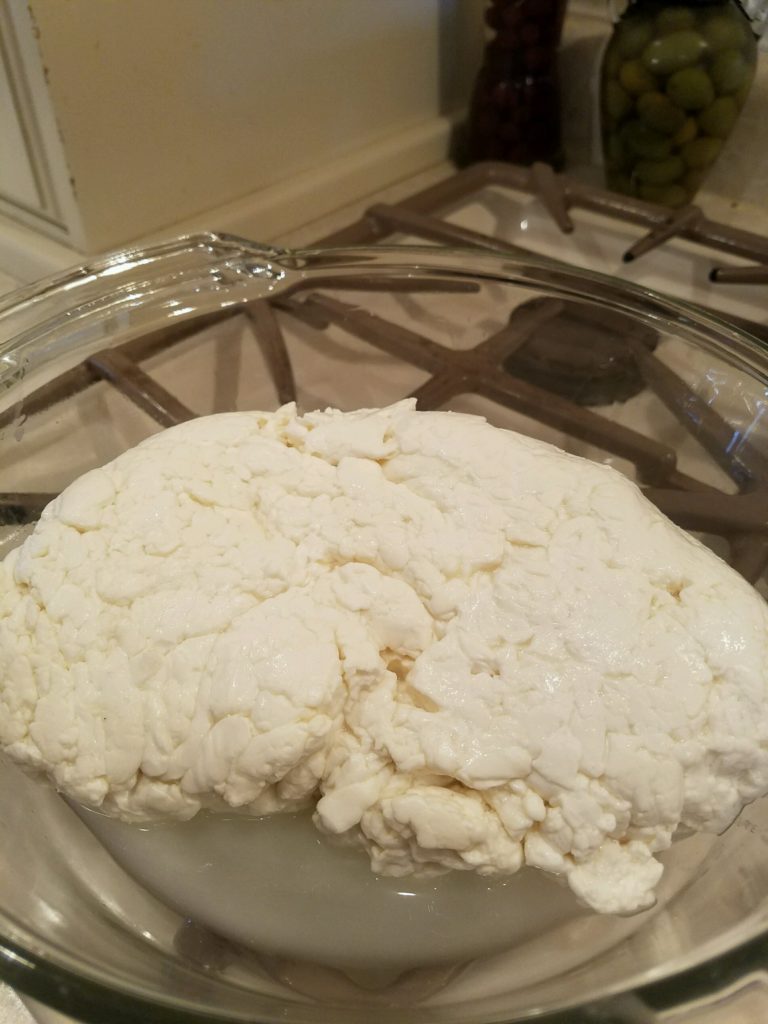
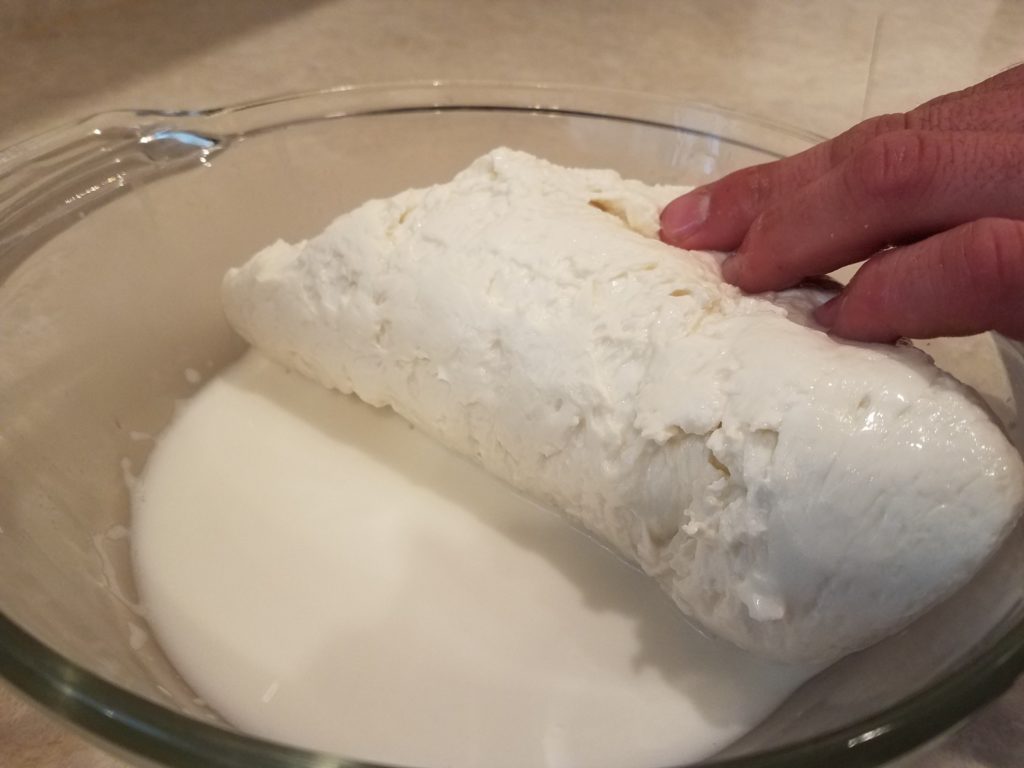
Use a slotted spoon to ladle the curds in to a colander, press the curds with your hand and drain the liquid (whey) that comes out.  In this step the goal is to get the whey out of the curds so you are left with a soft and moist mozzarella, this means some liquid will stay but not all.

Transfer the curds to a microwave safe bowl and microwave for 1 minute.  Then press the curds and drain off any whey off.   To press the curds, gently gentlyyy (said like Wesley from Princess Bride) knead them with your fingers to work the liquid out and strengthen the bonds of the proteins.   Microwave for 30 seconds and repeat the pressing.  Microwave one more time for 30 seconds and press the whey off.  This should be 3 times in the microwave.

Ready for the microwave


Gently kneading cheese


6.  Stretching

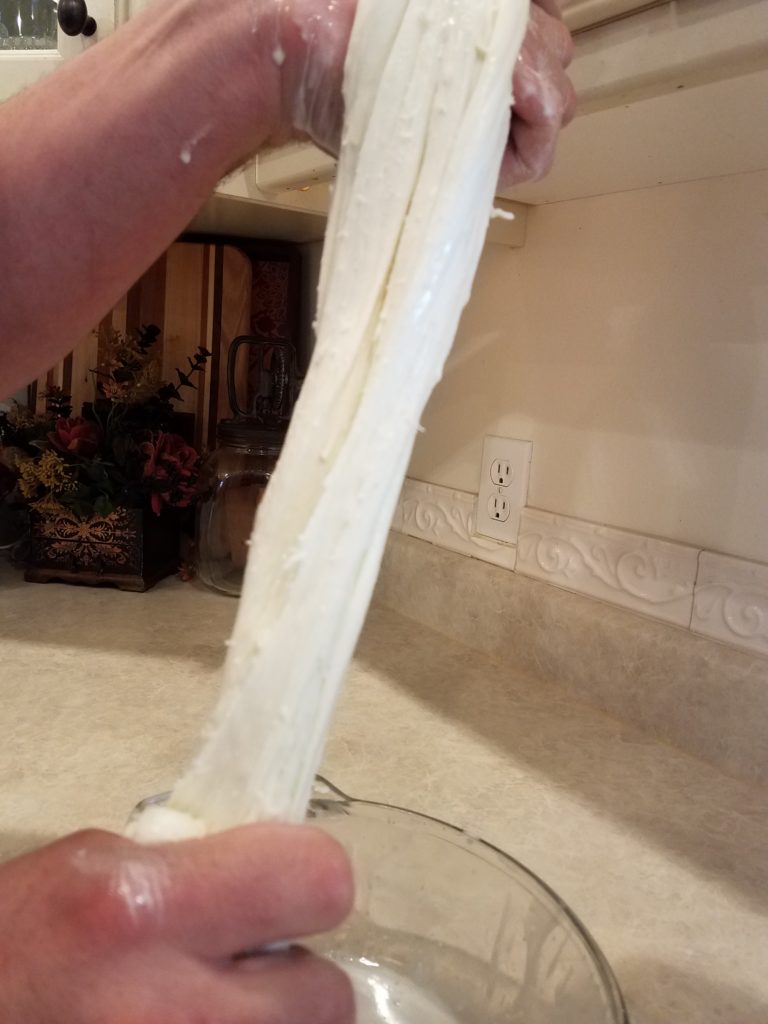
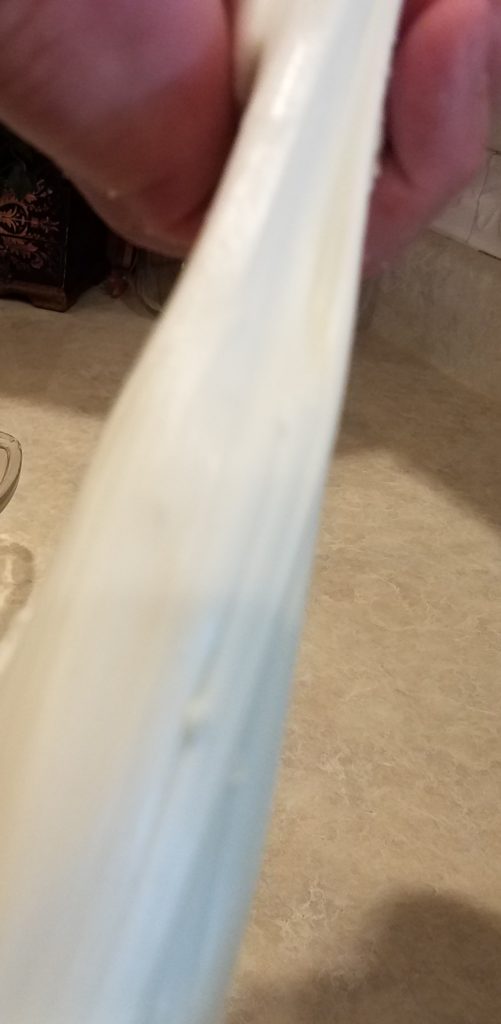
After the final microwaving you should have a lump of curds rather than individual curds.  Begin to stretch the curds like taffy in long gentle motions.  If it gets to cool to stretch pop it back in the microwave for 30 seconds.

Stretch until it becomes smooth and shiny.

7.  Salting and Kneading

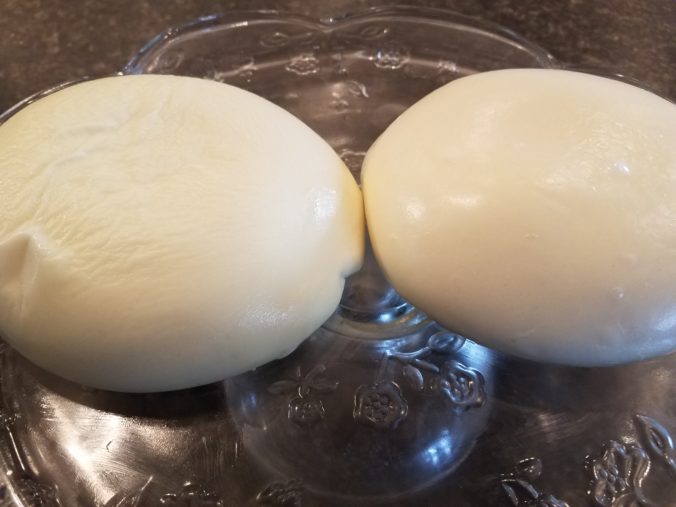
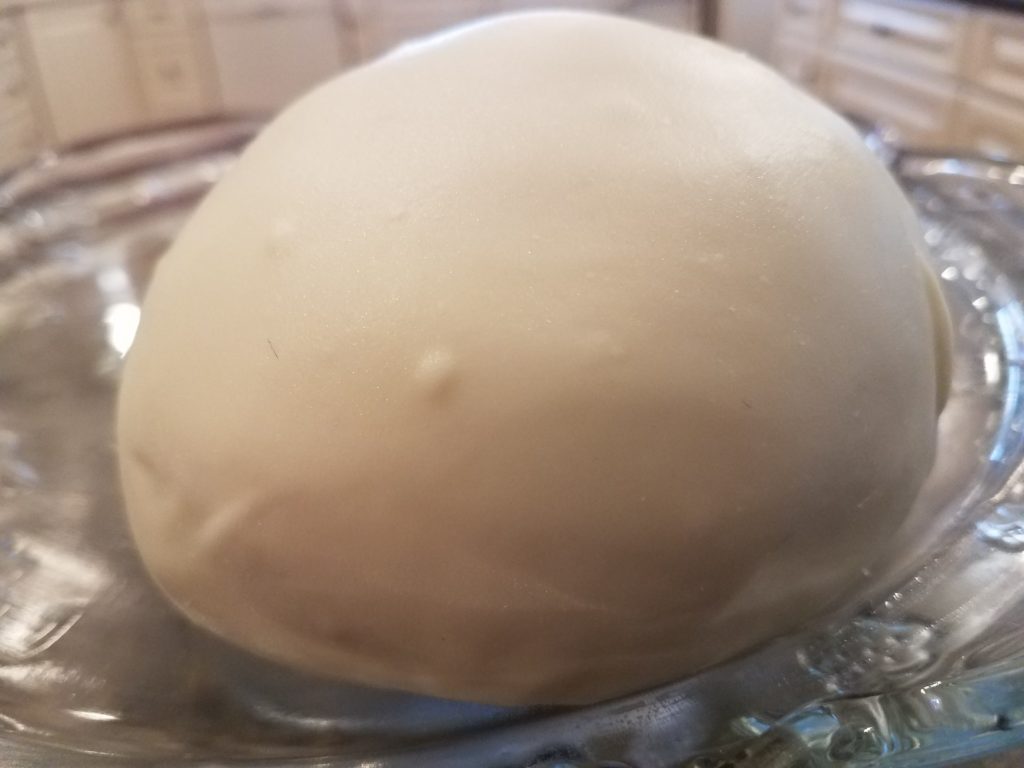
Once smooth and shiny work in about 2 tspn salt (or to taste) and knead the curds in to a ball.  Let it cool and you have yourself some homemade mozzarella.


This mozzarella is simple and delicious and will make you never want to go back to plain old store bought stuff.  It can be added as a topping to a pesto pizza, or used in a caprese salad, that is if it lasts longer than 15 minutes.  Save the whey and use it to make some delicious ricotta.


Check out Ricki’s Kit to help you out.

Click Image to Order

Older posts Newer posts

© 2024 Original Food Dude

Theme by Anders NorenUp ↑